Mary Berry Baked Apples Recipe
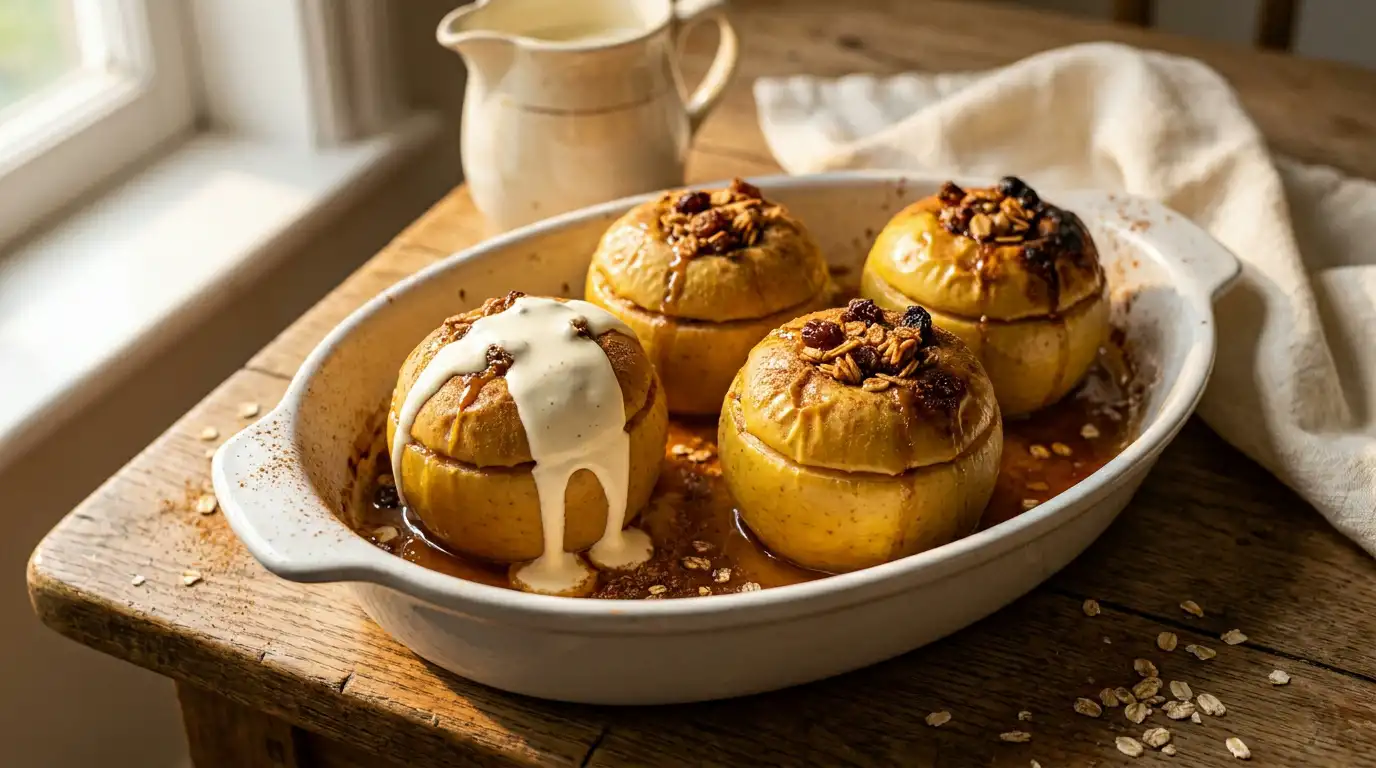
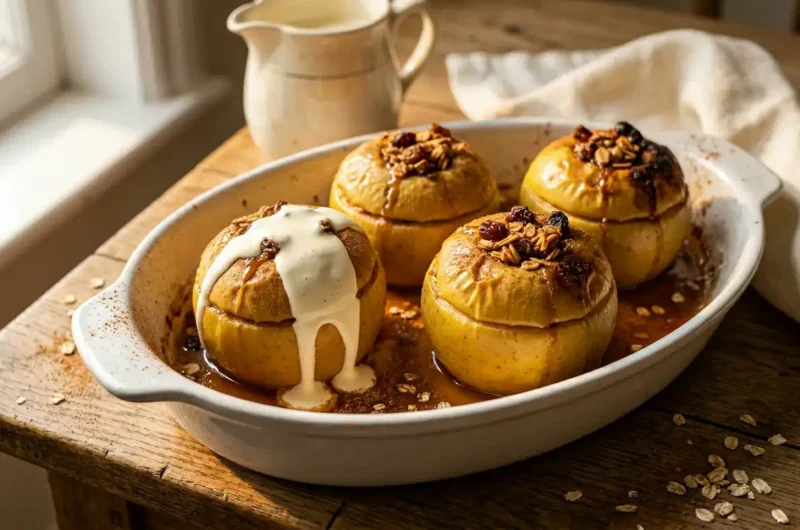
Mary Berry baked apples are tender, cinnamon-scented fruit with a softened skin that gives way to a warm, jammy centre packed with oats, brown sugar, and dried fruit. The filling caramelises as it bakes, forming a sticky, golden crust on top while the apple flesh turns silky beneath it. This recipe keeps things straightforward, using ingredients most kitchens already have and producing consistent results every time. It works beautifully as a comforting midweek pudding or an easy dinner party dessert. From start to finish, it is ready in around 50 minutes.
Ingredients
For the apples
- 4 large Bramley apples
- 1 tsp lemon juice
For the filling
- 50g rolled oats
- 60g soft light brown sugar
- 50g unsalted butter, softened
- 50g sultanas or raisins
- 1 tsp ground cinnamon
- ¼ tsp ground nutmeg
- 2 tbsp golden syrup
For the base of the dish
- 100ml apple juice or water
- 1 tbsp soft light brown sugar
How to Make Mary Berry Baked Apples Recipe
- Preheat the oven: Set the oven to 180°C (160°C fan) or Gas Mark 4. Place the rack in the centre of the oven so the apples cook evenly without the tops catching.
- Prepare the apples: Wash and dry each apple. Using a corer or a small sharp knife, remove the core from the top down, leaving a base of about 1cm so the filling stays in place during baking. Rub lemon juice around each cavity to prevent browning.
- Score the skin: Run a sharp knife around the middle of each apple, cutting just through the skin. This allows the apple to expand as it softens, preventing the skin from splitting unevenly and making the finished dish look neat.
- Make the filling: In a bowl, combine the rolled oats, brown sugar, softened butter, sultanas, cinnamon, nutmeg, and golden syrup. Mix with a fork until the butter is evenly distributed and the mixture holds together loosely.
- Fill the apples: Spoon the filling into each apple cavity, pressing it down gently and mounding any extra mixture on top. Pack the filling firmly so it stays compact rather than spilling into the dish as it melts.
- Set up the baking dish: Place the apples upright in a snug-fitting ovenproof dish. Pour the apple juice or water around the base and scatter the tablespoon of brown sugar over the liquid. This creates a light syrup that bastes the apples as they bake and prevents the base from scorching.
- Bake the apples: Slide the dish into the preheated oven and bake for 35 to 40 minutes, until the apples are tender when pierced with a skewer and the filling is golden and bubbling. Check at 30 minutes, as smaller apples may be ready sooner.
- Rest before serving: Remove from the oven and leave the apples to rest in the dish for 5 minutes. This allows the juices to settle and makes them easier to transfer to plates without falling apart.
Tips for the Best Baked Apples
Why did my baked apples collapse during cooking?
Bramley apples break down quickly because of their high water content. If the apples completely collapse, they were likely too small or over-baked. Choose large, firm Bramleys and check for doneness at 30 minutes rather than leaving them the full 40.
Why is the filling dry and crumbly rather than sticky?
This happens when the butter is too cold and does not bind the mixture properly. Make sure the butter is fully softened at room temperature before mixing it with the oats and sugar. The golden syrup also plays a key role in keeping the filling moist, so do not leave it out.
How do I stop the apple skin from splitting badly?
Scoring the skin around the middle of each apple before baking is the most reliable fix. Without that cut, steam builds up inside the apple and the skin tears in unpredictable directions. A single, clean score line allows controlled expansion as the apple softens.
Why is there no syrup at the base of my dish?
If the liquid has evaporated completely, the dish was likely too wide or the oven too hot. Use a dish where the apples sit close together and the liquid cannot spread too thin. Adding an extra tablespoon of apple juice halfway through baking helps if the dish looks dry.
My filling slid off the top before the apples finished baking. What went wrong?
The filling needs to be packed firmly into the cavity rather than just spooned in loosely. Press it down with the back of a spoon so it is compact before adding any extra on top. If the mound is too high and top-heavy, it will tip over once the butter in the filling starts to melt.
Serving Suggestions
- Serve warm with a generous pour of double cream drizzled over the top so it runs down into the caramelised filling.
- Spoon over a dollop of thick clotted cream for a richer, more indulgent finish at a dinner table.
- Add a scoop of good-quality vanilla ice cream alongside for a warm and cold contrast that works well as a dinner party pudding.
- Pair with a cup of strong builder’s tea or a milky Assam for a simple, satisfying weekday pudding.
- Spoon the baking juices from the dish over each apple just before serving to give a glossy, syrupy finish.
Storage
Room Temperature
Store leftover baked apples in an airtight container at room temperature for up to 1 day.
Refrigerator
Place cooled apples in an airtight container and refrigerate for up to 3 days. Bring them to room temperature for 20 minutes before reheating, or warm them in a low oven at 160°C (140°C fan) for 10 to 15 minutes until heated through, as this restores the texture better than a microwave.
Freezing
Wrap each cooled baked apple individually in clingfilm, then place in a freezer-safe bag and freeze for up to 2 months. Defrost overnight in the refrigerator and reheat in the oven at 160°C (140°C fan) for 15 minutes before serving.
Nutrition
- Calories: 310 kcal
- Carbohydrates: 52g
- Protein: 3g
- Fat: 11g
- Saturated Fat: 6g
- Sodium: 45mg
Nutrition values are estimates and may vary depending on the specific ingredients used and serving size.
FAQs
Can I use eating apples instead of Bramley apples?
Eating apples such as Cox or Braeburn can be used, but they hold their shape more firmly and will not give the same soft, yielding texture that Bramleys produce. If using eating apples, extend the baking time by around 5 to 10 minutes and check regularly with a skewer.
Can I make baked apples ahead of time?
The filling can be made up to a day in advance and stored in the refrigerator. The apples can also be cored and scored ahead of time, then kept covered to prevent browning. Assemble and bake just before serving for the best texture.
Can I leave out the sultanas for a plain baked apple?
Yes, the sultanas can be left out without affecting the structure of the filling. Replace them with an extra tablespoon of oats or a small handful of chopped walnuts if preferred, which adds a pleasant crunch to the finished dish.
Can I double this recipe to serve more people?
This recipe scales up easily. Use a larger baking dish so all the apples sit upright without crowding, and increase the liquid in the base proportionally. The baking time remains the same, though a larger dish may need an extra 5 minutes depending on the oven.
Is this recipe suitable for a gluten-free diet?
Standard rolled oats are not always suitable for those with coeliac disease due to potential cross-contamination. Swap them for certified gluten-free oats, which are widely available in most UK supermarkets, and the rest of the recipe is naturally gluten-free.
Conclusion
This Mary Berry baked apples recipe delivers a warm, comforting pudding with very little effort. The combination of oats, brown sugar, butter, and spice creates a filling that turns golden and caramelised in the oven, while the Bramley apple beneath softens to a tender, silky texture. Each apple is a self-contained portion, making serving simple whether cooking for two or for a full table. This recipe makes 4 portions, one apple per person, which is a practical yield for most home kitchens.
Whether served as a midweek treat or presented at the end of a Sunday lunch, these baked apples hold their appeal across all occasions. If you have tried this recipe, leave a comment below to share how it turned out, or save it to share with someone who enjoys a classic British pudding. If you enjoyed this, you might also like the Mary Berry Lemon Shortbread Recipe for another reliable, flavour-forward bake.
Mary Berry Baked Apples Recipe
Course: DessertCuisine: BritishDifficulty: Easy4
servings10
minutes40
minutes310
kcal50
minutesTender Bramley apples filled with a warm spiced oat, brown sugar, and sultana mixture that caramelises as it bakes. A simple, reliable British pudding ready in under 50 minutes.
Ingredients
4 large Bramley apples
1 tsp lemon juice
50g rolled oats
60g soft light brown sugar
50g unsalted butter, softened
50g sultanas or raisins
1 tsp ground cinnamon
¼ tsp ground nutmeg
2 tbsp golden syrup
100ml apple juice or water
1 tbsp soft light brown sugar
Instructions
- Set the oven to 180°C (160°C fan) or Gas Mark 4 and place the rack in the centre.
- Wash and dry each apple, then core from the top down leaving a 1cm base. Rub lemon juice around each cavity.
- Score the skin around the middle of each apple with a sharp knife, cutting just through the skin.
- In a bowl, combine the rolled oats, brown sugar, softened butter, sultanas, cinnamon, nutmeg, and golden syrup. Mix with a fork until the butter is evenly distributed.
- Spoon the filling into each apple cavity, pressing it down firmly and mounding any extra on top.
- Place the apples upright in a snug ovenproof dish. Pour the apple juice or water around the base and scatter the tablespoon of brown sugar over the liquid.
- Bake for 35 to 40 minutes until the apples are tender when pierced with a skewer and the filling is golden and bubbling.
- Remove from the oven and rest in the dish for 5 minutes before serving.
Notes
- Use large, firm Bramley apples for the best texture and to prevent collapsing.
- Leave a 1cm base when coring so the filling stays in place during baking.
- Score the skin around the middle to allow controlled expansion and prevent uneven splitting.
- Make sure butter is fully softened before mixing to bind the filling properly.
- Pack the filling firmly into the cavity so it does not tip over as the butter melts.
- Check apples at 30 minutes as smaller ones may be ready before the full 40 minutes.
- Add an extra tablespoon of apple juice halfway through if the base of the dish looks dry.