Mary Berry Chocolate Biscuit Cake Recipe
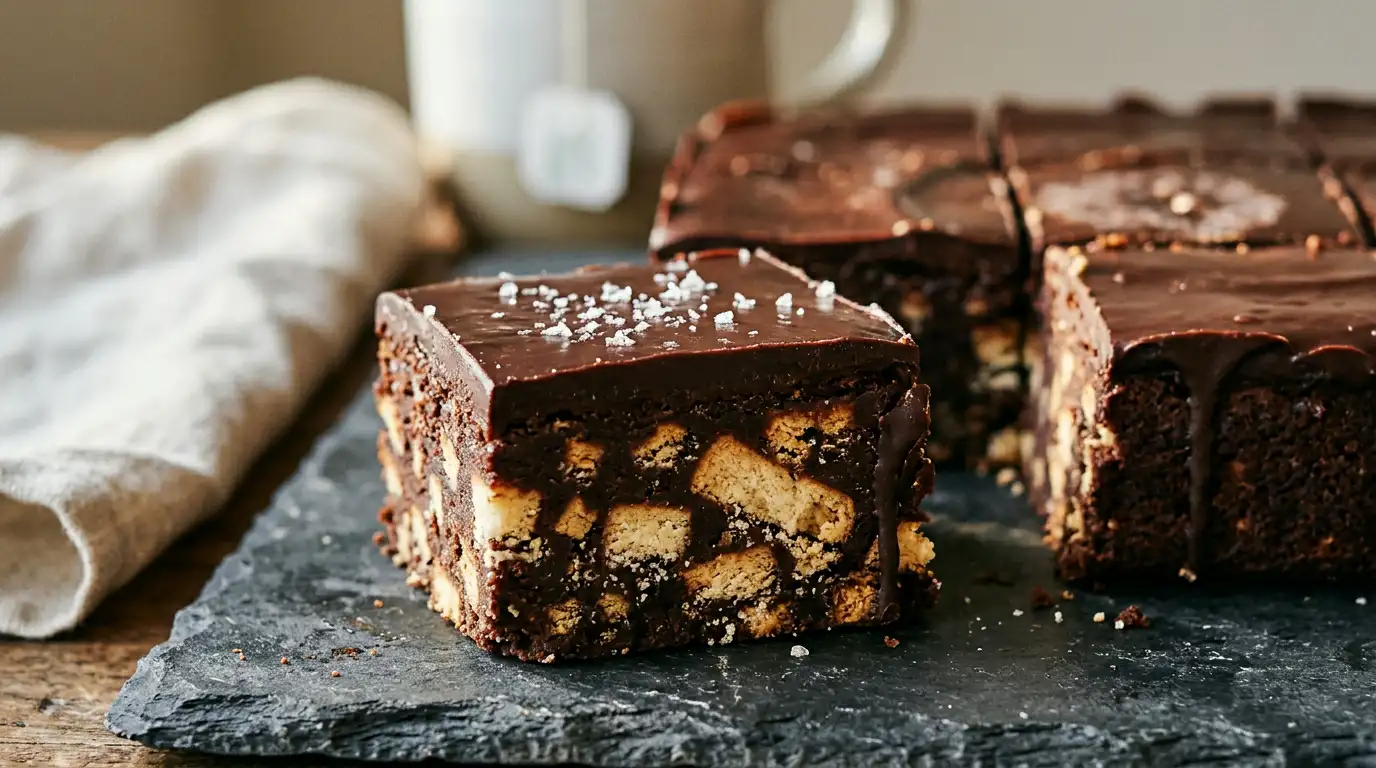
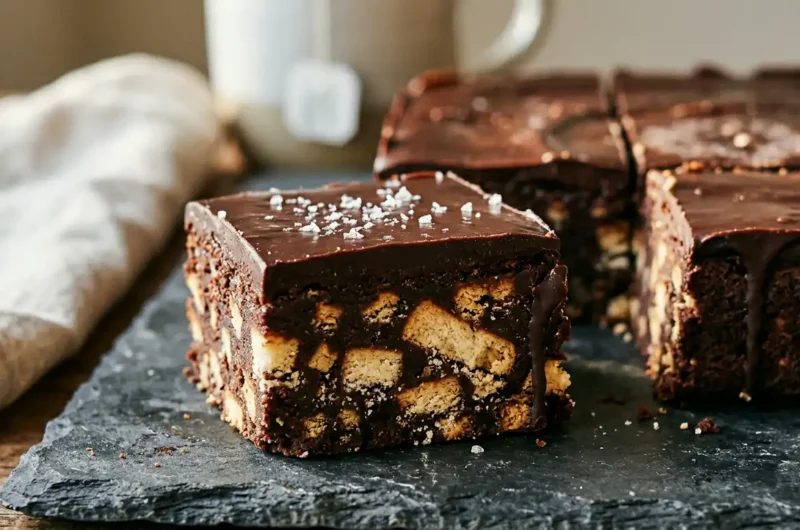
This chocolate biscuit cake is a dense, fudgy traybake with a glossy dark chocolate coating that sets to a clean snap. Rich cocoa butter binds chunky pieces of digestive biscuit into a firm, sliceable slab, giving each bite a satisfying contrast between the smooth chocolate and the crumbly biscuit within. It needs no oven, sets beautifully in the fridge, and is reliable enough to make a day ahead without any loss of quality. From start to finish, including chilling time, it is ready in around 2 hours.
What makes this version stand out is its balance of richness without being cloying. The ratio of biscuit to chocolate mixture keeps it sturdy rather than greasy, and a small amount of golden syrup gives the base a gentle toffee depth that lifts the whole thing. It suits afternoon tea, birthday celebrations, or a simple after-dinner treat cut into neat squares.
Ingredients
- For the biscuit base:
- 200g digestive biscuits
- 100g Rich Tea biscuits
- 150g unsalted butter, cut into cubes
- 2 tablespoons golden syrup
- 2 tablespoons cocoa powder, sifted
- 100g dark chocolate (70% cocoa solids), roughly broken
- 50g milk chocolate, roughly broken
- For the chocolate topping:
- 150g dark chocolate (70% cocoa solids), roughly broken
- 30g unsalted butter, cut into small cubes
- To finish:
- A small pinch of flaked sea salt (optional)
How to Make Mary Berry Chocolate Biscuit Cake Recipe
- Prepare the tin: Lightly grease a 20cm square loose-bottomed tin and line it with baking parchment, leaving some overhang on the sides to help lift the cake out once set.
- Crush the biscuits: Place both types of biscuit into a large zip-lock bag and bash with a rolling pin until you have a mixture of fine crumbs and rough, pea-sized pieces. This uneven texture is intentional, as it creates the characteristic chunky bite in the finished cake.
- Melt the chocolate base: Place the butter, golden syrup, cocoa powder, dark chocolate, and milk chocolate into a medium heatproof bowl set over a pan of barely simmering water. Stir gently and occasionally until everything has melted into a smooth, glossy liquid, then remove from the heat. Make sure the base of the bowl does not touch the water, as direct heat can cause the chocolate to seize and turn grainy.
- Combine with biscuits: Tip the crushed biscuits into the warm chocolate mixture and stir well until every piece is fully coated. The mixture should look thick and glossy rather than wet or oily.
- Press into the tin: Spoon the mixture into the prepared tin and use the back of a spoon or a small palette knife to press it down firmly into an even layer. Getting the surface as flat as possible ensures the topping sets uniformly.
- Make the topping: Melt the topping chocolate and butter together in a clean heatproof bowl over simmering water, stirring until completely smooth. Pour this over the biscuit base and gently tilt the tin to spread it into an even layer.
- Chill until set: Scatter the flaked sea salt over the top if using, then place the tin in the fridge for at least 1 hour 30 minutes, or until the chocolate topping is fully firm to the touch. Do not rush this step by placing it in the freezer, as the base can become too hard and crack when sliced.
- Slice and serve: Lift the set cake from the tin using the parchment overhang and place it on a chopping board. Use a sharp knife warmed briefly under hot water and dried to cut clean, neat squares or rectangles.
Tips for the Best Chocolate Biscuit Cake
Why has my chocolate topping turned dull and streaky instead of glossy?
This happens when the chocolate overheats or gets a small amount of water in it during melting. Keep the heat low and ensure the bowl and utensils are completely dry before you begin. A dull finish is purely cosmetic and does not affect the flavour.
Why is my biscuit base crumbling apart when I slice it?
The base needs enough fat to bind the crumbs together. If the pieces are too large and unevenly crushed, the mixture cannot compact properly. Aim for a mix of fine crumbs and small chunks no larger than a centimetre, and press the mixture firmly into the tin before chilling.
Why does my chocolate seize into a grainy, stiff mass when melting?
Seized chocolate is caused by even a small drop of water or by overheating. If it seizes slightly, remove from the heat and stir in a teaspoon of warm vegetable oil or additional butter to bring it back. For the topping, start fresh if it seizes, as the texture will not recover fully.
How do I stop the chocolate topping from cracking when I slice the cake?
Take the cake out of the fridge 10 to 15 minutes before slicing. Cutting through a layer that is too cold causes the topping to shatter rather than cut cleanly. A warm knife also helps produce neat edges.
Why does my base taste greasy rather than rich and fudgy?
Too much butter relative to chocolate is the usual cause. Stick to the quantities given, and make sure the chocolate you use has a genuine cocoa content of at least 50%, as confectionery-style chocolate coating contains more vegetable fat and gives a greasier result.
Serving Suggestions
- Serve at room temperature cut into small squares alongside a pot of strong builder’s tea.
- Arrange on a tiered cake stand with other traybakes for an afternoon tea spread.
- Cut into slim fingers and serve with a scoop of clotted cream ice cream as a simple dinner party dessert.
- Dust lightly with cocoa powder just before serving for a neater, more finished appearance.
- Pair with a small glass of cold whole milk for a children’s birthday party treat.
Storage
Room Temperature
Store in an airtight container in a cool room for up to 2 days, away from direct sunlight or heat sources.
Refrigerator
Keep wrapped tightly in baking parchment and then foil, or in an airtight container, in the fridge for up to 5 days. Remove the cake from the fridge 10 to 15 minutes before serving so the chocolate topping softens slightly and the flavour comes through more fully.
Freezing
Wrap individual portions in cling film and then place them in a freezer-safe container or bag, and freeze for up to 2 months. Defrost in the fridge overnight rather than at room temperature, which can cause condensation to form on the chocolate topping.
Nutrition
- Calories: 320 kcal
- Carbohydrates: 34g
- Protein: 3g
- Fat: 19g
- Saturated Fat: 11g
- Sodium: 130mg
Nutrition values are estimates based on standard ingredients and may vary depending on the specific brands used and the size of each serving.
FAQs
Can I use milk chocolate instead of dark chocolate for this recipe?
Yes, but the result will be noticeably sweeter and softer. Use good-quality milk chocolate with a cocoa content of at least 35% and reduce the golden syrup by half to keep the base from becoming too sweet. The topping will also take slightly longer to set firm.
Can I make this chocolate biscuit cake the day before I need it?
This cake actually improves overnight in the fridge, as the flavours meld and the texture becomes more fudgy and compact. Make it the evening before and keep it chilled until around 15 minutes before serving.
Can I add other ingredients to the biscuit mixture?
Dried sour cherries, roughly chopped hazelnuts, or mini marshmallows all work well stirred into the biscuit mixture before pressing into the tin. Keep any additions to no more than 75g so the base can still hold together properly.
What size tin works best for this recipe?
A 20cm square tin gives a neat depth of around 2cm, which slices cleanly. A 23cm square tin can also be used, but the base will be slightly shallower and may set a little more quickly. Avoid round tins as they make even portioning harder.
Is this recipe suitable for children to help make?
The biscuit-crushing and mixing stages are well suited to children helping in the kitchen. The melting stage involves a hot bowl and should be handled by an adult. Once the mixture has cooled slightly before pressing into the tin, children can take over again safely.
Conclusion
This mary berry chocolate biscuit cake recipe delivers a rich, firm traybake with a deep chocolate flavour and a pleasingly crunchy texture throughout. It requires no baking, minimal equipment, and straightforward ingredients, making it a genuinely useful recipe to have on hand for everything from casual afternoon teas to birthday parties. This recipe makes approximately 16 squares from a 20cm tin.
Whether it is being made for a celebration or simply to have something chocolatey in the fridge for the week, this traybake holds its shape, slices neatly, and keeps well for several days. If you give it a go, leave a comment below with how it turned out, and feel free to share it with anyone who loves a no-bake chocolate treat. If you enjoyed this, you might also like the Mary Berry blackberry and apple crumble recipe for a classic fruity bake with equally satisfying results.
Mary Berry Chocolate Biscuit Cake Recipe
Course: DessertCuisine: BritishDifficulty: Easy16
servings20
minutes10
minutes320
kcal2
hoursA dense, fudgy no-bake traybake with chunky digestive biscuit pieces bound in a rich dark chocolate mixture and finished with a smooth glossy chocolate topping. Firm, sliceable, and ready with no oven required.
Ingredients
200g digestive biscuits
100g Rich Tea biscuits
150g unsalted butter, cut into cubes
2 tablespoons golden syrup
2 tablespoons cocoa powder, sifted
100g dark chocolate (70% cocoa solids), roughly broken
50g milk chocolate, roughly broken
150g dark chocolate (70% cocoa solids), roughly broken, for topping
30g unsalted butter, cut into small cubes, for topping
a small pinch of flaked sea salt (optional)
Instructions
- Lightly grease a 20cm square loose-bottomed tin and line it with baking parchment, leaving some overhang on the sides to help lift the cake out once set.
- Place both types of biscuit into a large zip-lock bag and bash with a rolling pin until you have a mixture of fine crumbs and rough, pea-sized pieces.
- Place the butter, golden syrup, cocoa powder, dark chocolate, and milk chocolate into a medium heatproof bowl set over a pan of barely simmering water and stir gently until melted into a smooth, glossy liquid, then remove from the heat.
- Tip the crushed biscuits into the warm chocolate mixture and stir well until every piece is fully coated.
- Spoon the mixture into the prepared tin and press down firmly with the back of a spoon into an even layer.
- Melt the topping chocolate and butter together in a clean heatproof bowl over simmering water, stirring until completely smooth, then pour over the biscuit base and tilt the tin to spread evenly.
- Scatter flaked sea salt over the top if using, then place the tin in the fridge for at least 1 hour 30 minutes until the topping is fully firm.
- Lift the set cake from the tin using the parchment overhang and cut into neat squares or rectangles using a sharp knife warmed under hot water and dried.
Notes
- Keep the heat low when melting chocolate and ensure all bowls and utensils are completely dry to prevent seizing.
- Crush biscuits to an uneven mix of fine crumbs and small chunks for the best texture in the finished cake.
- Do not rush the chilling step in the freezer as the base can become too hard and crack when sliced.
- Remove the cake from the fridge 10 to 15 minutes before slicing for clean, neat edges.
- Use dark chocolate with at least 50% cocoa solids for a rich rather than greasy result.
- This cake improves overnight in the fridge as the flavours meld and the texture becomes more fudgy.