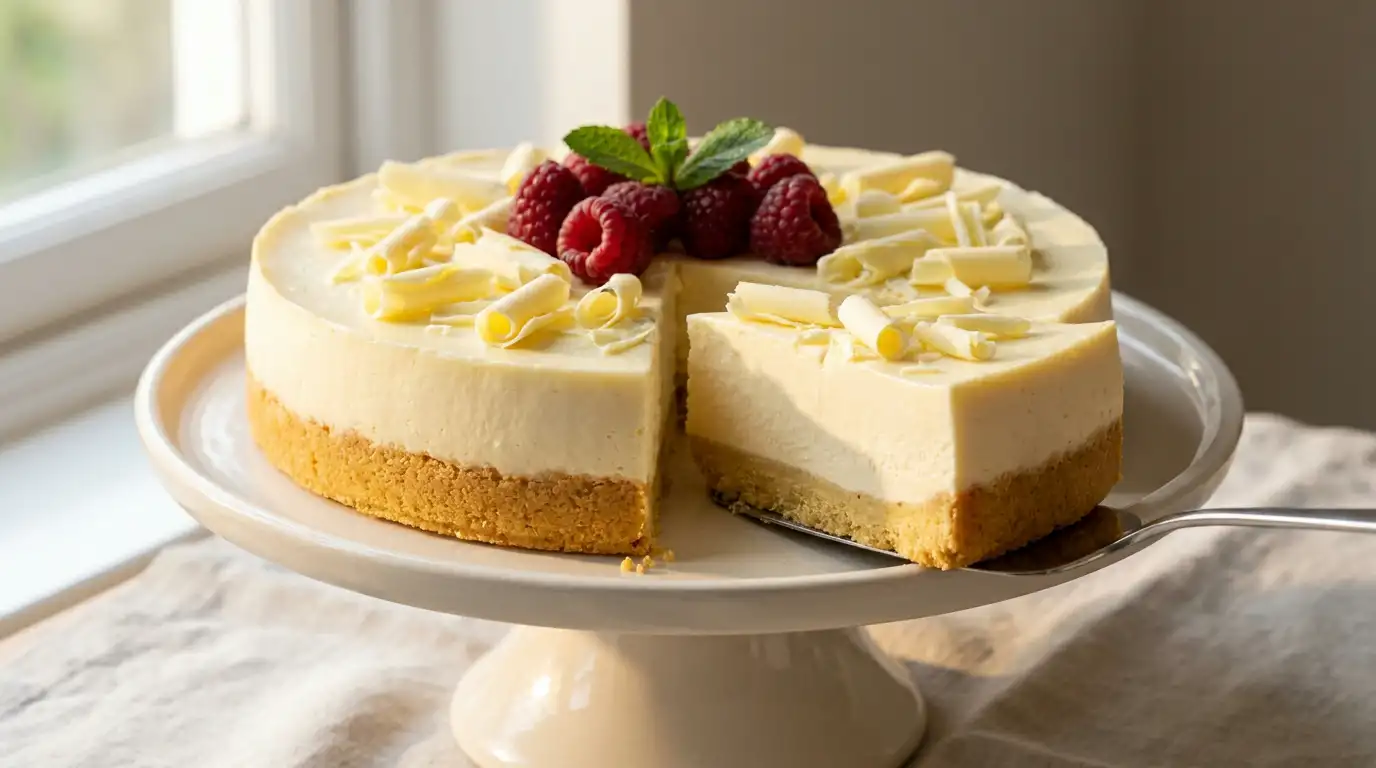
Mary Berry White Chocolate Cheesecake Recipe
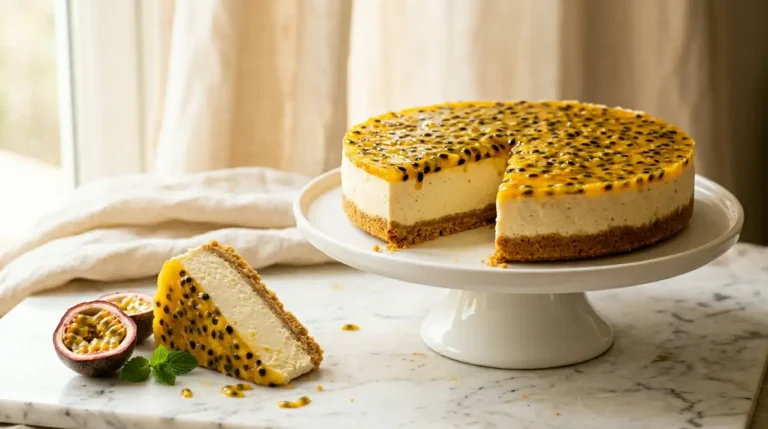
This Mary Berry white chocolate cheesecake has a smooth, mousse-like filling that holds its shape cleanly when sliced, sitting on a buttery biscuit base with a faint crunch in every forkful. The white chocolate brings a gentle sweetness and a subtle vanilla warmth rather than an overpowering richness, making the whole thing feel lighter than it looks.
What makes this version so reliable is that it is a no-bake cheesecake, which means there is no risk of cracks, sunken middles, or overcooked edges. It sets firmly in the fridge overnight and is just as suited to a weekday treat as it is to a celebration centrepiece. From start to finish, it is ready in around 30 minutes of active work, with a minimum of 4 hours chilling time.
Ingredients
For the biscuit base
- 200g digestive biscuits
- 85g unsalted butter, melted
- 1 tbsp caster sugar
For the cheesecake filling
- 200g good-quality white chocolate, broken into pieces
- 400g full-fat cream cheese, at room temperature
- 150ml double cream, cold
- 3 tbsp icing sugar, sifted
- 1 tsp vanilla extract
To finish
- 50g white chocolate, for grating or shaving
- A small handful of fresh raspberries or strawberries (optional)
How to Make Mary Berry White Chocolate Cheesecake
- Crush the biscuits: Place the digestive biscuits in a zip-lock bag and crush with a rolling pin until you have fine, even crumbs with no large chunks remaining. Alternatively, blitz briefly in a food processor.
- Make the base: Tip the crumbs into a bowl, stir in the caster sugar, then pour over the melted butter and mix until every crumb is coated and the mixture resembles damp sand. This even coating ensures the base holds together once chilled.
- Press and chill the base: Tip the mixture into a 20cm loose-bottomed round cake tin and press it down firmly using the back of a spoon or the flat bottom of a glass. Refrigerate for at least 20 minutes while you prepare the filling.
- Melt the white chocolate: Place the 200g of white chocolate pieces in a heatproof bowl set over a pan of barely simmering water, making sure the bowl does not touch the water. Stir gently until smooth and fully melted, then remove from the heat and leave to cool for 10 to 15 minutes. White chocolate scorches easily, so keep the heat low throughout.
- Beat the cream cheese: In a large bowl, beat the full-fat cream cheese with the icing sugar and vanilla extract using a hand whisk or electric beaters until the mixture is soft and completely smooth with no lumps.
- Whip the cream: In a separate clean bowl, whip the cold double cream until it reaches soft peaks. It should hold its shape but still look billowy rather than stiff. Over-whipped cream can make the finished filling grainy, so stop as soon as the peaks just hold.
- Combine the filling: Pour the cooled melted chocolate into the cream cheese mixture and stir until fully incorporated and smooth. Gently fold in the whipped cream in two additions, using a large metal spoon with a cutting and folding motion to keep the mixture light and airy.
- Fill and smooth: Spoon the filling onto the chilled biscuit base and use a palette knife or the back of a spoon to spread it into an even, level layer right to the edges. Tap the tin gently on the worktop once or twice to remove any air pockets.
- Chill until set: Cover the tin loosely with cling film and refrigerate for a minimum of 4 hours, though overnight is better. The filling needs this time to firm up fully before it can be sliced cleanly.
- Decorate and serve: Run a warm palette knife around the inside edge of the tin before releasing the base. Grate or shave the remaining 50g of white chocolate over the top and add fresh berries if using. Serve straight from the fridge for the cleanest slices.
Tips for the Best Mary Berry White Chocolate Cheesecake
Why is my cheesecake filling not setting firm enough?
The most common cause is cream cheese that was too warm when used, which prevents the filling from holding its structure. Always start with full-fat cream cheese and make sure the melted chocolate has cooled properly before combining. If in doubt, chill the cheesecake overnight rather than for the minimum 4 hours.
Why does my biscuit base crumble and fall apart when I slice it?
The base needs enough butter to bind the crumbs properly. If it crumbles, there was likely not enough fat, or the crumbs were not pressed down firmly enough. Use the flat base of a glass to compress the mixture tightly and evenly across the base and slightly up the edges of the tin.
Why has my white chocolate seized and gone grainy when I melted it?
White chocolate seizes when it comes into contact with even a small amount of water, or when the heat is too high. Make sure the bowl is completely dry before adding the chocolate, keep the water below the bowl at a gentle simmer, and stir slowly. If it seizes, remove from the heat immediately and stir in a teaspoon of vegetable oil to help bring it back.
Why does my cheesecake filling look lumpy rather than smooth?
Lumps almost always come from cream cheese that was too cold when beaten. Take the cream cheese out of the fridge at least 30 minutes before you start, and beat it well on its own before adding any other ingredients. Beating warm cream cheese alone first breaks down any lumps before the chocolate is added.
How do I get clean, neat slices without the filling dragging?
Always slice with a sharp knife that has been warmed under hot water and wiped dry between each cut. The cheesecake must be fully chilled and firm before slicing. A blunt or wet blade will drag the filling and leave untidy edges.
Serving Suggestions
- Serve chilled with a small pile of fresh raspberries alongside, as their slight sharpness cuts through the sweetness of the white chocolate.
- Add a drizzle of raspberry coulis over the top just before serving for a contrast of colour and flavour.
- Pair with a pot of Earl Grey tea for an elegant afternoon table.
- Finish with a few mint leaves and thin slices of strawberry for a summery dinner party presentation.
- Serve with a small jug of chilled single cream on the side for those who prefer a less rich portion.
Storage
Room temperature
This cheesecake should not be left at room temperature for more than 2 hours, as the cream cheese filling can soften quickly and the texture will suffer.
Refrigerator
Store the cheesecake in the tin or in an airtight container in the fridge for up to 3 days. Keep it covered so it does not absorb any fridge odours, and serve it straight from the fridge rather than letting it sit out before slicing.
Freezing
Wrap individual slices or the whole cheesecake tightly in cling film, then in a layer of foil, and freeze for up to 1 month. Defrost overnight in the fridge rather than at room temperature to preserve the texture of the filling.
Nutrition
- Calories: 420 kcal
- Carbohydrates: 32g
- Protein: 5g
- Fat: 30g
- Saturated Fat: 18g
- Sodium: 210mg
Nutrition values are estimates based on the ingredients listed and may vary depending on the specific brands used and the size of each serving.
FAQs
Can I use milk chocolate instead of white chocolate in this cheesecake?
Yes, milk chocolate works well as a substitute and gives a slightly richer, more familiar flavour. Use the same quantity and make sure it cools fully before mixing into the cream cheese, as the same technique applies. The colour of the finished filling will be a warm caramel tone rather than pale ivory.
Can I make this white chocolate cheesecake the day before?
Yes, and it is actually better made the day before. An overnight chill gives the filling more time to set firmly, which means cleaner slices and a more stable texture. Add any fresh fruit or decoration just before serving so it stays looking its best.
Can I use light cream cheese to reduce the fat content?
Light cream cheese contains more water than full-fat, which means the filling may not set as firmly. The texture can become slightly soft and loose rather than sliceable. Full-fat cream cheese is strongly recommended for a stable, well-set cheesecake.
What size tin works best for this recipe?
A 20cm loose-bottomed round tin is ideal for this quantity of filling and gives a generous depth to the cheesecake. A springform tin of the same size works equally well. Avoid using a tin larger than 23cm, as the filling will spread too thin and may not set evenly.
Can I add flavourings to the filling alongside the white chocolate?
Yes, a teaspoon of finely grated lemon zest or a small amount of freeze-dried raspberry powder stirred into the cream cheese mixture both complement white chocolate well. Add any flavourings at the same stage as the vanilla extract, before the chocolate and cream are folded in.
Conclusion
This Mary Berry white chocolate cheesecake is the kind of recipe that rewards a little patience with results that look far more involved than they are. The filling is smooth and creamy with a clean white chocolate flavour, the base has a satisfying buttery crunch, and the whole thing comes together with straightforward techniques that any home baker can follow with confidence. This recipe makes 8 generous slices, which is plenty for a family pudding or a small gathering.
If you give this cheesecake a try, leave a comment below to share how it turned out. Photographs are always welcome too. If you enjoyed this, you might also like the Mary Berry coconut cake recipe, another straightforward bake that delivers impressive results every time.
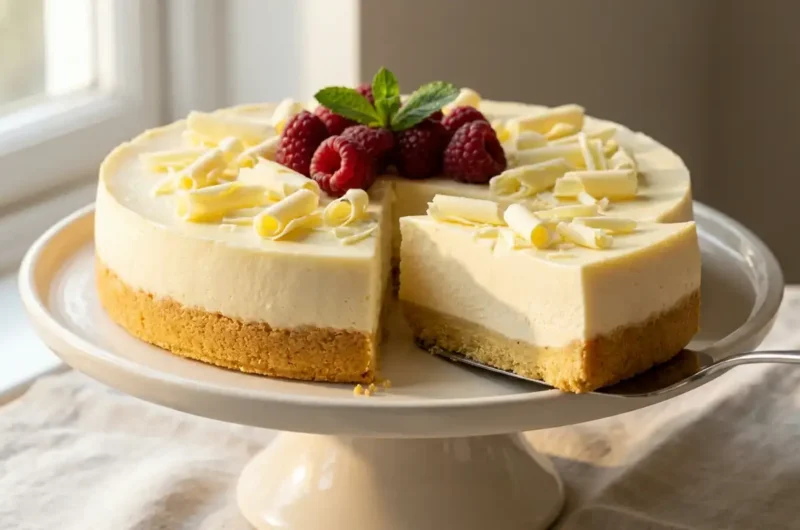
Mary Berry White Chocolate Cheesecake Recipe
Course: DessertCuisine: BritishDifficulty: Easy8
servings30
minutes420
kcal4
hours30
minutesA smooth, mousse-like no-bake cheesecake with a gentle white chocolate filling and a buttery digestive biscuit base. Beginner-friendly, fridge-set, and perfect for both everyday treats and celebration tables.
Ingredients
200g digestive biscuits
85g unsalted butter, melted
1 tbsp caster sugar
200g good-quality white chocolate, broken into pieces
400g full-fat cream cheese, at room temperature
150ml double cream, cold
3 tbsp icing sugar, sifted
1 tsp vanilla extract
50g white chocolate, for grating or shaving
a small handful of fresh raspberries or strawberries (optional)
Instructions
- Place the digestive biscuits in a zip-lock bag and crush with a rolling pin until you have fine, even crumbs with no large chunks remaining.
- Tip the crumbs into a bowl, stir in the caster sugar, then pour over the melted butter and mix until every crumb is coated and the mixture resembles damp sand.
- Tip the mixture into a 20cm loose-bottomed round cake tin, press down firmly using the back of a spoon or flat base of a glass, and refrigerate for at least 20 minutes.
- Melt the 200g white chocolate in a heatproof bowl set over a pan of barely simmering water, stirring gently until smooth, then remove from heat and cool for 10 to 15 minutes.
- In a large bowl, beat the full-fat cream cheese with the icing sugar and vanilla extract until soft and completely smooth with no lumps.
- In a separate clean bowl, whip the cold double cream until it reaches soft peaks.
- Pour the cooled melted chocolate into the cream cheese mixture and stir until fully incorporated, then gently fold in the whipped cream in two additions using a large metal spoon.
- Spoon the filling onto the chilled biscuit base and spread into an even, level layer right to the edges using a palette knife.
- Cover loosely with cling film and refrigerate for a minimum of 4 hours, or overnight for best results.
- Run a warm palette knife around the inside edge of the tin before releasing, then grate or shave the remaining 50g of white chocolate over the top and add fresh berries if using before serving.
Notes
- Use full-fat cream cheese only as light versions contain more water and the filling may not set firmly.
- Allow the melted white chocolate to cool for at least 10 to 15 minutes before mixing into the cream cheese to avoid a runny filling.
- Take the cream cheese out of the fridge 30 minutes before starting to ensure a lump-free mixture.
- Whip the double cream to soft peaks only, as over-whipped cream can make the filling grainy.
- Chill overnight rather than the minimum 4 hours for cleaner slices and a more stable texture.
- Use a warm, dry knife wiped clean between each cut for neat slices.