Mary Berry Chocolate Brownies Tray Bake Recipe
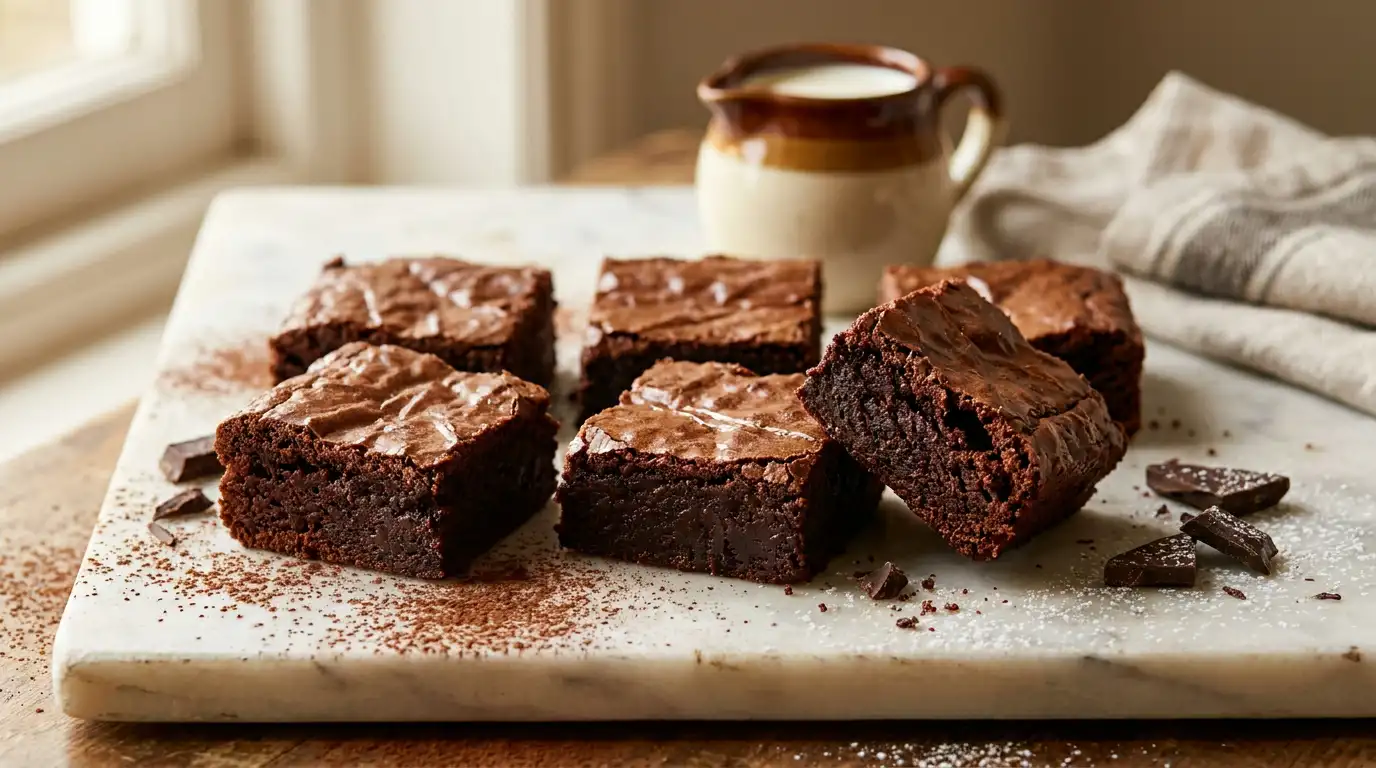
Mary Berry chocolate brownies tray bake delivers a dense, fudgy centre beneath a paper-thin crackled top, with a deep cocoa richness that lingers on the palate. The mixture bakes into neat, clean-edged squares that hold their shape when sliced but stay moist and yielding at the core. This version is straightforward enough for a first-time baker yet reliable enough for a bake sale or afternoon spread. From start to finish, it is ready in around 50 minutes.
Ingredients
For the brownie batter
- 175g unsalted butter, cut into cubes
- 175g dark chocolate (70% cocoa solids), broken into pieces
- 250g caster sugar
- 3 large eggs, at room temperature
- 1 tsp vanilla extract
- 100g plain flour, sifted
- 30g cocoa powder, sifted
- 1/4 tsp fine salt
For the tin
- A little softened butter, for greasing
- Baking parchment, for lining
How to Make Mary Berry Chocolate Brownies Tray Bake
- Prepare the tin and oven: Heat the oven to 180C/160C fan/Gas 4. Lightly grease a 20x30cm rectangular baking tin and line it with baking parchment, leaving a small overhang on the long sides so the baked slab lifts out cleanly.
- Melt the butter and chocolate: Place the cubed butter and broken chocolate into a heatproof bowl set over a pan of gently simmering water, making sure the base of the bowl does not touch the water. Stir occasionally until the mixture is completely smooth and glossy, then remove from the heat and leave to cool for 5 minutes. This brief resting time prevents the eggs from scrambling when added.
- Beat in the sugar: Stir the caster sugar into the cooled chocolate mixture using a wooden spoon or silicone spatula until fully combined. The mixture will look thick and slightly grainy at this point, which is normal.
- Add the eggs and vanilla: Beat in the eggs one at a time, stirring well after each addition, then mix in the vanilla extract. After all three eggs are incorporated, the batter should look smooth, dark, and slightly ribboned.
- Fold in the dry ingredients: Tip the sifted flour, cocoa powder, and salt into the bowl. Fold gently with a spatula using wide, sweeping strokes until no streaks of flour remain. Avoid over-mixing, as working the batter too hard develops gluten and toughens the finished brownie.
- Pour and level the batter: Pour the mixture into the prepared tin and use the back of a spoon or a small offset spatula to spread it into an even layer. Tap the tin gently on the work surface to settle any air pockets.
- Bake the brownies: Place the tin on the middle shelf of the oven and bake for 22 to 25 minutes. The surface should appear set and slightly dull, and a skewer inserted 2cm from the edge should come out with just a few moist crumbs attached. The very centre may still look slightly underdone, but it will firm up as it cools.
- Cool before cutting: Leave the brownie in the tin for at least 20 minutes before lifting it out using the parchment overhang. Transfer to a wire rack and allow to cool completely before slicing into squares with a sharp knife wiped clean between cuts.
Tips for the Best Mary Berry Chocolate Brownies Tray Bake
Why are my brownies cakey and dry rather than fudgy?
The most common cause is over-baking. Remove the tin from the oven while the centre still looks very slightly underset. Carry-over heat continues cooking the brownies as they cool, and those extra few minutes in the oven push the texture from fudgy to dry and crumbly.
Why did my brownies sink in the middle after baking?
A sunken centre usually means the oven temperature was too high or the tin was removed too early and then returned. Bake at the correct fan setting and resist opening the oven door during the first 20 minutes, as the rush of cold air can cause the batter to collapse before it sets.
How do I get clean, sharp edges when I cut the brownies?
Allow the brownie slab to cool completely before cutting, ideally for at least one hour. Use a long, sharp knife and wipe the blade with a clean damp cloth between each cut. Cutting into a warm brownie compresses the soft interior and gives ragged, uneven edges.
Why is the crackled top missing from my brownies?
The papery, crinkled top forms when the sugar in the batter dissolves fully and rises to the surface during baking. Make sure the sugar is thoroughly stirred into the warm chocolate mixture before the eggs go in, and avoid folding the batter too much once the flour is added, as over-working can deflate that delicate top layer.
Why does my chocolate mixture look greasy or split when melting?
This happens when the chocolate overheats or water gets into the bowl. Keep the simmer gentle and ensure the bowl is completely dry before you begin. If the mixture does look grainy, remove from the heat and stir in a teaspoon of warm water at a time until it comes back together.
Serving Suggestions
- Serve at room temperature, cut into even squares, dusted lightly with cocoa powder or icing sugar for a clean finish.
- Plate alongside a generous scoop of good vanilla ice cream and a drizzle of warm salted caramel sauce for a dinner party dessert.
- Pair with a strong Assam or Darjeeling tea for an afternoon treat, as the tannic notes cut through the richness of the chocolate.
- Warm a single square for 15 seconds in the microwave and serve with a small jug of cold double cream poured at the table.
- Stack two squares with a thin layer of chocolate ganache between them and serve on a small cake plate for a more layered presentation.
Storage
Room temperature
Store in an airtight container at room temperature for up to 4 days, placing a sheet of baking parchment between layers to prevent sticking.
Refrigerator
Transfer to an airtight container and refrigerate for up to 7 days. Bring the brownies back to room temperature for 30 minutes before serving, as cold temperatures firm the chocolate fat and dull the fudgy texture.
Freezing
Wrap individual squares tightly in cling film, then place them in a freezer-safe bag or container and freeze for up to 3 months. Defrost at room temperature for 1 to 2 hours, still wrapped, to prevent any condensation from forming on the surface.
Nutrition
- Calories: 290 kcal
- Carbohydrates: 34g
- Protein: 4g
- Fat: 15g
- Saturated Fat: 9g
- Sodium: 75mg
Nutrition values are estimates and may vary depending on the exact ingredients and brands used, as well as the size of each portion cut.
FAQs
Can I use milk chocolate instead of dark chocolate in this brownie recipe?
Milk chocolate can be used, but it contains more sugar and less cocoa solids, so the finished brownie will be noticeably sweeter and lighter in flavour. If swapping, reduce the caster sugar by 30g to compensate for the extra sweetness in the milk chocolate.
Can I add walnuts or other mix-ins to this tray bake?
Roughly chopped walnuts, pecans, or chocolate chips all work well folded into the batter just before it goes into the tin. Use around 75g to 100g so the add-ins are evenly distributed without overloading the mixture. White chocolate chips stirred through the dark batter create a good contrast in both flavour and appearance.
What size tin works best for this brownie recipe?
A 20x30cm rectangular tin gives the ideal depth and baking time for this quantity of batter. A smaller tin, such as a 20cm square, will produce thicker brownies and will need an extra 5 to 8 minutes in the oven. A larger tin will give a thinner bake and should be checked from 18 minutes.
Can I make these chocolate brownies ahead of time for a party or bake sale?
These brownies are well suited to making a day ahead. The texture actually improves after a night in an airtight container, as the moisture settles evenly through the slab and the flavour deepens. Slice on the day of serving for the neatest presentation.
Can I make this recipe gluten-free?
Replace the plain flour with a good-quality gluten-free plain flour blend in the same quantity, and add 1/4 tsp of xanthan gum if the blend does not already contain it. The texture will be very similar, though the bake time may be slightly shorter, so start checking at 20 minutes.
Conclusion
This Mary Berry chocolate brownies tray bake recipe produces a batch of rich, dense squares with a glossy crackled top and a soft, moist crumb that sets properly once cooled. The method is methodical and straightforward, relying on good dark chocolate, the correct baking temperature, and restraint when it comes to the oven timer. Whether baked for a school fundraiser, a weekend tea table, or a casual dinner dessert, this tray bake delivers consistent results every time. The recipe yields approximately 15 to 18 squares depending on how the slab is cut.
If you try this recipe, leave a comment below to share how your brownies turned out, and feel free to pass it on to anyone who loves a proper homemade chocolate bake. For another classic worth mastering, take a look at the Mary Berry fatless sponge cake recipe for a lighter bake that is just as satisfying to slice.
Mary Berry Chocolate Brownies Tray Bake Recipe
Course: DessertCuisine: BritishDifficulty: Easy15
servings15
minutes25
minutes290
kcal50
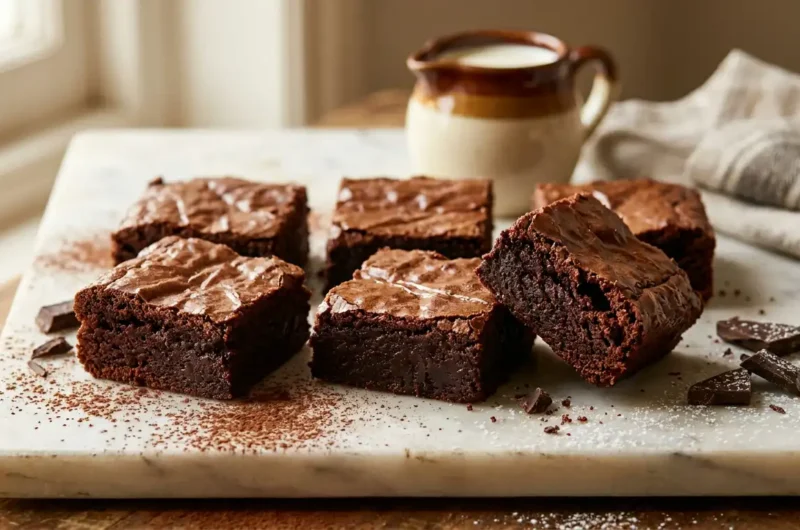
minutesA dense, fudgy chocolate brownie tray bake with a paper-thin crackled top and rich cocoa flavour throughout. Baked in a rectangular tin and sliced into neat squares, this beginner-friendly recipe is reliable enough for bake sales and afternoon spreads alike.
Ingredients
175g unsalted butter, cut into cubes
175g dark chocolate (70% cocoa solids), broken into pieces
250g caster sugar
3 large eggs, at room temperature
1 tsp vanilla extract
100g plain flour, sifted
30g cocoa powder, sifted
1/4 tsp fine salt
a little softened butter for greasing
baking parchment for lining
Instructions
- Heat the oven to 180C/160C fan/Gas 4. Lightly grease a 20x30cm rectangular baking tin and line it with baking parchment, leaving a small overhang on the long sides so the baked slab lifts out cleanly.
- Place the cubed butter and broken chocolate into a heatproof bowl set over a pan of gently simmering water, making sure the base of the bowl does not touch the water. Stir occasionally until completely smooth and glossy, then remove from the heat and leave to cool for 5 minutes.
- Stir the caster sugar into the cooled chocolate mixture using a wooden spoon or silicone spatula until fully combined. The mixture will look thick and slightly grainy at this point, which is normal.
- Beat in the eggs one at a time, stirring well after each addition, then mix in the vanilla extract until the batter looks smooth, dark, and slightly ribboned.
- Tip the sifted flour, cocoa powder, and salt into the bowl. Fold gently with a spatula using wide, sweeping strokes until no streaks of flour remain, taking care not to over-mix.
- Pour the mixture into the prepared tin and use the back of a spoon or a small offset spatula to spread it into an even layer. Tap the tin gently on the work surface to settle any air pockets.
- Place the tin on the middle shelf of the oven and bake for 22 to 25 minutes, until the surface appears set and slightly dull and a skewer inserted 2cm from the edge comes out with just a few moist crumbs attached.
- Leave the brownie in the tin for at least 20 minutes before lifting it out using the parchment overhang. Transfer to a wire rack and allow to cool completely before slicing into squares with a sharp knife wiped clean between cuts.
Notes
- Use dark chocolate with at least 70% cocoa solids for the deepest flavour and fudgiest texture.
- Do not over-bake. The centre should look very slightly underset when removed from the oven as it firms up during cooling.
- Cool completely before slicing for clean, sharp-edged squares.
- Wipe the knife blade with a damp cloth between each cut to keep edges neat.
- The texture improves after a night in an airtight container as the moisture settles evenly through the slab.
- For gluten-free brownies, substitute the plain flour with a gluten-free plain flour blend and add 1/4 tsp xanthan gum if not already included.