Mary Berry Wholemeal Scones Recipe
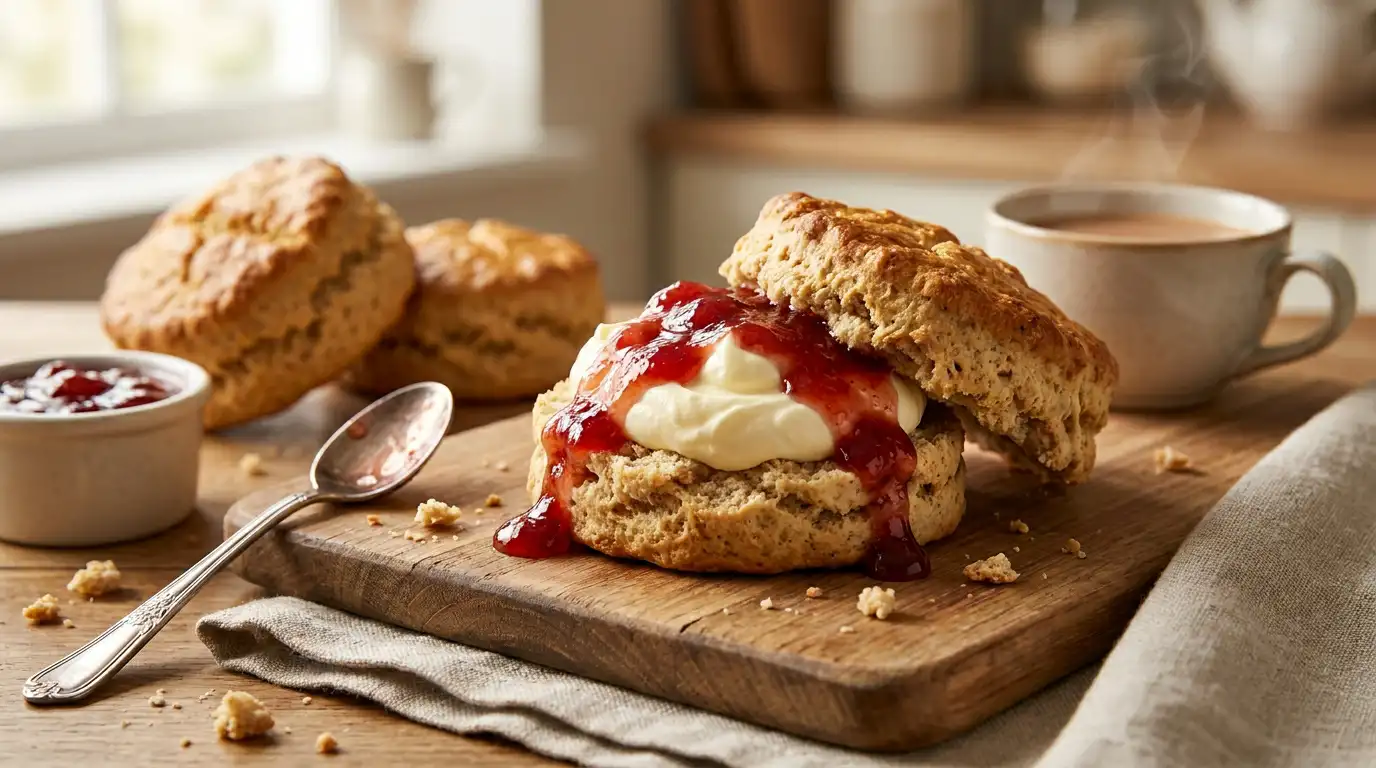
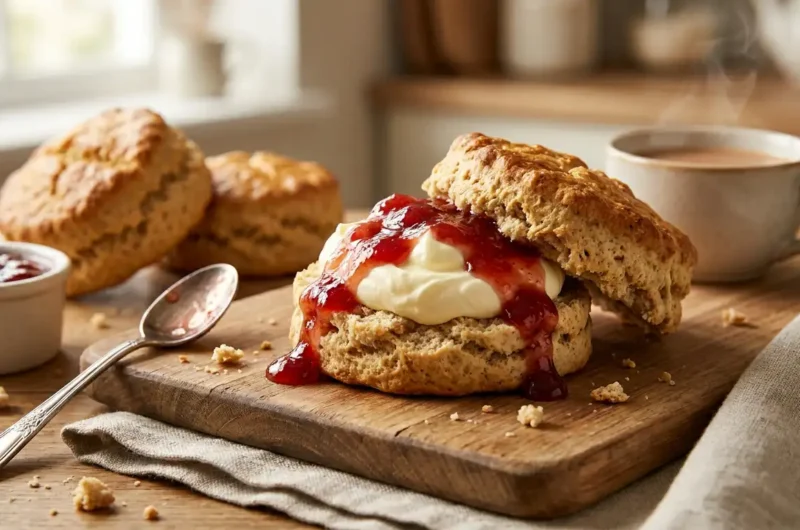
These wholemeal scones have a nutty, slightly earthy flavour and a soft, tender crumb beneath a lightly craggy, golden top. The wholemeal flour gives a deeper colour and a more rustic bite than a classic white scone, yet the texture stays light thanks to a gentle hand and a hot oven.
This version of the Mary Berry wholemeal scones recipe is reliable for beginners, needs no special equipment, and suits both a weekday treat and a proper afternoon tea spread. From start to finish, it is ready in around 30 minutes.
Ingredients
For the scones
- 225g wholemeal self-raising flour
- 1 tsp baking powder
- 40g cold unsalted butter, cubed
- 25g caster sugar
- 1 large egg
- 120ml semi-skimmed milk, plus extra for glazing
- Pinch of salt
To finish
- 1 tbsp milk, for brushing
- 2 tbsp jam, to serve
- 2 tbsp clotted cream, to serve
How to Make Mary Berry Wholemeal Scones
- Heat the oven: Set the oven to 220C (200C fan) and line a baking tray with baking paper.
- Combine the dry ingredients: Tip the wholemeal flour, baking powder, and salt into a large bowl and stir well to distribute the raising agent evenly.
- Rub in the butter: Add the cold butter and rub it into the flour with your fingertips until the mixture looks like coarse breadcrumbs; keeping the butter cold helps the scones rise with a light, flaky texture.
- Add the sugar: Stir in the caster sugar so it is evenly spread through the crumbly mixture.
- Mix the wet ingredients: In a small jug, whisk the egg with the milk until just combined.
- Bring the dough together: Pour most of the egg mixture into the dry ingredients, keeping a little back for glazing, and mix quickly with a table knife until a soft, slightly sticky dough forms; overworking at this stage makes the scones tough.
- Shape the dough: Turn the dough onto a lightly floured surface and pat it gently to about 3cm thick, without rolling too firmly.
- Cut the scones: Use a 5cm round cutter dipped in flour to stamp out rounds, pressing straight down without twisting so the scones rise evenly.
- Glaze and bake: Place the rounds on the tray, brush the tops with the reserved egg mixture or milk, and bake for 12 to 14 minutes until well risen and golden brown.
- Cool slightly: Transfer to a wire rack and leave for a few minutes before serving warm.
Tips for the Best Mary Berry Wholemeal Scones
Why did my scones turn out dense and heavy?
This usually happens when the dough has been kneaded or rolled too much, which knocks out the air and toughens the gluten. Handle the dough as little as possible once it comes together.
Why didn’t my scones rise very much?
Check that the baking powder is fresh, as wholemeal flour is heavier than white flour and needs a good lift to rise well. An oven that isn’t fully preheated can also stop the scones getting an early burst of heat.
Why are my scones dry and crumbly?
Wholemeal flour absorbs more liquid than white flour, so a dough that looks slightly wetter than usual is correct. If the dough feels tight, add a splash more milk before shaping.
How do I get a neat, straight rise instead of a lopsided one?
Always press the cutter straight down and lift it away without twisting, as twisting seals the edges and stops the scone rising evenly.
Why did the tops brown too quickly before the middle cooked through?
The oven may be running hot, so check with an oven thermometer and move the tray to the middle shelf if the tops are catching.
Serving Suggestions
- Serve warm split in half with jam and clotted cream
- Pair with a pot of strong breakfast tea for a simple afternoon treat
- Add a thin layer of salted butter for a savoury twist alongside soup
- Offer as part of a full afternoon tea spread with finger sandwiches
- Pack cooled scones for a picnic with a small pot of jam on the side
Storage
Room temperature
Keep the scones in an airtight container for up to 2 days.
Refrigerator
Refrigeration isn’t recommended, as it tends to dry the scones out faster than storing them at room temperature; if you do chill them, bring them back to room temperature before serving for the best texture.
Freezing
Wrap the cooled scones individually in cling film, then place in a freezer bag for up to 2 months. Defrost at room temperature for a couple of hours, then warm briefly in the oven to freshen them up before serving.
Nutrition
- Calories: 190 kcal
- Carbohydrates: 27g
- Protein: 5g
- Fat: 7g
- Saturated Fat: 4g
- Sodium: 220mg
Nutrition values are estimated and will vary depending on the exact ingredients and portion sizes used.
FAQs
Can I use plain wholemeal flour instead of self-raising?
Yes, use 225g plain wholemeal flour with 3 tsp baking powder in place of the self-raising flour and baking powder listed above.
Can I make the dough ahead of time?
Yes, the shaped, uncut dough can be covered and chilled for a few hours before cutting and baking. It’s best to bake the scones fresh rather than storing the raw dough overnight.
Can I freeze the scones?
Yes, baked scones freeze well for up to 2 months when wrapped individually and stored in a freezer bag.
What size cutter works best for these scones?
A 5cm round cutter gives a good classic size, though a slightly larger or smaller cutter will also work if you adjust the baking time by a minute or two.
Can I halve this recipe for a smaller batch?
Yes, all quantities halve easily, though it’s worth using a slightly smaller egg or adjusting the milk a little to keep the dough at the right consistency.
Conclusion
This Mary Berry wholemeal scones recipe delivers a golden, well-risen scone with a nutty flavour and a soft, tender centre, all achievable in under half an hour of active time. The method stays simple and forgiving, which makes it a good choice whether you are new to baking or simply want a dependable batch for the weekend.
This recipe makes around 8 scones, perfect for a small gathering or a few days of breakfasts. Give it a try, and leave a comment below sharing how yours turned out, or share this recipe with a fellow baking friend. If you enjoyed this, you might also like mary berry sultana cake recipe.
Mary Berry Wholemeal Scones Recipe
Course: BakingCuisine: BritishDifficulty: Easy8
servings15
minutes13
minutes190
kcal30
minutesSoft, nutty wholemeal scones with a golden top and tender crumb, made with simple pantry ingredients. A reliable, beginner-friendly bake ready in under 30 minutes.
Ingredients
225g wholemeal self-raising flour
1 tsp baking powder
40g cold unsalted butter, cubed
25g caster sugar
1 large egg
120ml semi-skimmed milk, plus extra for glazing
pinch of salt
1 tbsp milk, for brushing
2 tbsp jam, to serve
2 tbsp clotted cream, to serve
Instructions
- Set the oven to 220C (200C fan) and line a baking tray with baking paper.
- Tip the wholemeal flour, baking powder, and salt into a large bowl and stir well to distribute the raising agent evenly.
- Add the cold butter and rub it into the flour with your fingertips until the mixture looks like coarse breadcrumbs.
- Stir in the caster sugar so it is evenly spread through the crumbly mixture.
- In a small jug, whisk the egg with the milk until just combined.
- Pour most of the egg mixture into the dry ingredients, keeping a little back for glazing, and mix quickly with a table knife until a soft, slightly sticky dough forms.
- Turn the dough onto a lightly floured surface and pat it gently to about 3cm thick, without rolling too firmly.
- Use a 5cm round cutter dipped in flour to stamp out rounds, pressing straight down without twisting so the scones rise evenly.
- Place the rounds on the tray, brush the tops with the reserved egg mixture or milk, and bake for 12 to 14 minutes until well risen and golden brown.
- Transfer to a wire rack and leave for a few minutes before serving warm.
Notes
- Keep the butter cold for a lighter, flakier texture.
- Avoid overworking the dough to prevent tough scones.
- Press the cutter straight down without twisting for an even rise.
- Wholemeal flour absorbs more liquid, so the dough should feel slightly wetter than a white flour dough.
- Store in an airtight container for up to 2 days at room temperature.
- Freeze baked scones individually wrapped for up to 2 months.