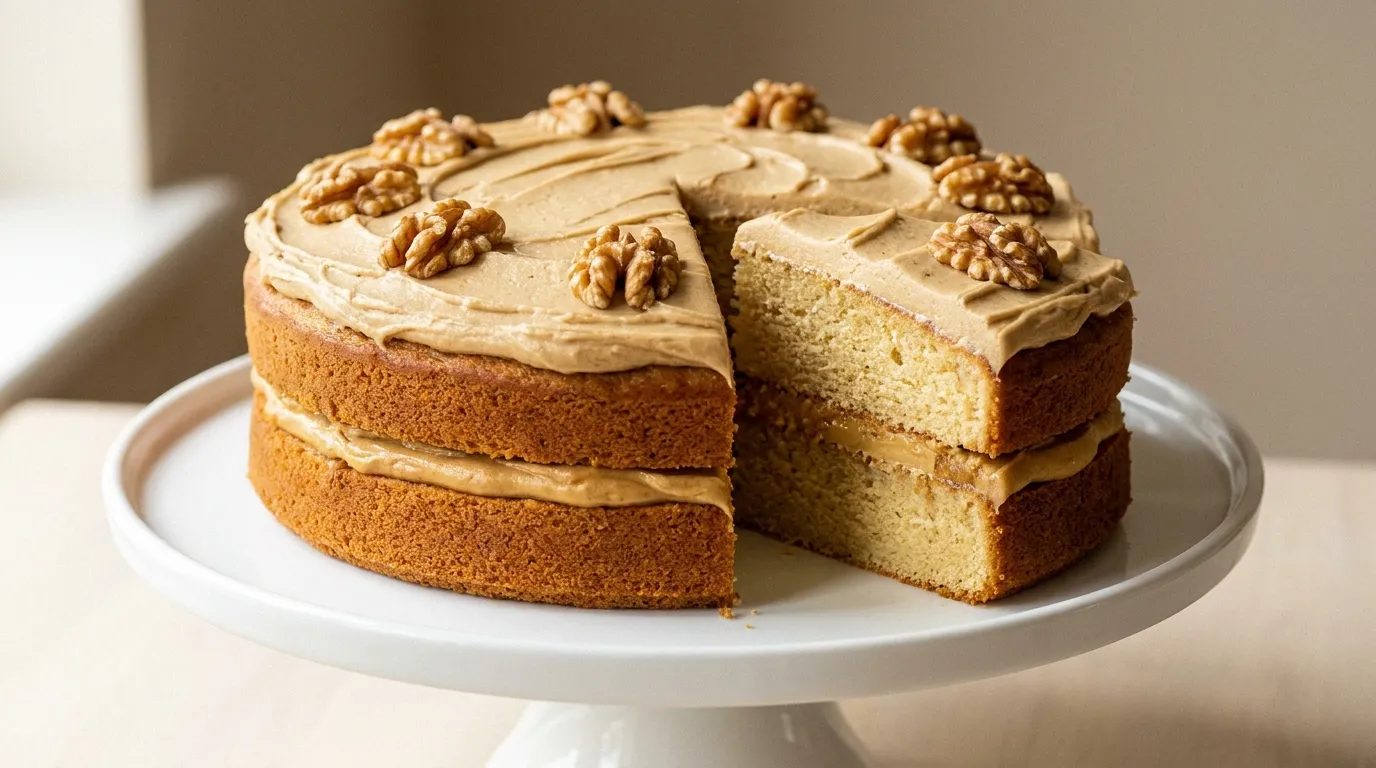
Mary Berry Coffee Cake Recipe
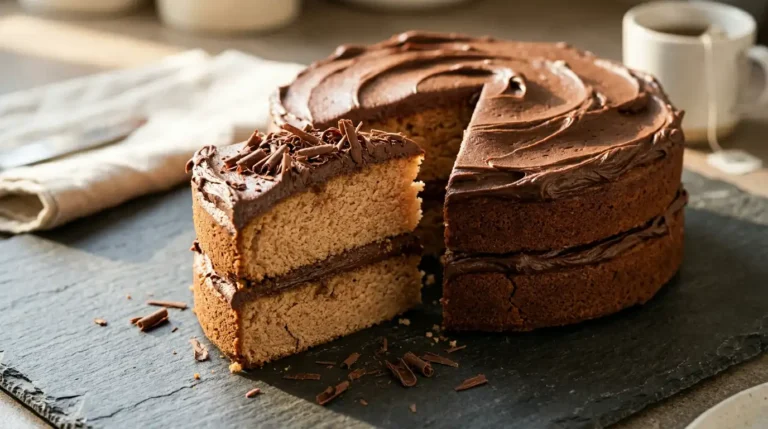
This Mary Berry coffee cake is a tender, light-crumbed sponge with a warm roasted-coffee depth running through every bite, sandwiched and crowned with a smooth, creamy coffee buttercream that sets to a soft, silky finish. It is the kind of cake that holds its shape cleanly when sliced, with none of that dense, claggy texture that so often lets a coffee cake down.
What makes this version particularly reliable is the straightforward method: no overly complicated techniques, no hard-to-source ingredients, and a batter that comes together quickly with consistent results every time. It works equally well for a weekend afternoon bake or as the centrepiece of a celebration tea. From start to finish, including cooling time, it is ready in around 1 hour 20 minutes.
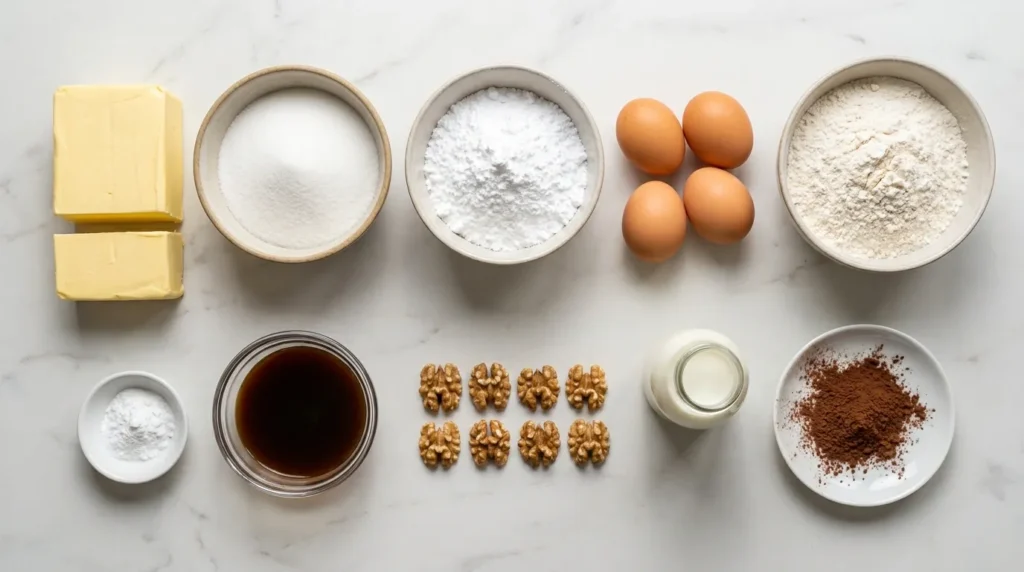
Ingredients
- 225g unsalted butter, softened
- 225g caster sugar
- 4 large eggs, at room temperature
- 225g self-raising flour, sifted
- 1 tsp baking powder
- 2 tbsp instant coffee granules, dissolved in 2 tbsp boiling water, cooled
- 175g unsalted butter, softened
- 350g icing sugar, sifted
- 2 tsp instant coffee granules, dissolved in 1 tbsp hot water, cooled
- 1–2 tbsp whole milk, if needed to loosen
- 8–10 walnut halves, for decoration
- Light dusting of cocoa powder or a few coffee bean decorations, optional
How to Make Mary Berry Coffee Cake
- 01
Prepare the tins and oven
Heat the oven to 180°C (160°C fan, Gas 4). Lightly grease two 20cm round sandwich tins and line the bases with baking parchment. Both tins should be the same size so the sponge layers bake evenly and stack neatly.
- 02
Dissolve the coffee
Measure 2 tablespoons of instant coffee granules into a small bowl and stir in 2 tablespoons of boiling water until fully dissolved. Set aside to cool completely before adding to the batter, as hot liquid can partially cook the eggs and affect the sponge texture.
- 03
Cream the butter and sugar
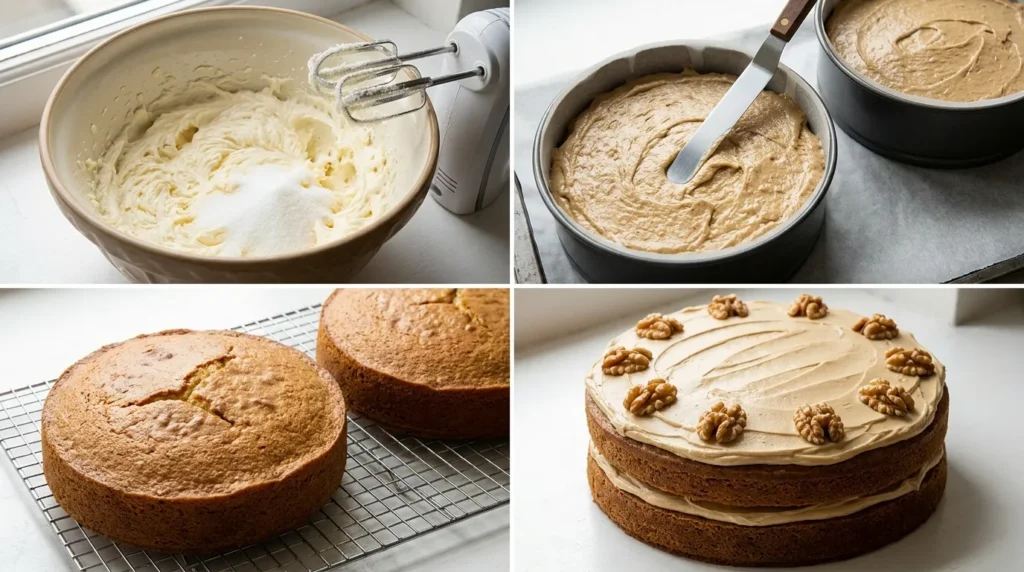
Beat the softened butter and caster sugar together in a large mixing bowl using an electric hand whisk for 3 to 4 minutes, until the mixture is noticeably paler, very light, and almost fluffy. This step builds the air that keeps the sponge tender rather than dense.
- 04
Add the eggs gradually
Beat in the eggs one at a time, adding a tablespoon of the sifted flour with the final egg if the mixture looks like it might curdle. A curdled batter can result in a slightly sunken sponge, so it is worth the extra care here.
- 05
Fold in the flour and coffee
Sift the remaining self-raising flour and baking powder into the bowl. Using a large metal spoon, fold gently until just combined, then fold through the cooled dissolved coffee. Avoid over-mixing at this stage, as it develops gluten and can make the sponge tough rather than airy.
- 06
Bake the sponges
Divide the batter equally between the two prepared tins, spreading it level with a palette knife or the back of a spoon. Bake on the middle shelf for 22 to 25 minutes, until the sponges are golden, well-risen, and spring back when lightly pressed in the centre.
- 07
Cool the sponges
Leave the sponges to cool in the tins for 5 minutes, then turn out onto a wire rack and leave to cool completely. Filling a warm sponge with buttercream causes the frosting to melt and slide, so patience here is essential for a clean, professional finish.
- 08
Make the coffee buttercream
Beat the softened butter in a bowl until pale and creamy, then gradually add the sifted icing sugar a few tablespoons at a time, beating well between each addition. Stir through the cooled dissolved coffee and beat until the buttercream is smooth and fluffy. Add a splash of milk if the mixture feels too stiff to spread easily.
- 09
Fill and top the cake
Place one cooled sponge on a serving plate or cake board. Spread roughly half the buttercream over the top in an even, generous layer, right to the edges. Sit the second sponge on top, then spread the remaining buttercream over the surface in smooth, sweeping strokes using a palette knife.
- 10
Decorate and serve
Arrange walnut halves around the top of the cake in an evenly spaced pattern. Add a light dusting of cocoa powder or a few coffee bean decorations if desired. The cake is best left to settle for 15 to 20 minutes before slicing so the buttercream firms slightly and the layers cut cleanly.
Tips for the Best Mary Berry Coffee Cake
01 Why did my coffee cake sink in the middle after baking?
A sunken centre is almost always caused by underbaking or opening the oven door too early in the bake. Wait until at least the 20-minute mark before checking, and always test with a skewer inserted into the centre. If it comes out with wet batter still clinging to it, give the cake another 3 to 4 minutes before testing again.
02 How do I get an even rise across both sponge layers?
Weigh the batter into each tin using kitchen scales rather than estimating by eye. Even a small difference in batter quantity produces noticeably uneven layers, which makes the finished cake difficult to level and fill. Use a digital scale for the most accurate result.
03 Why does my coffee buttercream look greasy or split?
A greasy or split buttercream usually means the butter was too warm when beaten. If the mixture looks separated, stop adding icing sugar, place the bowl briefly in the fridge for 10 minutes to firm up, then continue beating. The buttercream should come back together smoothly.
04 Why is my coffee sponge dry rather than moist?
Overbaking is the most common cause of a dry sponge. Every oven runs slightly differently, so start checking at 20 minutes and pull the cakes as soon as the centre springs back when pressed. Over-measuring the flour is another culprit, so always spoon flour into the measuring container rather than scooping directly from the bag.
05 How do I stop the top of the cake from browning too quickly before the centre is cooked through?
If the surface is browning too fast, lay a sheet of baking parchment loosely over the top of the tin during the final 5 to 8 minutes of baking. This slows the surface colour without trapping steam, so the sponge still bakes through evenly underneath.
Serving Suggestions
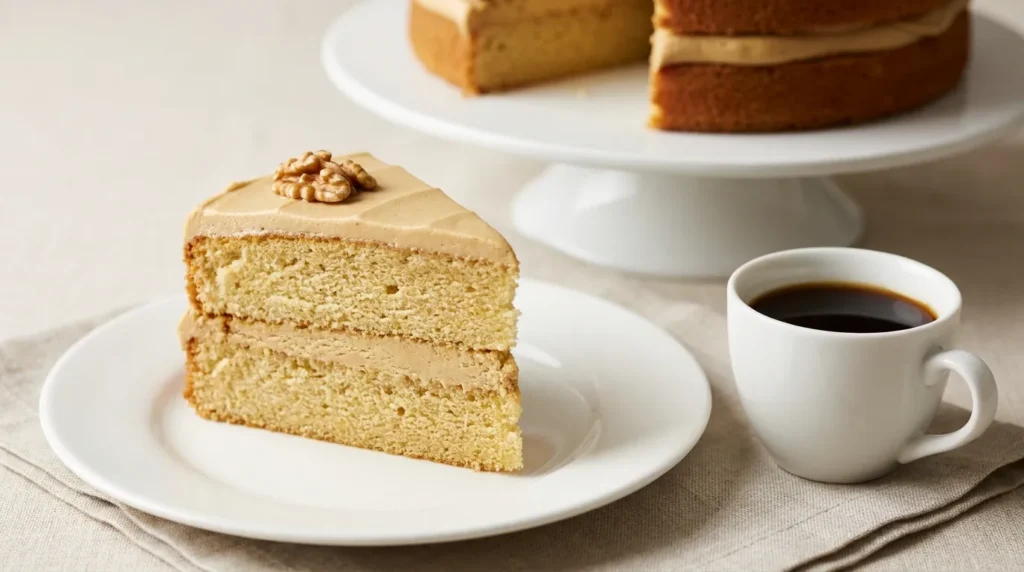
Serve at room temperature with a pot of freshly brewed coffee for a classic afternoon tea pairing that lets the coffee flavour in both the cake and the cup echo each other.
Slice and plate alongside a small jug of cold pouring cream for those who prefer a slightly richer, less sweet finish against the coffee buttercream.
Present on a white or cream cake stand for a celebration tea table, keeping the decoration simple so the neatly spread buttercream and walnut topping remain the visual focus.
Pair a thin slice with a small scoop of good-quality vanilla ice cream for a light pudding that works well after a Sunday lunch or as an easy dessert for guests.
Cut into smaller finger portions and serve on individual plates with a cup of strong Assam or English Breakfast tea for a more casual mid-morning bake sale or coffee morning spread.
Storage
Room Temperature
Store the finished cake in an airtight container at room temperature for up to 3 days, keeping it away from direct sunlight or any heat source that could soften the buttercream.
Refrigerator
The cake can be kept in an airtight container in the fridge for up to 5 days if your kitchen is particularly warm. Remove it from the fridge at least 30 minutes before serving and bring fully to room temperature, as cold buttercream can feel dense and heavy rather than smooth and creamy.
Freezing
The un-iced sponge layers freeze well wrapped individually in cling film and then placed in a freezer-safe bag, for up to 3 months. Defrost at room temperature for 2 to 3 hours before filling and decorating with freshly made buttercream.
Nutrition
FAQs
01
Can I use espresso instead of instant coffee in this recipe?
02
Can I make the Mary Berry coffee cake the day before serving?
03
What size tin works best for this coffee cake recipe?
04
Can I leave out the walnuts if there is a nut allergy?
05
Can I double this recipe to make a larger coffee cake?
Conclusion
This Mary Berry coffee cake recipe delivers a reliably tender, well-flavoured sponge with a smooth, deeply coffee-scented buttercream that holds its shape beautifully at room temperature. The steps are clear and straightforward, making it an excellent choice for beginner bakers who want a dependable result, as well as experienced home bakers looking for a classic that needs no improvement. This recipe yields 10 to 12 generous slices, making it ideal for family gatherings, celebration teas, or bake sales.
Give this cake a go and let us know how it turned out in the comments below. If you found this recipe helpful, share it with a friend who loves a good coffee sponge. For another elegant, classic bake in the same spirit, you might also enjoy the Mary Berry lemon cheesecake recipe, which is just as reliable and makes a wonderful companion dish for an afternoon tea spread.
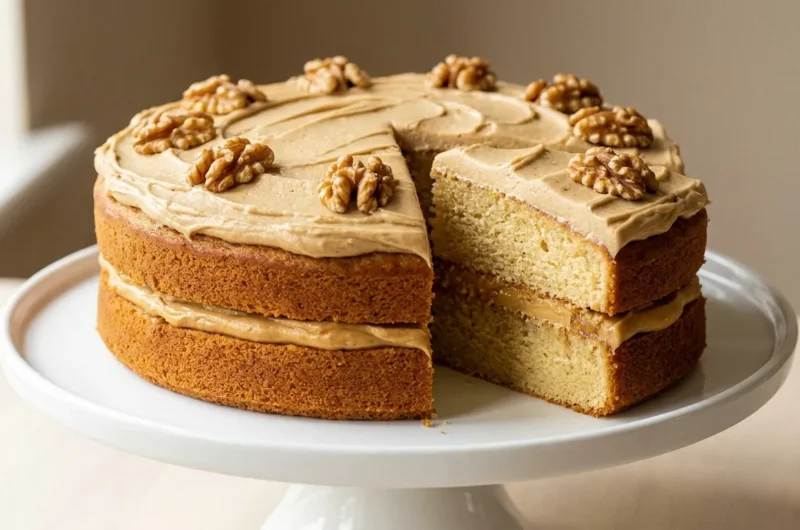
Mary Berry Coffee Cake Recipe
Course: DessertCuisine: BritishDifficulty: Easy12
servings20
minutes25
minutes490
kcal1
hour20
minutesA tender, light-crumbed coffee sponge sandwiched and crowned with a smooth, creamy coffee buttercream. This classic British bake is beginner-friendly, reliable, and perfect for afternoon tea or any celebration spread.
Ingredients
225g unsalted butter, softened
225g caster sugar
4 large eggs, at room temperature
225g self-raising flour, sifted
1 tsp baking powder
2 tbsp instant coffee granules, dissolved in 2 tbsp boiling water, cooled
175g unsalted butter, softened
350g icing sugar, sifted
2 tsp instant coffee granules, dissolved in 1 tbsp hot water, cooled
1–2 tbsp whole milk, if needed to loosen
8–10 walnut halves, for decoration
light dusting of cocoa powder or a few coffee bean decorations, optional
Instructions
- Heat the oven to 180°C (160°C fan, Gas 4). Lightly grease two 20cm round sandwich tins and line the bases with baking parchment.
- Dissolve 2 tablespoons of instant coffee granules in 2 tablespoons of boiling water, stir until fully dissolved, and set aside to cool completely.
- Beat the softened butter and caster sugar together using an electric hand whisk for 3 to 4 minutes until the mixture is pale, light, and fluffy.
- Beat in the eggs one at a time, adding a tablespoon of the sifted flour with the final egg if the mixture looks like it might curdle.
- Sift the remaining self-raising flour and baking powder into the bowl, fold gently with a large metal spoon until just combined, then fold through the cooled dissolved coffee.
- Divide the batter equally between the two prepared tins, spread level, and bake on the middle shelf for 22 to 25 minutes until golden and the centre springs back when lightly pressed.
- Leave the sponges to cool in the tins for 5 minutes, then turn out onto a wire rack and leave to cool completely before filling.
- Beat the softened butter until pale and creamy, gradually add the sifted icing sugar, then stir through the cooled dissolved coffee and beat until smooth and fluffy. Add a splash of milk if needed.
- Place one cooled sponge on a serving plate, spread roughly half the buttercream over the top, then sit the second sponge on top and spread the remaining buttercream over the surface.
- Arrange walnut halves around the top, add an optional dusting of cocoa powder or coffee bean decorations, and leave to settle for 15 to 20 minutes before slicing.
Notes
- Always cool the dissolved coffee completely before adding it to the batter or buttercream.
- Weigh the batter into each tin using kitchen scales for even layers.
- Do not open the oven door before the 20-minute mark to prevent the sponge from sinking.
- Bring butter to room temperature before creaming to achieve the lightest possible sponge.
- If the buttercream splits, refrigerate for 10 minutes then continue beating to bring it back together.
- The un-iced sponge layers freeze well for up to 3 months, wrapped individually in cling film.