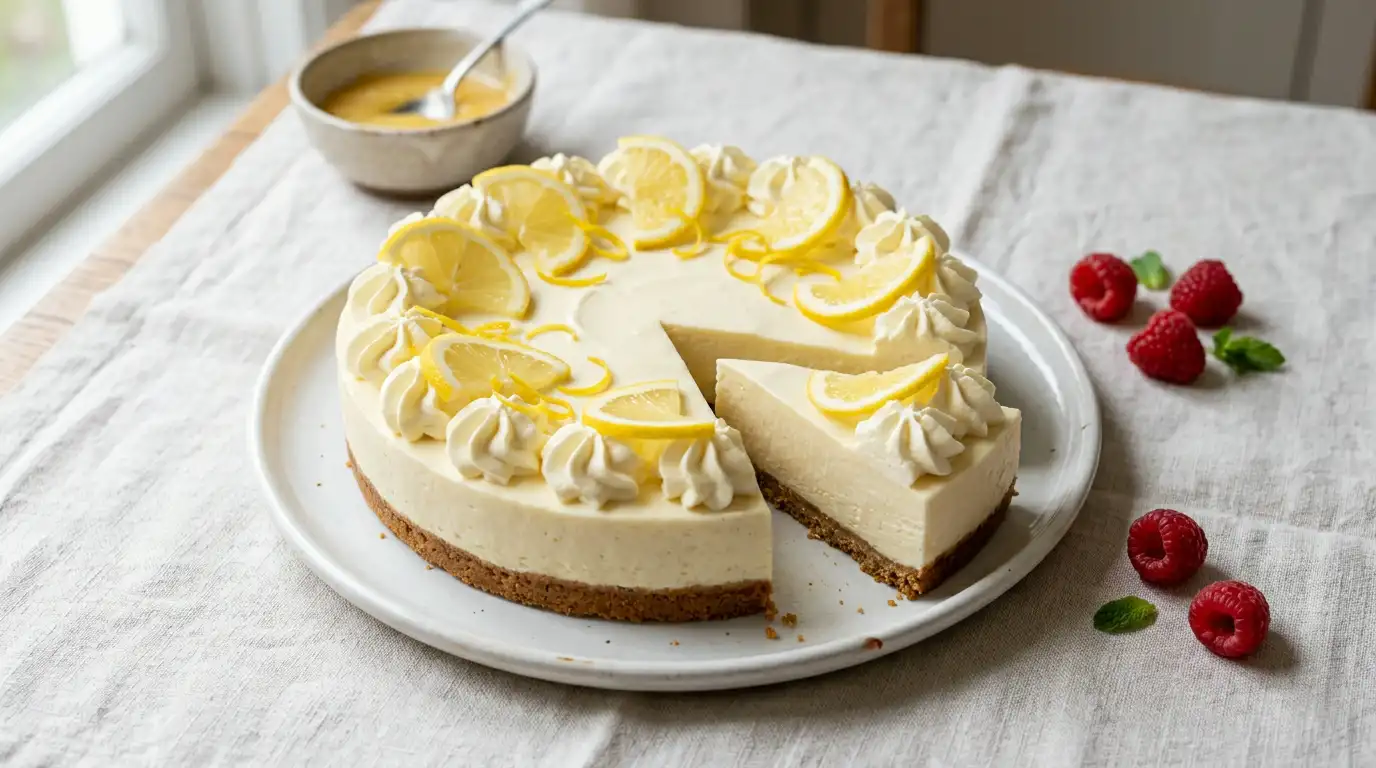
Mary Berry Lemon Cheesecake Recipe
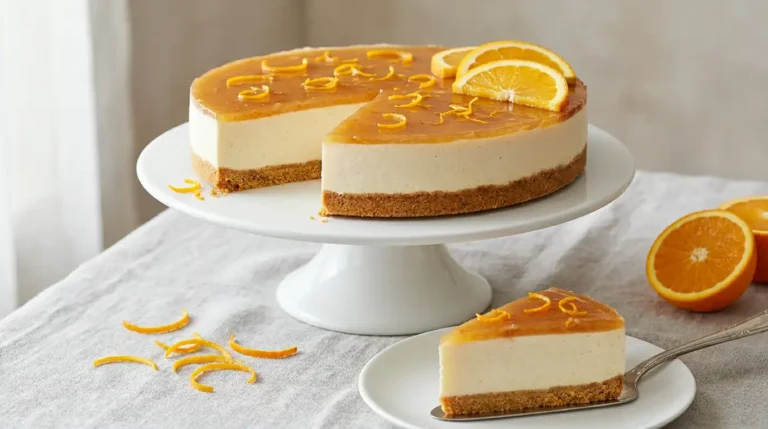
This Mary Berry lemon cheesecake is a cool, creamy dessert with a buttery biscuit base and a silky filling that carries a clean, bright citrus flavour all the way through. The set is firm enough to slice neatly but soft enough to melt against the tongue, with no eggy heaviness or overly sweet aftertaste.
It is a no-bake recipe, which makes it ideal for warm-weather entertaining or whenever the oven is already in use. The method is straightforward, the ingredients are easy to find, and the result is consistent even for those who are new to making cheesecakes. From start to finish, including chilling time, it is ready in around 5 hours, or overnight if prepared the day before.
Ingredients
- 200g digestive biscuits
- 80g unsalted butter, melted
- 1 tbsp caster sugar
- 300g full-fat cream cheese, softened
- 150ml double cream, cold
- 75g icing sugar, sifted
- Finely grated zest of 2 unwaxed lemons
- 4 tbsp fresh lemon juice (approximately 2 lemons)
- 1 tsp vanilla extract
- 100ml double cream, whipped to soft peaks
- Finely grated zest of 1 unwaxed lemon
- Thin lemon slices, to decorate
How to Make Mary Berry Lemon Cheesecake
Prepare the tin
Lightly grease the base and sides of a 20cm round springform tin, then line the base with a disc of non-stick baking parchment. This ensures the cheesecake releases cleanly without breaking at the edges.
Make the biscuit base
Crush the digestive biscuits in a zip-lock bag with a rolling pin until they form fine, even crumbs, then tip into a bowl. Stir in the caster sugar, pour over the melted butter, and mix until every crumb is coated. Tip the mixture into the prepared tin and press down firmly in an even layer using the back of a spoon, pushing it slightly up the sides. Refrigerate for 20 minutes to firm up before adding the filling, so the base does not shift when you spread the mixture over it.
Beat the cream cheese
Place the softened cream cheese in a large mixing bowl. Beat with a hand-held electric whisk for about 1 minute until smooth and free of lumps. Add the sifted icing sugar and beat again until the mixture is pale and creamy, with no dry sugar visible at the sides of the bowl.
Add the lemon and vanilla
Pour in the lemon juice gradually, stirring between additions, then fold in the lemon zest and vanilla extract. The mixture will loosen slightly as the acid from the juice softens the cream cheese, which is expected.
Whip and fold in the double cream
In a separate cold bowl, whip the 150ml of double cream using clean beaters until it holds soft, billowy peaks. Do not over-whip at this stage, as it will be incorporated further. Using a large metal spoon, fold the whipped cream into the lemony cream cheese mixture in two additions, cutting through gently to keep as much air as possible. The finished filling should be thick, light, and mousse-like.
Fill and level the cheesecake
Spoon the filling onto the chilled biscuit base and spread it out evenly using a palette knife or the back of a dessertspoon. Smooth the top as flat as possible, then tap the tin gently on the work surface two or three times to release any air pockets trapped underneath.
Chill until set
Cover the tin loosely with cling film and place in the refrigerator for a minimum of 4 hours, or ideally overnight. The longer it chills, the firmer and cleaner the cut will be. Do not attempt to move the cheesecake from the tin until it has fully set.
Unmould and decorate
Run a thin palette knife around the inside edge of the tin to loosen the cheesecake, then carefully unclip the springform sides and slide the base onto a flat serving plate. Pipe or spoon the softly whipped double cream around the border, then scatter over the remaining lemon zest and arrange thin lemon slices on top. Slice with a warm, clean knife for the neatest finish.
Tips for the Best Lemon Cheesecake
01 Why is my lemon cheesecake filling too runny and not setting properly?
The most common cause is using low-fat cream cheese or single cream, both of which do not have enough fat content to hold the structure. Always use full-fat cream cheese and cold double cream, and whip the cream only to soft peaks before folding, as under-whipped cream will not support the filling. If the mixture feels loose before chilling, return it to the fridge for 30 minutes before spreading onto the base.
02 Why is my cheesecake base crumbling and falling apart when I slice it?
A crumbly base usually means the butter-to-biscuit ratio was slightly off, or the mixture was not pressed firmly enough into the tin. The crumbs need to be compact and evenly distributed, with no loose patches. Press with the back of a flat-based glass for an even result, and always allow the base to chill for at least 20 minutes before adding the filling.
03 How do I get a perfectly smooth and flat top on my cheesecake?
Spoon the filling into the tin in one go rather than adding it in stages, which can create ridges. Use a palette knife dipped in just-boiled water, dried quickly, and drawn across the surface in a single slow pass. The warmth levels the filling without dragging it.
04 Why does my cheesecake taste too sharp or sour rather than bright and fresh?
Too much lemon juice or the use of bottled lemon juice, which is more acidic and less fragrant than fresh, can make the flavour harsh. Always use freshly squeezed juice and balance it with enough icing sugar. Taste the filling before chilling and adjust with a little extra icing sugar if needed.
05 Why did my cream cheese filling split or look grainy after mixing?
Splitting happens when the cream cheese is too cold when beaten, or when the lemon juice is added too quickly. Bring the cream cheese to room temperature for at least 30 minutes before starting, and add the juice in a thin, steady stream rather than all at once. A few gentle folds with a spatula can sometimes bring a slightly grainy mixture back together.
Serving Suggestions
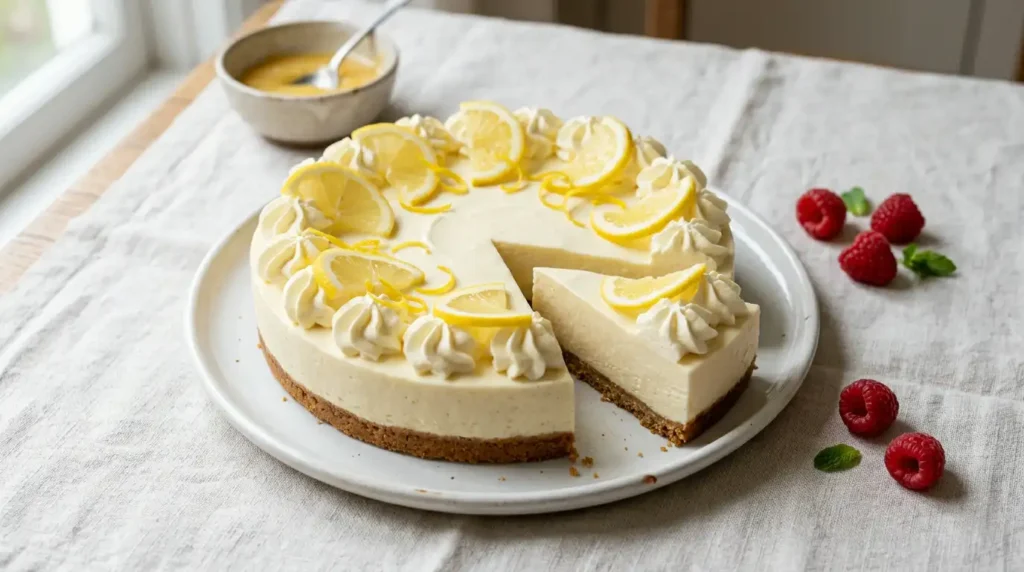
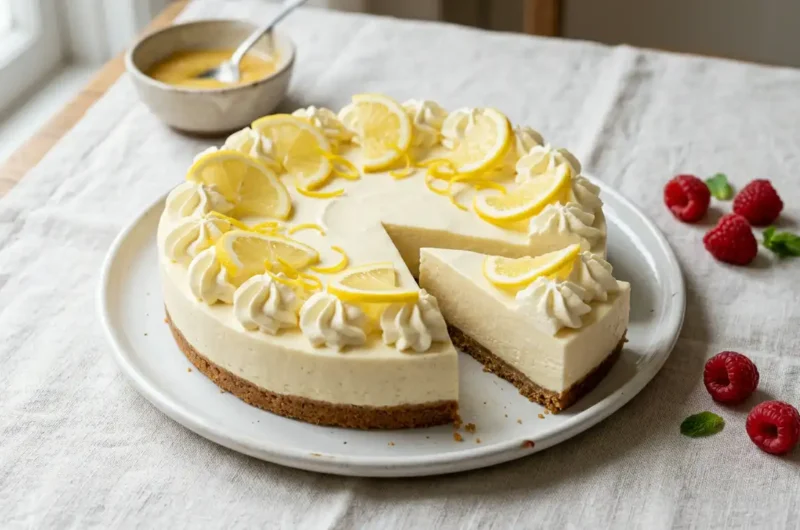
Serve chilled and sliced cleanly with a warm knife, presented on a white plate so the pale lemon filling contrasts clearly against the golden biscuit edge.
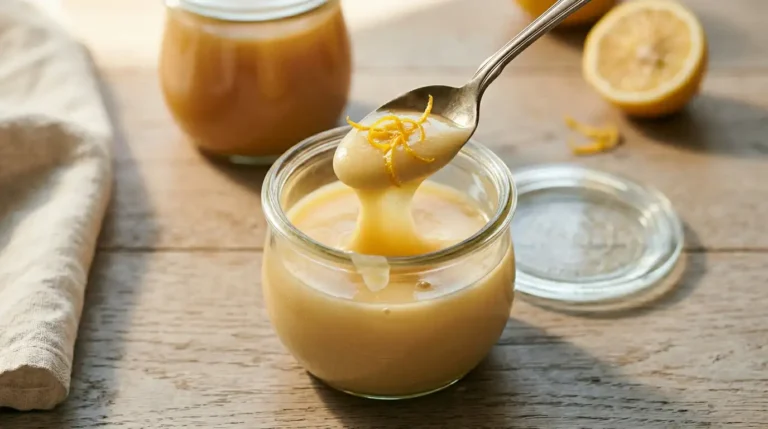
Pair with a small pot of warm lemon curd on the side, spooned over individual slices just before eating for an extra punch of citrus depth.
Accompany with a handful of fresh raspberries or blueberries, whose sharp, jewel-bright flavour cuts through the richness of the cream cheese filling.
Pour a thin stream of single cream around the base of each slice rather than over the top, keeping the smooth surface intact for presentation.
Finish each plate with a dusting of very finely grated lemon zest and a single sprig of fresh mint for a clean, elegant look that works well at a dinner party or a summer afternoon tea.
Storage
Room Temperature
The cheesecake can sit at cool room temperature for up to 1 hour before serving, but it should not be left out for longer as the filling will soften and begin to lose its set.
Refrigerator
Cover loosely with cling film or store in an airtight container in the refrigerator for up to 3 days. Remove from the fridge 10 minutes before serving to take the chill off the filling and allow the flavour to come forward fully.
Freezing
Freeze the cheesecake without its cream topping, wrapping it first in cling film and then in foil, for up to 1 month. Transfer to the fridge the night before serving and allow it to thaw slowly and fully before decorating and slicing.
Nutrition
FAQs
01 Can I use cream cheese that is not full-fat for this Mary Berry lemon cheesecake recipe?
02 Can I make this lemon cheesecake the day before serving?
03 Can I swap the digestive biscuits for a different type of biscuit in the base?
04 What size tin works best for this lemon cheesecake?
05 Can I turn this into individual lemon cheesecakes rather than one large one?
Conclusion
This Mary Berry lemon cheesecake recipe delivers everything a good no-bake cheesecake should: a firm, buttery biscuit base, a filling that is cool and silky with a clean citrus finish, and a top that can be dressed as simply or as elegantly as the occasion calls for. It makes 8 generous slices and comes together with a handful of everyday ingredients and no special equipment beyond a springform tin and an electric whisk. Once the method is familiar, it is the kind of recipe that becomes a reliable standby for any gathering, whether that is a midweek dinner or a summer celebration.
If you gave this a go, leave a comment below to say how it turned out, or share the recipe with someone who would enjoy it. For another starter to impress your guests before the cheesecake arrives, you might also like this Mary Berry mackerel pate recipe, which is just as straightforward and equally reliable.
Mary Berry Lemon Cheesecake Recipe
Course: DessertCuisine: BritishDifficulty: Easy8
servings30
minutes390
kcal4
hours30
minutesA cool, creamy no-bake cheesecake with a buttery digestive biscuit base and a silky lemon filling. Bright, clean citrus flavour with a firm set that slices neatly every time.
Ingredients
200g digestive biscuits
80g unsalted butter, melted
1 tbsp caster sugar
300g full-fat cream cheese, softened
150ml double cream, cold
75g icing sugar, sifted
finely grated zest of 2 unwaxed lemons
4 tbsp fresh lemon juice, approximately 2 lemons
1 tsp vanilla extract
100ml double cream, whipped to soft peaks, to finish
finely grated zest of 1 unwaxed lemon, to finish
thin lemon slices to decorate
Instructions
- Lightly grease the base and sides of a 20cm round springform tin, then line the base with a disc of non-stick baking parchment.
- Crush the digestive biscuits in a zip-lock bag with a rolling pin until fine, even crumbs form. Tip into a bowl, stir in the caster sugar, pour over the melted butter, and mix until every crumb is coated. Press firmly into the prepared tin in an even layer and refrigerate for 20 minutes.
- Place the softened cream cheese in a large mixing bowl and beat with a hand-held electric whisk for about 1 minute until smooth and lump-free. Add the sifted icing sugar and beat again until pale and creamy.
- Add the lemon juice gradually, stirring between additions, then fold in the lemon zest and vanilla extract.
- In a separate cold bowl, whip the 150ml of double cream to soft peaks. Fold into the cream cheese mixture in two additions using a large metal spoon, keeping as much air as possible.
- Spoon the filling onto the chilled biscuit base, spread evenly with a palette knife, and tap the tin gently on the work surface to release any air pockets.
- Cover loosely with cling film and refrigerate for a minimum of 4 hours, or overnight, until fully set.
- Run a palette knife around the inside edge of the tin, unclip the springform sides, and slide onto a serving plate. Pipe or spoon the softly whipped cream around the border, scatter over the remaining lemon zest, and arrange thin lemon slices on top. Slice with a warm, clean knife.
Notes
- Always use full-fat cream cheese and cold double cream for a filling that sets firmly.
- Bring cream cheese to room temperature for at least 30 minutes before beating to avoid a grainy texture.
- Add lemon juice gradually rather than all at once to prevent the mixture from splitting.
- Press the biscuit base with the back of a flat-based glass for an even, compact layer.
- Chill overnight for the cleanest slices and the best set texture.
- Add the cream topping and decorations on the day of serving for the freshest appearance.
- Use unwaxed lemons for zesting so no coating transfers to the filling.