Mary Berry Chocolate Chip Cookies Recipe
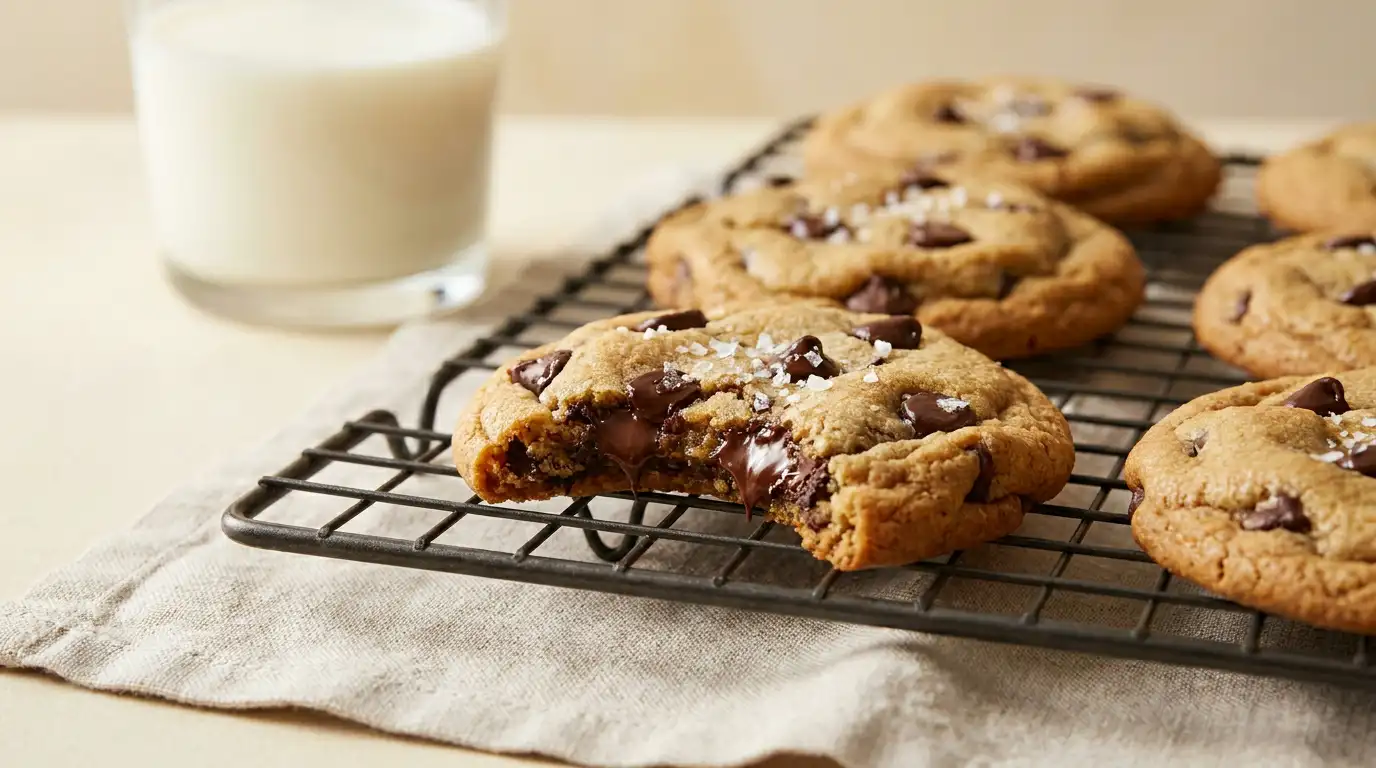
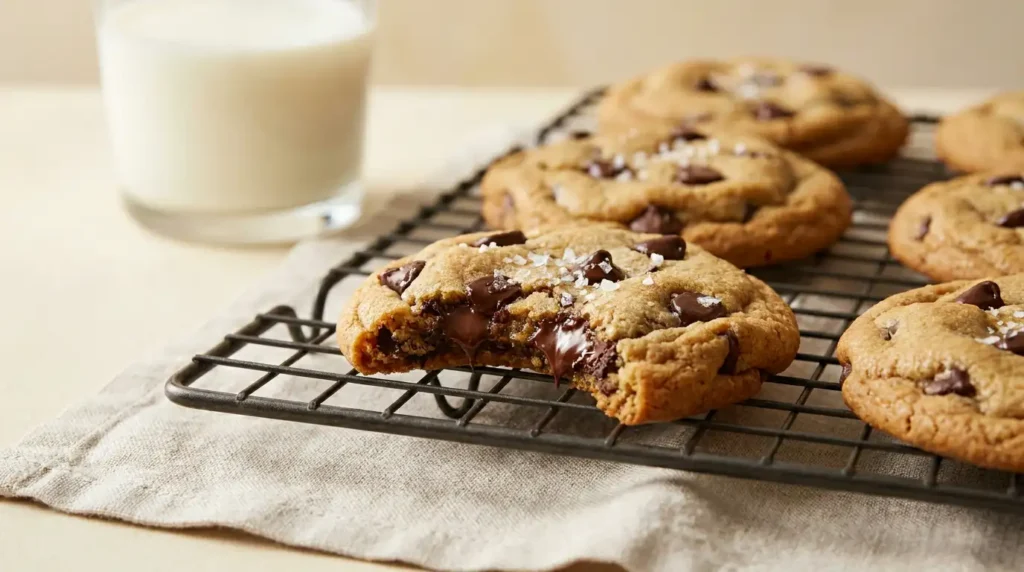
These chocolate chip cookies have a golden, slightly crisp edge that gives way to a tender, chewy centre, with pockets of melted dark chocolate running through every bite. The dough comes together quickly with everyday pantry staples, and the result is consistent, reliable, and far better than any shop-bought alternative.
What sets this version apart is its balance: not too sweet, not too thick, with enough butter to give the cookies a rich, slightly caramel-edged finish as they cool on the rack. They are equally at home on a weekend baking tray with children or presented alongside coffee at the end of a dinner. From start to finish, the whole batch is ready in around 35 minutes.
Ingredients
- 125g unsalted butter, softened
- 100g caster sugar
- 75g soft light brown sugar
- 1 large egg, at room temperature
- 1 tsp vanilla extract
- 200g plain flour
- ½ tsp bicarbonate of soda
- ¼ tsp fine sea salt
- 150g dark chocolate chips (or dark chocolate, roughly chopped)
- Flaked sea salt, for sprinkling (optional)
How to Make Mary Berry Chocolate Chip Cookies
Prepare the oven and trays:
Heat the oven to 180°C (160°C fan, Gas Mark 4). Line two large baking trays with non-stick baking parchment and set aside. Using two trays means the cookies bake in batches without crowding, which ensures even airflow and a consistent golden edge.
Cream the butter and sugars:
Place the softened butter, caster sugar, and light brown sugar into a large mixing bowl. Beat together using a hand-held electric whisk or wooden spoon for 2 to 3 minutes until the mixture is pale, light, and slightly fluffy. The combination of both sugars gives the cookies their characteristic chew and gentle caramel flavour.
Add the egg and vanilla:
Crack in the egg and add the vanilla extract. Beat again until fully incorporated and the mixture looks smooth and glossy. Scrape down the sides of the bowl with a spatula to make sure everything is evenly combined.
Fold in the dry ingredients:
Sift the plain flour, bicarbonate of soda, and fine sea salt directly into the bowl. Using a spatula or wooden spoon, fold the flour mixture into the butter mixture until just combined and no streaks of flour remain. Do not overwork the dough at this stage, as too much mixing develops gluten and can make the finished cookies tough rather than tender.
Stir in the chocolate chips:
Add the dark chocolate chips to the dough and stir through until they are evenly distributed. The dough will be soft but should hold its shape when scooped.
Portion the dough:
Use a tablespoon or small ice cream scoop to portion the dough into balls roughly 30g each. Place them onto the prepared trays, spacing them at least 5cm apart. The cookies spread as they bake, so generous spacing prevents them merging together.
Bake until golden:
Bake in the preheated oven for 10 to 12 minutes, until the edges are golden and set but the centres still look slightly underdone and pale. This is intentional as the cookies continue to firm up on the hot tray after leaving the oven.
Cool on the tray:
Remove from the oven and leave the cookies on the baking tray for 5 minutes before transferring to a wire rack. If using, scatter a small pinch of flaked sea salt over each cookie while they are still warm. Allow to cool for a further 10 minutes before serving.
Tips for the Best Chocolate Chip Cookies
01 Why did my cookies spread too much and go completely flat?
02 Why are my chocolate chip cookies hard and crunchy all the way through instead of chewy in the middle?
03 Why do my cookies come out a different size and some bake faster than others?
04 Why did my cookies turn out pale and soft on the base rather than having a golden underneath?
05 Why does my cookie dough feel sticky and difficult to scoop into neat balls?
Serving Suggestions
Serve warm from the rack with a tall glass of cold whole milk for a classic combination that lets the chocolate flavour come forward.
Pair with a strong pot of English Breakfast or Assam tea for a mid-afternoon treat, where the bitterness of the tea balances the sweetness of the cookie.
Sandwich two cooled cookies around a generous scoop of good vanilla ice cream and press gently together for a simple ice cream sandwich.
Crumble two or three over a bowl of thick Greek yoghurt with a drizzle of honey for a relaxed weekend breakfast or brunch dessert.
Stack cooled cookies in a clear cellophane bag tied with ribbon for a simple homemade gift, particularly at Christmas or for a bake sale.
Storage
Room Temperature
Store fully cooled cookies in an airtight tin or container at room temperature for up to 5 days.
Refrigerator
Place the cookies in a sealed container and refrigerate for up to 2 weeks. Allow them to come back to room temperature for 15 to 20 minutes before eating to restore their soft, chewy texture.
Freezing
Freeze baked cookies in a single layer on a tray until solid, then transfer to a zip-lock bag or airtight container for up to 3 months. To defrost, transfer to a wire rack at room temperature for about an hour, or warm in the oven at 160°C for 5 minutes to refresh the texture.
Nutrition
FAQs
01
Can I use milk chocolate chips instead of dark chocolate in this recipe?
02
Can I make the cookie dough ahead of time and bake it the next day?
03
Can I freeze the cookie dough rather than baking it all at once?
04
Can I make this Mary Berry chocolate chip cookies recipe gluten free?
05
Can I double this recipe if I need a larger batch for a party or bake sale?
Conclusion
This Mary Berry chocolate chip cookies recipe delivers a reliable batch of golden-edged, chewy-centred biscuits every time. The dough takes fewer than 15 minutes to prepare, the bake is short, and the ingredient list is straightforward, making it a practical recipe for beginners and experienced bakers alike. This batch yields approximately 16 cookies, which is ideal for a family tin or a small gathering. The tips and FAQ sections above cover the most common questions, from spreading issues to making the dough ahead, so there is very little that can go wrong once the method is understood.
If you have tried this recipe, share it with someone who loves home baking, or leave a comment below to let us know how your cookies turned out. Small details like the chocolate brand or a pinch of flaked salt can make a real difference, so any notes on what worked well are always appreciated by other readers. If you enjoyed baking these, you might also like the Mary Berry Frittata Recipe for a completely different but equally straightforward dish to add to your repertoire.
Mary Berry Chocolate Chip Cookies Recipe
Course: DessertCuisine: BritishDifficulty: Easy16
servings15
minutes12
minutes195
kcal35
minutesGolden-edged, chewy-centred chocolate chip cookies made with dark chocolate and everyday pantry staples. Simple, reliable, and ready in 35 minutes from start to finish.
Ingredients
125g unsalted butter, softened
100g caster sugar
75g soft light brown sugar
1 large egg, at room temperature
1 tsp vanilla extract
200g plain flour
½ tsp bicarbonate of soda
¼ tsp fine sea salt
150g dark chocolate chips or dark chocolate roughly chopped
flaked sea salt for sprinkling optional
Instructions
- Heat the oven to 180°C (160°C fan, Gas Mark 4). Line two large baking trays with non-stick baking parchment and set aside.
- Place the softened butter, caster sugar, and light brown sugar into a large mixing bowl. Beat together using a hand-held electric whisk or wooden spoon for 2 to 3 minutes until pale, light, and slightly fluffy.
- Crack in the egg and add the vanilla extract. Beat again until fully incorporated and the mixture looks smooth and glossy. Scrape down the sides of the bowl with a spatula.
- Sift the plain flour, bicarbonate of soda, and fine sea salt into the bowl. Fold in until just combined and no streaks of flour remain. Do not overwork the dough.
- Add the dark chocolate chips and stir through until evenly distributed. The dough will be soft but should hold its shape when scooped.
- Portion the dough into balls roughly 30g each using a tablespoon or small ice cream scoop. Place onto the prepared trays, spacing them at least 5cm apart.
- Bake in the preheated oven for 10 to 12 minutes, until the edges are golden and set but the centres still look slightly underdone.
- Remove from the oven and leave on the tray for 5 minutes. Scatter flaked sea salt over each cookie if using, then transfer to a wire rack to cool for a further 10 minutes before serving.
Notes
- Use butter that is softened but still holds its shape for best results.
- Do not overwork the dough after adding the flour to keep the cookies tender.
- Pull cookies from the oven when centres still look slightly underdone as they firm up on the hot tray.
- Chill portioned dough balls for 15 minutes if the kitchen is warm to prevent excess spreading.
- Weigh each dough ball to roughly 30g for consistent sizing and even baking.
- The dough can be made up to 48 hours ahead and kept covered in the fridge.
- Raw dough balls can be frozen for up to 3 months and baked directly from frozen with 3 to 4 extra minutes added.