Mary Berry Chocolate Buttercream Cake Recipe
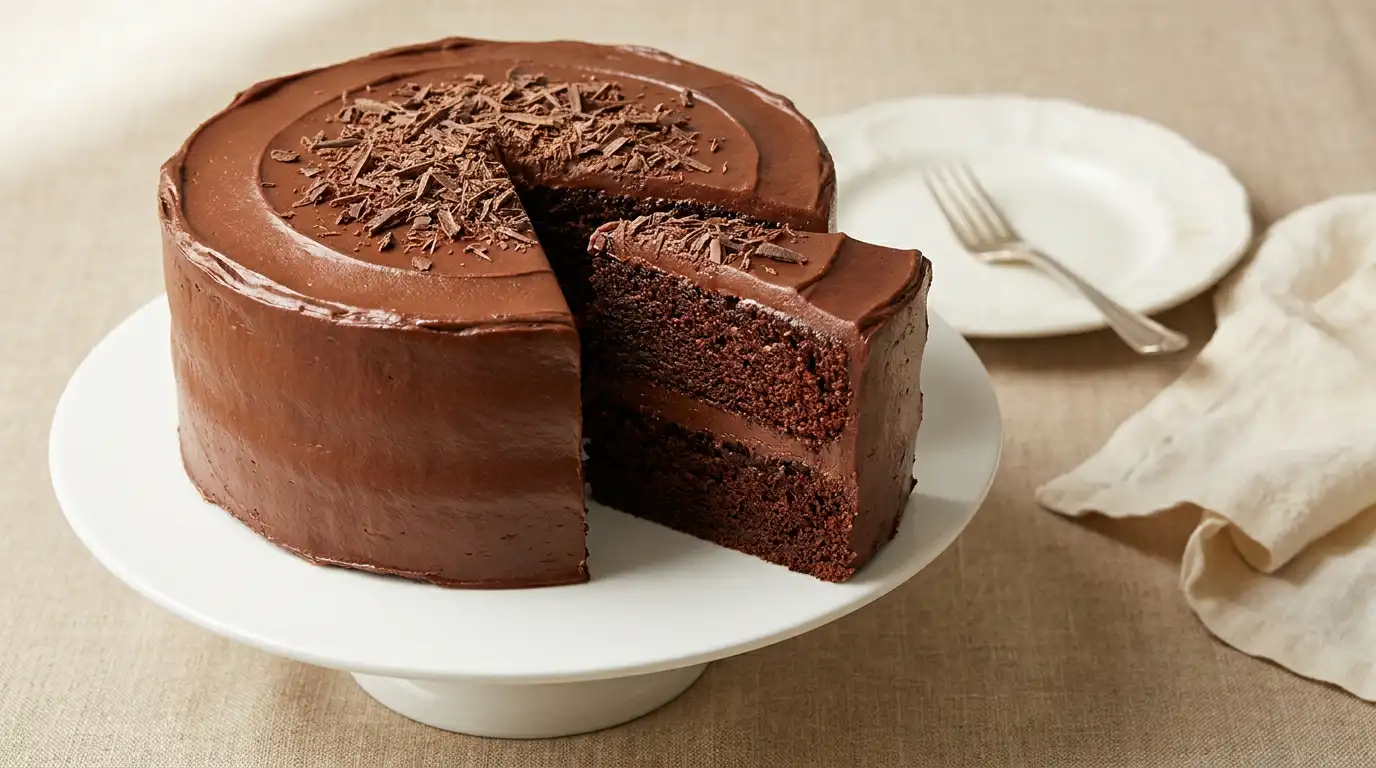
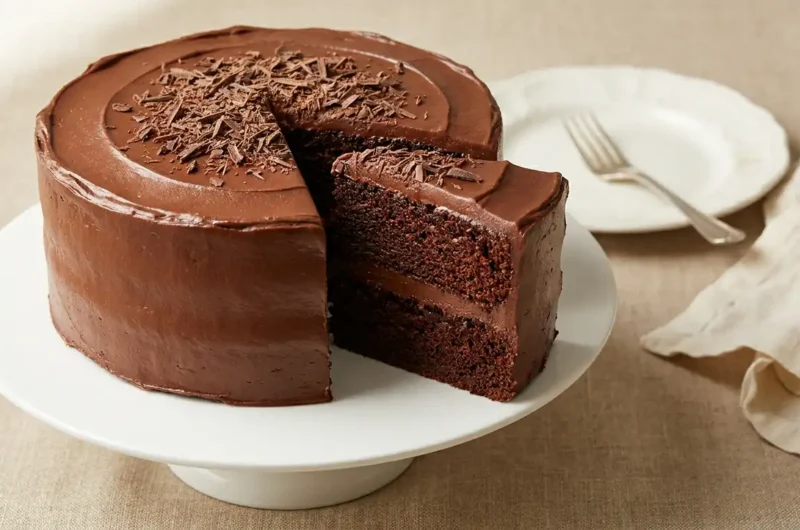
This Mary Berry chocolate buttercream cake recipe delivers a deeply moist, fine-crumbed sponge with a rich, cocoa-dark interior and a silky buttercream that holds its shape cleanly when spread. Each layer is tender without being fragile, and the frosting carries a smooth, glossy finish with a fudgy depth that settles on the palate rather than disappearing too quickly. From start to finish, this cake is ready in around 1 hour 15 minutes.
What sets this recipe apart is its balance between reliable technique and genuine flavour. The method uses a straightforward all-in-one approach, which means fewer bowls and no complicated stages, making it well-suited for beginner bakers and confident home cooks alike. It works beautifully as a birthday cake, an afternoon treat, or a weekend bake to share.
Ingredients
- For the sponge
- 200g self-raising flour
- 30g cocoa powder, sifted
- 200g caster sugar
- 200g unsalted butter, softened
- 4 large eggs, at room temperature
- 2 tsp baking powder
- 3 tbsp whole milk
- 1 tsp vanilla extract
- For the chocolate buttercream
- 175g unsalted butter, softened
- 300g icing sugar, sifted
- 40g cocoa powder, sifted
- 3–4 tbsp whole milk
- 1 tsp vanilla extract
- To finish
- 50g dark chocolate, finely grated or shaved
How to Make Mary Berry Chocolate Buttercream Cake
- Prepare the tins: Grease two 20cm round sandwich tins and line the bases with baking parchment. Preheat the oven to 180°C (160°C fan/Gas 4).
- Mix the sponge batter: Place the softened butter, caster sugar, eggs, sifted flour, cocoa powder, baking powder, vanilla extract, and milk into a large mixing bowl. Beat using a hand-held electric mixer on medium speed for 2 minutes until the batter is pale, smooth, and lump-free. This all-in-one method keeps the mixture aerated without overworking the gluten.
- Divide and level: Spoon the batter evenly between the two prepared tins and use the back of a spoon or a small offset spatula to level the surface gently. Even distribution at this stage helps both layers bake at the same rate.
- Bake the sponges: Place both tins on the middle shelf of the preheated oven and bake for 22–25 minutes. The sponge is ready when it has pulled slightly from the sides of the tin and a skewer inserted in the centre comes out clean.
- Cool completely: Remove the tins from the oven and leave to cool in the tins for 10 minutes, then turn out onto a wire rack and leave until fully cold. Frosting a warm sponge will cause the buttercream to slide and melt.
- Make the chocolate buttercream: Beat the softened butter in a large bowl using an electric mixer until pale and fluffy, about 3 minutes. Add the sifted icing sugar and cocoa powder in two additions, mixing on low speed at first to prevent a cloud of icing sugar. Add the vanilla extract and 3 tablespoons of milk, then increase the speed and beat for a further 2–3 minutes until the buttercream is light, smooth, and spreadable. Add the final tablespoon of milk only if the mixture looks too stiff.
- Fill and frost: Place one cooled sponge layer on a serving plate or cake board. Spread a generous layer of buttercream over the top using a palette knife. Set the second sponge on top, pressing down lightly and evenly. Spread the remaining buttercream over the top and sides of the cake in smooth, even strokes.
- Finish and serve: Scatter the grated or shaved dark chocolate over the top of the cake just before serving. This adds a slight bittersweet contrast to the sweeter buttercream.
Tips for the Best Mary Berry Chocolate Buttercream Cake
Why has my chocolate sponge come out with a dense, heavy crumb?
The most common cause is cold butter. Butter that is not fully softened will not cream properly, leaving pockets of fat in the batter instead of incorporating evenly. Take the butter out of the fridge at least 45 minutes before you begin.
Why does my buttercream look greasy or split?
This usually happens when the butter is too warm. If the kitchen is hot or the butter has become almost liquid, put the mixing bowl in the fridge for 10 minutes, then beat again. The fats need to be cool enough to hold the air being beaten into them.
Why did my sponge layers rise unevenly with a domed top?
An uneven rise is often caused by opening the oven door too early or by placing both tins too close together. Position the tins centrally on the middle shelf with a small gap between them so the hot air can circulate around both.
Why is the cocoa flavour mild and lacking depth?
The quality and fat content of the cocoa powder makes a considerable difference. Use a Dutch-processed cocoa powder rather than a light, pale-coloured alternative. The Dutch process removes acidity and produces a deeper, more rounded chocolate flavour in the finished sponge.
How do I get a really smooth finish on the buttercream?
Dip a palette knife in a jug of very hot water, wipe it dry, and use it to smooth the buttercream in one continuous sweep. The warmth of the knife softens the surface slightly, allowing it to glide cleanly across without dragging or tearing.
Serving Suggestions
- Serve in neat slices at room temperature so the buttercream holds its shape and the sponge stays tender rather than firm.
- Pair with a pot of strong Yorkshire or Assam tea for a classic British afternoon serving.
- Add a small scoop of vanilla ice cream alongside a slice for a pudding course at a dinner party.
- Top individual slices with a few fresh raspberries just before serving for a sharp fruit note against the cocoa richness.
- Present on a plain white cake stand to let the dark chocolate shavings and glossy frosting carry the visual impact of the presentation.
Storage
Room Temperature
Store the finished cake in an airtight container at room temperature for up to 3 days.
Refrigerator
The cake can be kept in the refrigerator, covered loosely with cling film or in a large airtight container, for up to 5 days. Remove it from the fridge at least 30 minutes before serving so the buttercream softens back to its intended texture and the sponge is no longer cold and firm.
Freezing
The unfrosted sponge layers freeze well. Wrap each layer tightly in a double layer of cling film and then in foil, and freeze for up to 3 months. Defrost at room temperature for 3–4 hours before filling and frosting as normal. The finished, frosted cake can also be frozen, though the texture of the buttercream may change very slightly on thawing.
Nutrition
- Calories: 480 kcal
- Carbohydrates: 56g
- Protein: 5g
- Fat: 26g
- Saturated Fat: 16g
- Sodium: 180mg
Nutrition values are estimates only and will vary depending on the exact ingredients and portion sizes used.
FAQs
Can I use salted butter instead of unsalted butter in this recipe?
Salted butter can be used if that is all that is available, but reduce any additional salt and be aware that the flavour of the buttercream may be slightly more pronounced. Unsalted butter gives cleaner control over the overall sweetness and balance of the cake.
Can I make this cake ahead of time for a party or event?
The sponge layers can be baked up to two days in advance and stored, well-wrapped, at room temperature. The buttercream can be made a day ahead and kept in a covered bowl in the fridge. Bring both to room temperature before assembling, and add the chocolate shavings on the day of serving.
Can I use self-raising flour and leave out the baking powder?
Self-raising flour already contains a small amount of raising agent, but the extra baking powder in this recipe is there to compensate for the weight of the cocoa powder. Leaving it out may result in a slightly denser sponge that does not rise as evenly.
What is the best tin size to use for this recipe?
Two 20cm round sandwich tins work best at these quantities. Using smaller tins, such as 18cm, will produce a slightly deeper sponge and may need a few extra minutes in the oven. Avoid tins larger than 22cm as the batter will spread too thin and bake too quickly, resulting in a dry texture.
Can I make this into a three-layer chocolate cake?
To make three layers, increase the sponge quantities by half and divide the batter between three 20cm tins. Bake for the same temperature and check from 20 minutes. Increase the buttercream quantities by half as well to account for the additional filling and frosting needed.
Conclusion
This Mary Berry chocolate buttercream cake recipe produces a consistently reliable bake with a soft, even crumb and a frosting that is smooth, well-balanced, and rich without being cloying. The all-in-one sponge method reduces preparation time and the risk of overworking the batter, making this an excellent cake to return to whether it is a first attempt or a familiar favourite. This recipe makes one 20cm two-layer round cake, serving approximately 10–12 slices.
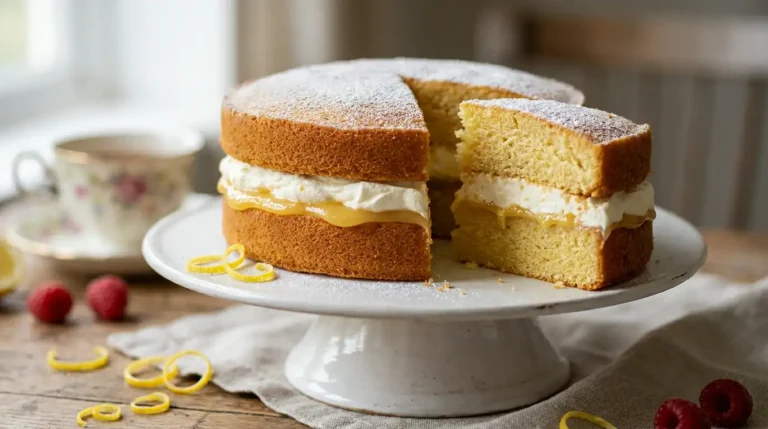
If this recipe has been helpful, feel free to leave a comment below with how the bake turned out or share it with someone who would enjoy making it. For another elegant British classic, you might also like the Mary Berry lemon Victoria sponge recipe, which uses a similarly straightforward method to produce a beautifully light sponge with a bright citrus flavour.
Mary Berry Chocolate Buttercream Cake Recipe
Course: DessertCuisine: BritishDifficulty: Easy12
servings20
minutes25
minutes480
kcal1
hour15
minutesA deeply moist, fine-crumbed chocolate sponge layered and frosted with silky cocoa buttercream. Made using an easy all-in-one method, this reliable bake is beginner-friendly and perfect for birthdays, afternoon tea, or weekend baking.
Ingredients
200g self-raising flour
30g cocoa powder, sifted
200g caster sugar
200g unsalted butter, softened
4 large eggs, at room temperature
2 tsp baking powder
3 tbsp whole milk
1 tsp vanilla extract
175g unsalted butter, softened
300g icing sugar, sifted
40g cocoa powder, sifted
3–4 tbsp whole milk
1 tsp vanilla extract
50g dark chocolate, finely grated or shaved
Instructions
- Grease two 20cm round sandwich tins and line the bases with baking parchment. Preheat the oven to 180°C (160°C fan/Gas 4).
- Place the softened butter, caster sugar, eggs, sifted flour, cocoa powder, baking powder, vanilla extract, and milk into a large mixing bowl. Beat using a hand-held electric mixer on medium speed for 2 minutes until the batter is pale, smooth, and lump-free.
- Spoon the batter evenly between the two prepared tins and use the back of a spoon or a small offset spatula to level the surface gently.
- Place both tins on the middle shelf of the preheated oven and bake for 22–25 minutes until the sponge has pulled slightly from the sides and a skewer inserted in the centre comes out clean.
- Remove the tins from the oven and leave to cool in the tins for 10 minutes, then turn out onto a wire rack and leave until fully cold.
- Beat the softened butter in a large bowl using an electric mixer until pale and fluffy, about 3 minutes. Add the sifted icing sugar and cocoa powder in two additions, mixing on low speed at first. Add the vanilla extract and 3 tablespoons of milk, then increase the speed and beat for a further 2–3 minutes until light, smooth, and spreadable.
- Place one cooled sponge layer on a serving plate. Spread a generous layer of buttercream over the top. Set the second sponge on top, pressing down lightly and evenly. Spread the remaining buttercream over the top and sides of the cake in smooth, even strokes.
- Scatter the grated or shaved dark chocolate over the top of the cake just before serving.
Notes
- Butter must be fully softened before mixing or the batter will not incorporate evenly.
- Do not open the oven door before 20 minutes to avoid the sponge sinking.
- If the buttercream looks greasy or split, refrigerate the bowl for 10 minutes then beat again.
- Use Dutch-processed cocoa powder for a deeper, more rounded chocolate flavour.
- Dip a palette knife in hot water and wipe dry for a smooth buttercream finish.
- The sponge layers can be baked up to two days ahead and stored well-wrapped at room temperature.