Mary Berry Buttermilk Scones Recipe
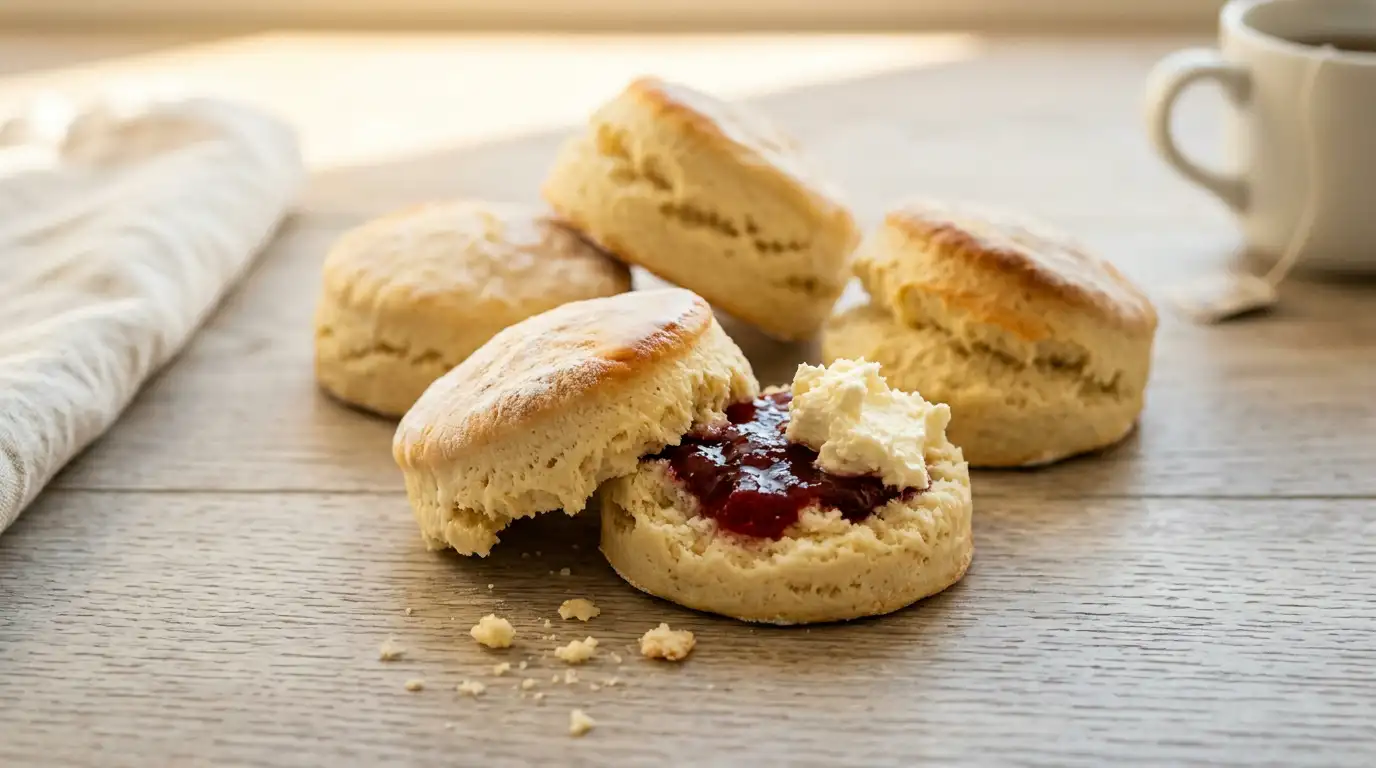
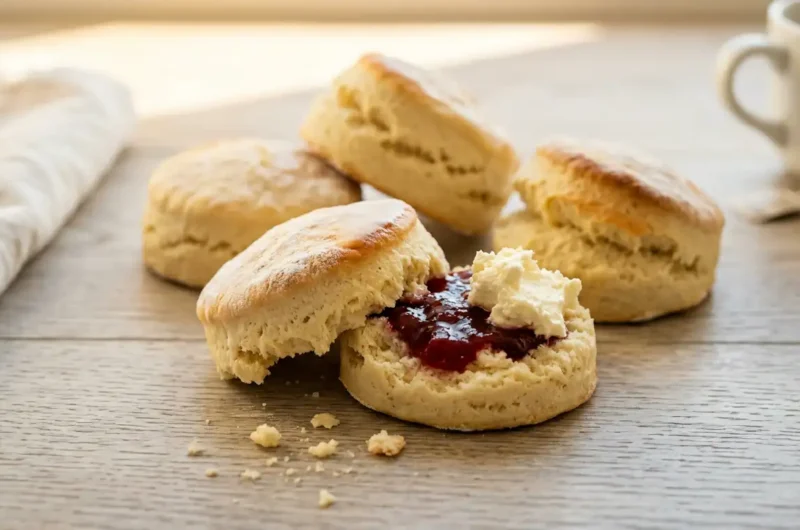
Mary Berry buttermilk scones have a pale golden crust that gives way to a soft, open crumb with a slight tang from the buttermilk. They rise tall and even, with a texture that sits somewhere between a classic cream scone and a light bread roll, tender enough to pull apart cleanly without crumbling to pieces.
What sets this version apart is how the buttermilk works with the raising agents to give a reliable, consistent lift every single time. There is no complicated technique involved, no special equipment needed, and the dough comes together in minutes. These scones suit a weekend breakfast, an afternoon tea spread, or a last-minute bake when guests are expected. From start to finish, they are ready in around 35 minutes.
Ingredients
For The Scones
- 350g self-raising flour, plus extra for dusting
- 1 tsp baking powder
- 0.5 tsp bicarbonate of soda
- 0.5 tsp fine salt
- 85g unsalted butter, cold and cut into small cubes
- 2 tbsp caster sugar
- 175ml buttermilk, cold
- 2 tbsp whole milk, for brushing
To Serve
- Clotted cream
- Strawberry jam
How to Make Mary Berry Buttermilk Scones Recipe
- Preheat the oven: Set the oven to 220C (200C fan, Gas 7) and place a large baking tray inside to heat up. A hot tray underneath gives the scones a strong initial burst of heat from below, which helps them spring upwards quickly.
- Combine the dry ingredients: Sift the self-raising flour, baking powder, bicarbonate of soda, and salt into a large mixing bowl. Stir briefly to distribute everything evenly.
- Rub in the butter: Add the cold cubed butter to the flour mixture. Using your fingertips, rub the butter into the flour by lifting and pressing lightly until the mixture resembles coarse, uneven breadcrumbs. Work quickly so the butter stays cold, which keeps the scones flaky rather than dense.
- Add the sugar: Scatter the caster sugar over the crumb mixture and stir it through with a table knife.
- Bring the dough together: Pour the cold buttermilk in all at once and use the table knife to cut and fold the mixture until it just comes together into a shaggy dough. Do not overwork it at this stage, as too much mixing develops the gluten and toughens the crumb.
- Shape and cut the scones: Turn the dough onto a lightly floured surface and pat it out gently to a thickness of about 3cm. Do not use a rolling pin. Use a 6cm round cutter dipped in flour and press straight down without twisting, then lift cleanly. Twisting the cutter seals the edges and prevents an even rise.
- Glaze and bake: Place the scones onto the preheated tray, brush the tops lightly with whole milk, and bake on the top shelf for 12 to 14 minutes until the tops are a pale golden colour and the scones have risen visibly. Transfer to a wire rack and leave to cool for at least 5 minutes before serving.
Tips for the Best Mary Berry Buttermilk Scones
Why are my scones not rising properly?
The most common cause is the dough being too thick when cut, or the cutter being twisted rather than pressed straight down. Pat the dough to a full 3cm height and always press the cutter directly downwards and lift cleanly.
Why do my scones have a dense, heavy texture?
Overworking the dough is almost always the reason. Once the buttermilk goes in, the mixing should stop the moment the dough holds together. Even a minute of extra kneading is enough to make them tough.
Why are my scones spreading outwards instead of rising upwards?
This usually happens when the butter has softened too much before being rubbed in, or when the dough is cut too thin. Keep the butter cold right up until you start, and make sure the dough is at least 3cm deep before cutting.
Why do my scones have a pale, doughy base?
Baking on a cold tray is the cause. Always preheat the tray inside the oven before the scones go on. The immediate contact with a hot surface starts the base cooking at the same rate as the top.
How do I get a clean, even top on each scone?
Apply the milk glaze with a light hand and avoid letting it drip down the sides. A glaze running down the edges acts as a seal and pulls the crust unevenly during baking, giving a lopsided rise.
Serving Suggestions
- Split and serve warm with a generous spoonful of clotted cream and a thick layer of strawberry jam, cream first if you follow the Devon tradition.
- Pair with a pot of Assam or Darjeeling tea for a proper afternoon spread.
- Fill with thinly sliced smoked salmon and a little cream cheese for a savoury lunchtime option.
- Serve alongside a bowl of homemade soup as a rustic alternative to bread rolls.
- Warm briefly in the oven at 160C for 5 minutes the following day and serve with salted butter and honey.
Storage
Room Temperature
Store in an airtight container at room temperature for up to 2 days.
Refrigerator
Wrap the scones individually in cling film and keep in the fridge for up to 4 days. Bring them back to room temperature for 20 minutes or warm in a low oven before serving, as chilling firms the crumb considerably.
Freezing
Wrap each scone tightly in cling film, then place in a zip-lock freezer bag and freeze for up to 3 months. Defrost at room temperature for an hour, then refresh in the oven at 160C for 5 to 8 minutes before serving.
Nutrition
- Calories: 230 kcal
- Carbohydrates: 33g
- Protein: 5g
- Fat: 9g
- Saturated Fat: 5g
- Sodium: 310mg
Nutrition values are estimates only and will vary depending on the exact ingredients and brands used, as well as the size of each scone.
FAQs
Can I use regular milk instead of buttermilk?
You can make a quick substitute by adding 1 tablespoon of lemon juice or white wine vinegar to 175ml of whole milk and leaving it to sit for 5 minutes. It will curdle slightly and behave similarly to buttermilk in the dough, though the flavour will be a little less tangy.
Can I make the dough ahead of time?
The dough is best baked immediately after mixing. If needed, cut the scones, place them on the tray, cover loosely with cling film, and refrigerate for up to an hour before baking. Baking from cold may need an extra minute or two in the oven.
Can I add fruit to this buttermilk scone recipe?
Yes, 75g of sultanas or dried cranberries can be stirred in after the sugar and before the buttermilk is added. Plump the fruit in warm water for 10 minutes and pat dry first so it does not draw moisture out of the dough during baking.
What size cutter should I use for this recipe?
A 6cm round cutter gives the best height-to-width ratio for this quantity of dough. A smaller cutter will produce more scones but they will be narrower and can dry out faster. Avoid using anything larger than 7cm or the centres may not bake through evenly.
Can I make these scones without gluten?
A gluten-free plain flour blend with a built-in raising agent can be substituted at the same weight. Add an extra half teaspoon of xanthan gum if the blend does not already contain it, as this helps bind the dough and prevents crumbling once baked.
Conclusion
This Mary Berry buttermilk scones recipe delivers a consistent result that requires very little experience to get right. Cold butter, cold buttermilk, a light hand with the mixing, and a preheated tray are the four things that matter most. Follow those points and the scones will come out tall, tender, and golden every time. This recipe makes approximately 8 scones using a 6cm cutter.
If these have become a regular bake in your kitchen, share this recipe with someone who loves afternoon tea, or leave a comment below with how you served yours. For another reliable classic from the same tradition, you might also like the Mary Berry carrot cake tray bake recipe, which is just as straightforward and equally crowd-pleasing.
Mary Berry Buttermilk Scones Recipe
Course: Breakfast, Afternoon TeaCuisine: BritishDifficulty: Easy8
servings20
minutes14
minutes230
kcal35
minutesTall, tender buttermilk scones with a pale golden crust and soft open crumb. A reliable, beginner-friendly bake that comes together in minutes with no special equipment needed.
Ingredients
350g self-raising flour, plus extra for dusting
1 tsp baking powder
0.5 tsp bicarbonate of soda
0.5 tsp fine salt
85g unsalted butter, cold and cut into small cubes
2 tbsp caster sugar
175ml buttermilk, cold
2 tbsp whole milk, for brushing
clotted cream to serve
strawberry jam to serve
Instructions
- Set the oven to 220C (200C fan, Gas 7) and place a large baking tray inside to heat up.
- Sift the self-raising flour, baking powder, bicarbonate of soda, and salt into a large mixing bowl and stir briefly to distribute evenly.
- Add the cold cubed butter and rub into the flour using your fingertips until the mixture resembles coarse, uneven breadcrumbs.
- Scatter the caster sugar over the crumb mixture and stir through with a table knife.
- Pour the cold buttermilk in all at once and use a table knife to cut and fold until the dough just comes together.
- Turn the dough onto a lightly floured surface, pat to a thickness of 3cm, and cut using a 6cm round cutter dipped in flour, pressing straight down without twisting.
- Place scones onto the preheated tray, brush tops lightly with whole milk, and bake for 12 to 14 minutes until pale golden and well risen. Transfer to a wire rack and cool for 5 minutes before serving.
Notes
- Keep butter cold right up until rubbing in to ensure a flaky, tender crumb.
- Do not overwork the dough once the buttermilk is added or the scones will turn tough.
- Always preheat the baking tray in the oven before use for a well-cooked base.
- Press the cutter straight down without twisting to get an even, tall rise.
- Pat the dough to a full 3cm depth before cutting to ensure good height.
- Refresh day-old scones in a 160C oven for 5 minutes before serving.