Mary Berry Honeycomb Ice Cream Recipe
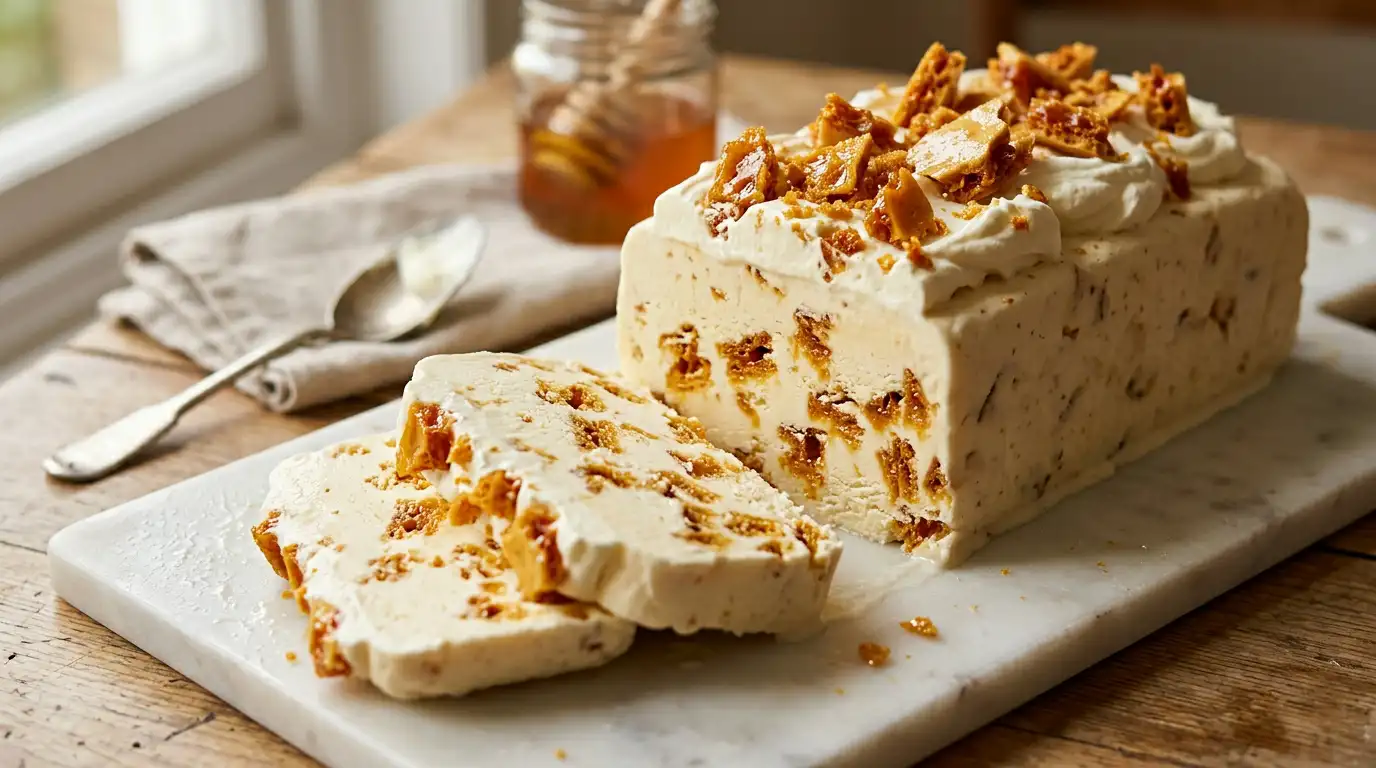
Mary Berry Honeycomb Ice Cream is a no-churn frozen dessert with a rich, golden custard base threaded through with crunchy amber shards of homemade honeycomb. Each scoop carries a deep, buttery toffee flavour, and the honeycomb pieces melt slowly against the cold cream, creating pockets of caramel sweetness throughout. The overall texture is smooth and dense, closer to a classic gelato than a light whipped ice cream.
This recipe requires no ice cream machine and no constant stirring during freezing, making it very manageable for home cooks. The honeycomb is made on the hob in a single pan, and the whole dessert sets overnight in the freezer with very little hands-on effort. It suits a summer lunch party just as well as a casual weeknight pudding. From start to finish, including chilling time, it is ready in around 6 hours, with just 35 minutes of active preparation.
How to Make Mary Berry Honeycomb Ice Cream
- 01
Prepare the tin and line a tray:
Grease and line a large baking tray with non-stick baking paper, then set it on a heatproof surface near the hob. Line a 900ml loaf tin with two layers of cling film, leaving plenty of overhang on all sides so the set ice cream can be lifted out cleanly.
- 02
Make the honeycomb:
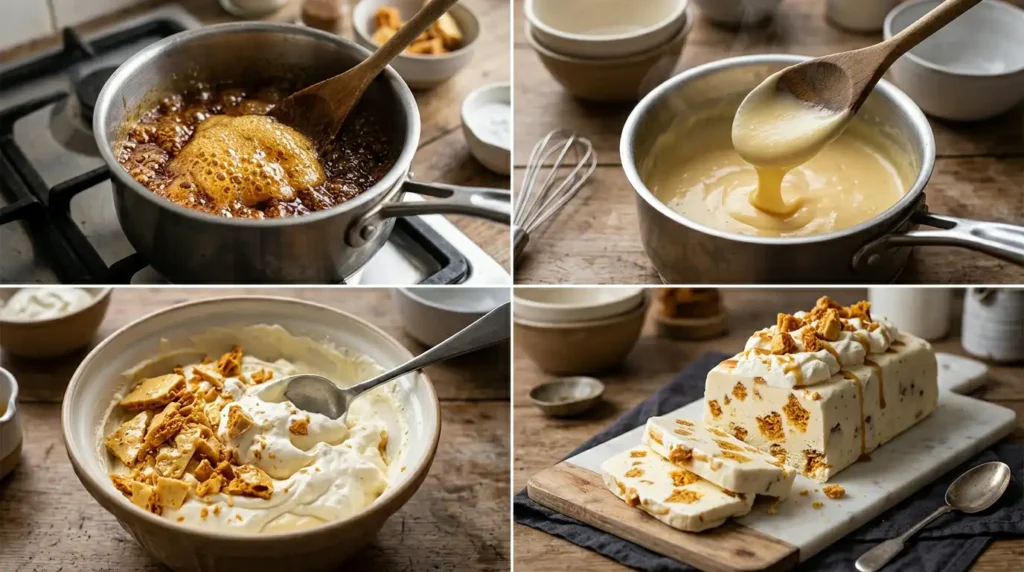
Place the 150g caster sugar and 4 tbsp golden syrup in a deep, heavy-based saucepan. Set over a medium heat and stir just until the sugar dissolves, then stop stirring and let the mixture bubble steadily until it turns a deep amber colour, about 4 to 5 minutes. Remove from the heat immediately, tip in the 1½ tsp bicarbonate of soda, and whisk quickly for a few seconds. The mixture will foam dramatically, so keep your hands clear, then pour the foaming caramel onto the lined baking tray without spreading it. Leave to cool and harden completely, at least 20 minutes.
- 03
Make the custard base:
Warm the 150ml whole milk in a saucepan over a low heat until it just begins to steam, then remove from the heat. In a heatproof bowl, whisk together the 4 egg yolks and 100g caster sugar until the mixture turns pale and slightly thick. Pour the warm milk gradually into the yolk mixture, whisking continuously, then return everything to the saucepan. Cook over a gentle heat, stirring constantly with a wooden spoon, until the custard thickens enough to coat the back of the spoon and holds a clear line when a finger is drawn across it. This gentle approach prevents the eggs from scrambling. Remove from the heat, stir in the vanilla extract and a pinch of sea salt, then pour into a clean bowl and cover the surface directly with cling film to prevent a skin forming. Leave to cool to room temperature, then refrigerate until completely cold, at least 1 hour.
- 04
Whip the cream and combine:
Pour the 300ml chilled double cream into a large bowl and whip to soft, billowing peaks. Do not overwhip, as the cream should still fall gently from the whisk rather than hold a stiff shape. Using a large metal spoon, fold the cold custard into the whipped cream in three additions, working gently to keep as much air in the mixture as possible.
- 05
Break the honeycomb and fold through:
Once the honeycomb is fully set and brittle, break it into pieces of varying sizes. Some should be quite small and some a little larger, so each spoonful offers a different textural experience. Reserve a small handful of pieces for decoration, then fold the rest through the ice cream mixture. Folding rather than stirring keeps the shards intact and evenly distributed rather than crushed.
- 06
Freeze the ice cream:
Pour the mixture into the prepared loaf tin and smooth the surface with the back of a spoon. Fold the cling film overhang loosely over the top and transfer to the freezer. Freeze for a minimum of 5 hours, or overnight, until completely solid throughout.
- 07
Serve and finish:
Remove the ice cream from the freezer 8 to 10 minutes before serving and let it soften slightly at room temperature. Lift it from the tin using the cling film overhang and place onto a chilled board or serving plate. Whip the remaining 150ml double cream to soft peaks and spoon it over the top, then scatter the reserved honeycomb pieces across the surface for a golden, crunchy finish. Slice with a knife dipped briefly in warm water for clean, neat portions.
Tips for the Best Mary Berry Honeycomb Ice Cream
01 Why has my honeycomb come out sticky and soft instead of crisp and brittle?
02 Why does my ice cream have large, icy crystals running through it?
03 Why has my custard curdled and turned grainy on the hob?
04 Why has the honeycomb dissolved and disappeared inside the ice cream after freezing?
05 Why is the ice cream too hard to scoop straight from the freezer?
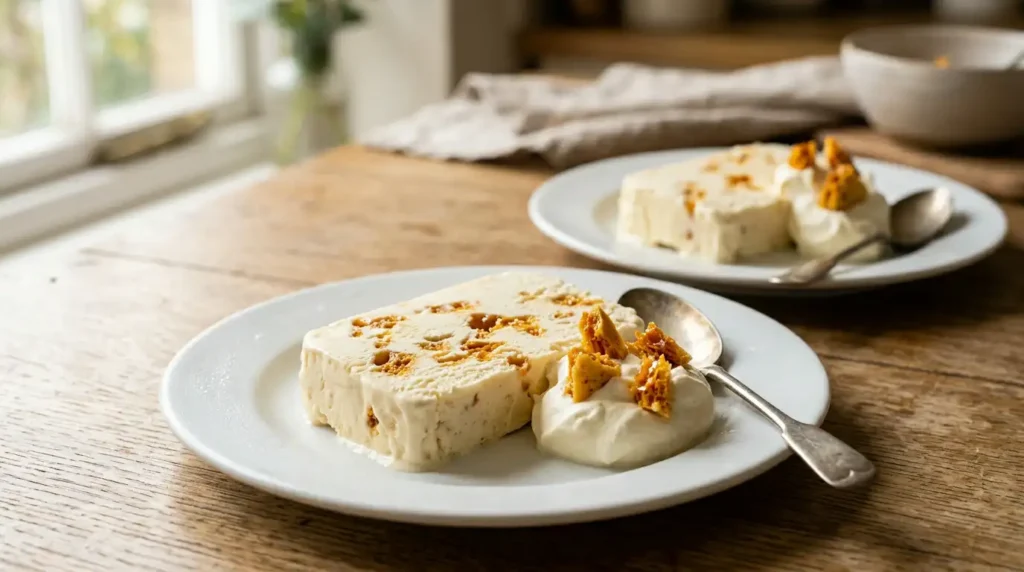
Serving Suggestions
Serve in chilled glass coupes with a drizzle of warm salted caramel sauce poured over each scoop at the table.
Pair alongside a wedge of warm dark chocolate brownie for a contrast of temperatures and textures.
Sandwich between two thin, crisp waffle cones for a handheld dessert at a summer garden party.
Spoon into small ramekins and top with a few extra shards of honeycomb and a light dusting of cocoa powder for a dinner party plated dessert.
Serve alongside a pot of strong builder’s tea for a very British afternoon treat when guests arrive on a hot day.
Storage
Room Temperature
This ice cream must not be stored at room temperature. It should return to the freezer promptly within 10 minutes of serving to maintain its texture and food safety.
Refrigerator
If needed, the unbaked custard base can be kept covered in the refrigerator for up to one day before whipping and freezing. Do not store the finished ice cream in the fridge, as it will melt and lose its structure. Bring the custard to a cool room temperature briefly before combining with the whipped cream.
Freezer
Cover the surface of the ice cream directly with cling film, then wrap the entire tin in a layer of foil before returning it to the freezer. It keeps well for up to 6 weeks. To serve from frozen, leave the tin at room temperature for 8 to 10 minutes before scooping, as it firms considerably during longer storage.
Nutrition
FAQs
01 Can I use condensed milk instead of making a custard base from scratch?
02 Can I make this Mary Berry Honeycomb Ice Cream recipe ahead of time for a party?
03 Can I use shop-bought honeycomb or Crunchie bars instead of making honeycomb at home?
04 What size loaf tin works best for this recipe?
05 Is this honeycomb ice cream suitable for a gluten-free diet?
Conclusion
This Mary Berry Honeycomb Ice Cream recipe brings together a silky, egg-rich custard base with brittle, caramel-scented honeycomb pieces in a dessert that requires no specialist equipment and very little active effort. The result is a freezer pudding with real depth of flavour, one that holds its own at a dinner party but is straightforward enough to prepare on any occasion. The recipe makes approximately 6 generous servings from a standard 900ml loaf tin, with easy-to-scale quantities if a larger batch is needed.
Give it a try, leave a comment below with how it turned out, and share the recipe with anyone who loves a proper British frozen pudding. For something equally indulgent to bake, you might also enjoy the Mary Berry Gluten Free Chocolate Cake Recipe, a rich, deeply chocolatey bake that suits those avoiding gluten without compromising on flavour.
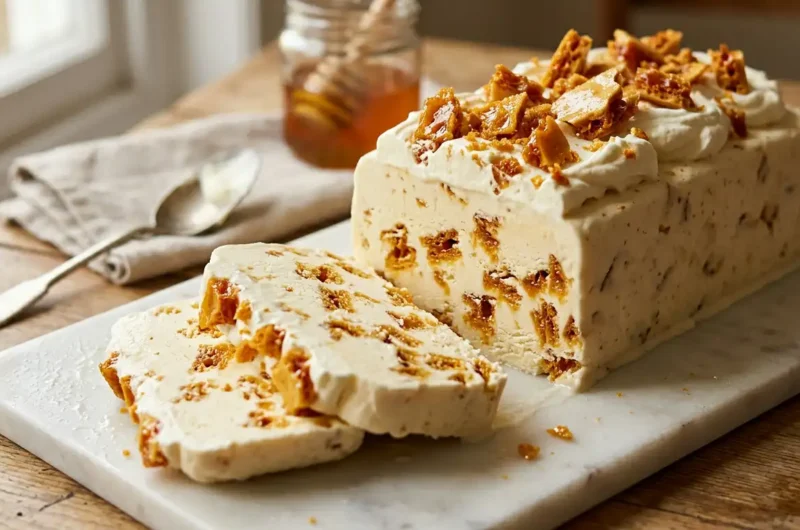
Mary Berry Honeycomb Ice Cream Recipe
Course: DessertCuisine: BritishDifficulty: Easy6
servings35
minutes15
minutes390
kcal6
hoursA no-churn frozen dessert with a rich, golden custard base threaded through with crunchy amber shards of homemade honeycomb. Smooth, dense, and deeply buttery in flavour, this beginner-friendly ice cream requires no ice cream machine and sets beautifully overnight in the freezer.
Ingredients
150g caster sugar
4 tbsp golden syrup
1.5 tsp bicarbonate of soda
300ml double cream, chilled
150ml whole milk
4 large egg yolks
100g caster sugar
1 tsp vanilla extract
150ml double cream, for whipping
a pinch of fine sea salt
Instructions
- Grease and line a large baking tray with non-stick baking paper and set it on a heatproof surface near the hob. Line a 900ml loaf tin with two layers of cling film, leaving plenty of overhang on all sides.
- Place the 150g caster sugar and 4 tbsp golden syrup in a deep heavy-based saucepan. Heat over medium, stir until sugar dissolves, then stop stirring and bubble until deep amber, about 4 to 5 minutes. Remove from heat, add bicarbonate of soda, whisk quickly, and pour onto the lined tray. Leave to cool and harden for at least 20 minutes.
- Warm the 150ml whole milk in a saucepan until it just steams, then remove from heat. Whisk 4 egg yolks and 100g caster sugar until pale and thick. Gradually pour in the warm milk, whisking continuously, then return to the pan and cook over gentle heat, stirring constantly, until the custard coats the back of a spoon. Stir in vanilla extract and sea salt, cover the surface with cling film, cool to room temperature, then refrigerate until completely cold, at least 1 hour.
- Whip the 300ml chilled double cream to soft, billowing peaks. Fold the cold custard into the whipped cream in three additions using a large metal spoon, working gently to retain as much air as possible.
- Break the set honeycomb into pieces of varying sizes. Reserve a small handful for decoration, then fold the rest through the ice cream mixture.
- Pour the mixture into the prepared loaf tin and smooth the surface. Fold the cling film overhang over the top and freeze for a minimum of 5 hours or overnight until completely solid.
- Remove the tin from the freezer 8 to 10 minutes before serving. Lift out using the cling film overhang. Whip the remaining 150ml double cream to soft peaks, spoon over the top, and scatter the reserved honeycomb pieces across the surface. Slice with a warm knife to serve.
Notes
- Ensure the caramel reaches a deep amber colour before adding bicarbonate of soda or the honeycomb will be soft and sticky rather than crisp.
- Make sure the custard is thoroughly chilled before folding into the whipped cream to avoid ice crystals forming.
- Fold honeycomb pieces in quickly once the ice cream is combined to prevent them dissolving in the moisture of the cream.
- Wrap the finished ice cream tightly in cling film and foil to prevent freezer burn during longer storage.
- Dip the serving knife in warm water between slices for clean, neat portions.