Mary Berry Lemon Curd Recipe
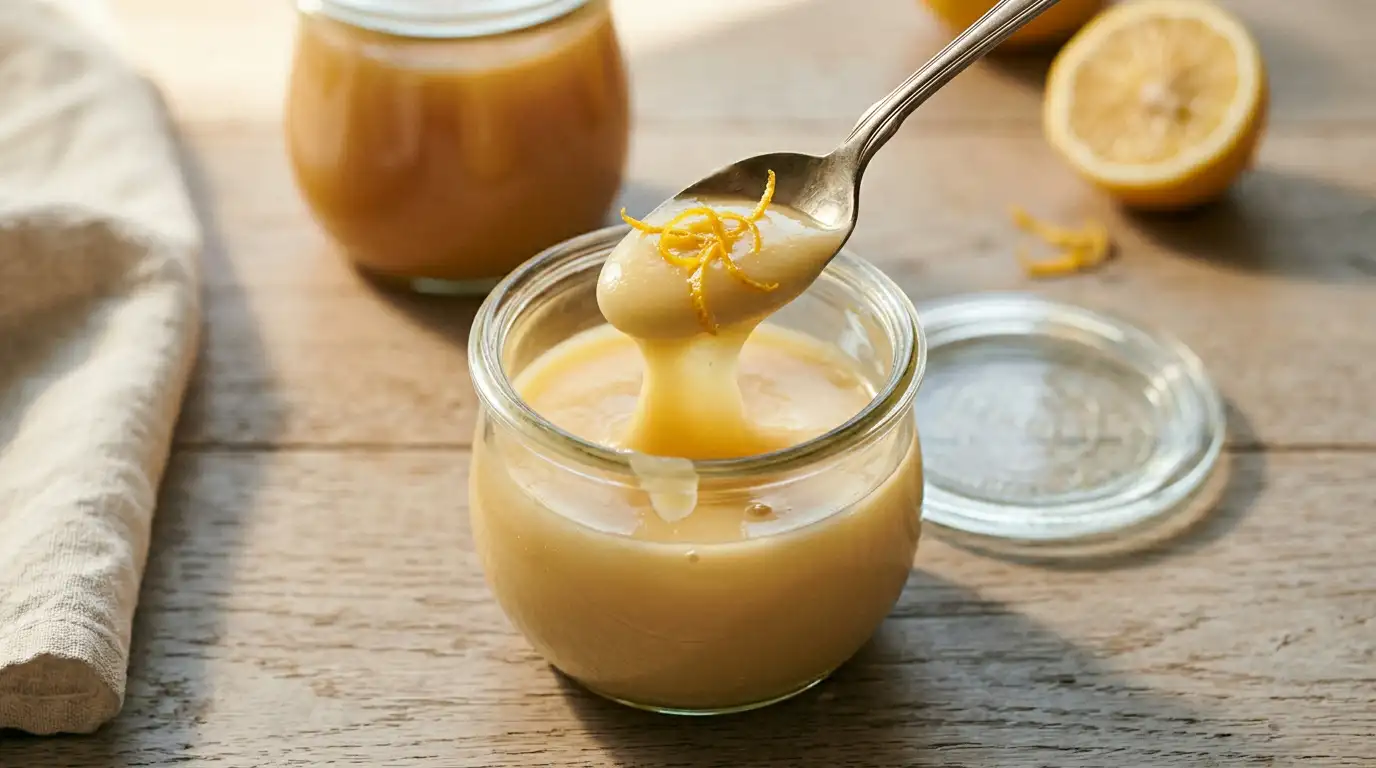
This lemon curd is a glossy, pale-yellow preserve with a sharp citrus tang balanced by a rich, buttery finish. It spreads like silk and sets to a soft, spoonable consistency that clings beautifully to warm toast or freshly baked scones. The mary berry lemon curd recipe keeps the method straightforward, using just four core ingredients cooked gently over a bain-marie so the mixture never scrambles or splits. It suits both beginner and experienced cooks equally well. From start to finish, it is ready in around 35 minutes.
What sets this version apart is the careful balance of lemon juice and zest, which gives the curd a bright, natural flavour rather than the dull, over-sweetened taste common in shop-bought jars. The slow, stirred cooking method produces a consistently smooth texture every time.
Ingredients
For The Lemon Curd
- 3 unwaxed lemons, finely zested and juiced (approximately 90ml juice)
- 175g caster sugar
- 100g unsalted butter, cut into small cubes
- 3 large eggs, plus 1 extra yolk, lightly beaten
How to Make Mary Berry Lemon Curd Recipe
- Prepare the jars: Wash two 200ml glass jars thoroughly in hot soapy water, rinse well, and place them upright on a baking tray in an oven set to 140C (fan 120C, gas 1) for 15 minutes to sterilise. Leave to cool slightly before filling, as cold glass can crack on contact with hot curd.
- Set up the bain-marie: Fill a medium saucepan with about 5cm of water and bring it to a gentle simmer. Place a heatproof bowl over the pan, making sure the base of the bowl does not touch the water, to prevent the eggs from cooking too quickly.
- Combine the base ingredients: Add the lemon zest, lemon juice, caster sugar, and cubed butter to the bowl. Stir occasionally with a wooden spoon until the butter has completely melted and the sugar has dissolved into the liquid, producing a clear, pale mixture.
- Add the eggs: Pour the beaten eggs and extra yolk into the bowl through a fine sieve, this removes any threads or chalazae that could create lumps in the finished curd. Stir the mixture steadily with a wooden spoon or heatproof spatula as soon as the eggs go in.
- Cook the curd: Continue stirring constantly over the simmering water for 10 to 12 minutes. The curd will gradually thicken from a watery consistency to a coating texture that leaves a clear line when a finger is drawn across the back of the spoon. Do not let the water boil vigorously beneath the bowl, as excessive heat will curdle the eggs.
- Test for readiness: Dip a cold metal spoon into the curd and hold it horizontally. The mixture should coat the spoon evenly and hold its shape rather than drip off in a thin stream. It will firm up further as it cools inside the jars.
- Pot and seal: Remove the bowl from the heat and carefully pour the hot curd into the warm sterilised jars using a small jug or ladle. Fill right to the top, then seal immediately with lids. The sealed jars will keep a good shelf life as the heat creates a light vacuum on cooling.
- Cool and label: Leave the jars to cool completely at room temperature before refrigerating. Label each jar with the date so the freshness is easy to track.
Tips for the Best Lemon Curd
Why has my lemon curd turned lumpy or scrambled?
This happens when the heat beneath the bowl is too intense, cooking the eggs before they have a chance to incorporate evenly. Keep the water at a steady gentle simmer throughout and stir the mixture continuously, never leaving it unattended.
Why is my lemon curd not thickening after 15 minutes?
The water temperature may not be high enough to activate the egg proteins properly. Check that the water is producing a consistent light simmer, not just wisps of steam, and continue stirring patiently. Curd thickened over low heat can take a few extra minutes but produces a more stable result.
Why does my lemon curd taste bitter rather than sharp and bright?
Bitter curd is almost always caused by too much pith in the zest. When zesting the lemons, apply only light pressure to remove just the bright yellow outer layer. Pressing down into the white pith releases compounds that make the finished curd taste harsh.
Why is my lemon curd too runny even after it has cooled?
If the curd is still pourable after an hour in the fridge, it was likely undercooked. The mixture must reach a clear coating consistency on the back of a spoon before being potted. A loose curd can be returned to the bain-marie and cooked for a further 3 to 5 minutes with constant stirring.
How do I stop a skin forming on the surface of the curd as it cools?
Press a disc of baking parchment directly onto the surface of the curd in the jar before sealing if you notice a skin forming. Alternatively, seal the jars immediately while the curd is still hot, which keeps the surface moist and prevents oxidation.
Serving Suggestions
- Spread generously over warm, buttered crumpets or toasted sourdough for a sharp, glossy breakfast topping.
- Spoon into freshly baked tart cases and top with a small dollop of whipped cream for a simple dinner party dessert.
- Use as a filling between layers of Victoria sponge in place of jam, alongside a thick layer of lightly whipped double cream.
- Swirl through Greek yogurt and serve alongside shortbread biscuits as a quick afternoon treat.
- Serve alongside warm scones with clotted cream as part of a classic cream tea spread.
Storage
Room Temperature
Unopened, sterilised jars can be kept in a cool, dark cupboard for up to four weeks.
Refrigerator
Once opened, store the jar in the fridge and use within two weeks. Bring to room temperature for around 10 minutes before spreading if the curd feels too firm straight from the fridge.
Freezing
Spoon the cooled lemon curd into a freezer-safe container, leaving a small gap at the top to allow for expansion, and freeze for up to three months. Defrost overnight in the fridge and stir gently before use, as the texture may loosen slightly on thawing.
Nutrition
- Calories: 85 kcal
- Carbohydrates: 10g
- Protein: 1g
- Fat: 4.5g
- Saturated Fat: 2.5g
- Sodium: 15mg
Nutrition values are estimates based on a standard 2 tablespoon serving and may vary depending on the specific ingredients used and serving size.
FAQs
Can I use bottled lemon juice instead of fresh lemons?
Fresh lemons are strongly recommended for this recipe. Bottled lemon juice lacks the aromatic oils found in fresh zest, and many bottled varieties contain preservatives that can affect the flavour and setting quality of the curd. The zest in particular is essential for a full, rounded lemon flavour.
Can I make this lemon curd ahead of time?
Yes, lemon curd is an ideal make-ahead preserve. Potted into sterilised jars and refrigerated, it keeps well for up to two weeks once opened. Many bakers make a batch a few days before a baking project to allow it to firm up fully in the fridge.
Can I double this recipe to make a larger batch?
The recipe doubles successfully. Use a larger heatproof bowl over the bain-marie to give the mixture room to be stirred comfortably. Be aware that a larger volume will take a few extra minutes to reach the correct coating consistency, so allow an additional 5 to 8 minutes of cooking time.
Can I use salted butter instead of unsalted butter?
Salted butter will work, but it shifts the flavour balance toward a saltier finish that can overwhelm the delicate citrus notes. If salted butter is the only option available, reduce the quantity by around 10g to keep the flavour in check.
What size jars work best for potting lemon curd?
Small jars between 150ml and 250ml are ideal. They allow the curd to be used within the recommended two-week window once opened, reducing waste. Larger jars are suitable if the curd will be used frequently or shared.
Conclusion
This mary berry lemon curd recipe delivers a smooth, glossy preserve with a clean citrus sharpness and a rich, buttery depth that improves on anything found in a supermarket jar. The method is gentle and forgiving, built around slow heat and constant stirring to produce a consistently silky result. The recipe yields approximately 400ml of finished curd, enough to fill two standard 200ml jars.
Whether spread on toast at breakfast, layered into a cake, or spooned into a tart shell for a dinner party, this curd earns its place in the fridge as a versatile, handmade staple. If this recipe has been useful, leave a comment below with how you used yours, and share it with anyone who enjoys homemade preserves. If you enjoyed this, you might also like the Mary Berry chicken and leek pie recipe for a satisfying savoury bake.
Mary Berry Lemon Curd Recipe
Course: PreserveCuisine: BritishDifficulty: Easy2
servings10
minutes25
minutes85
kcal35
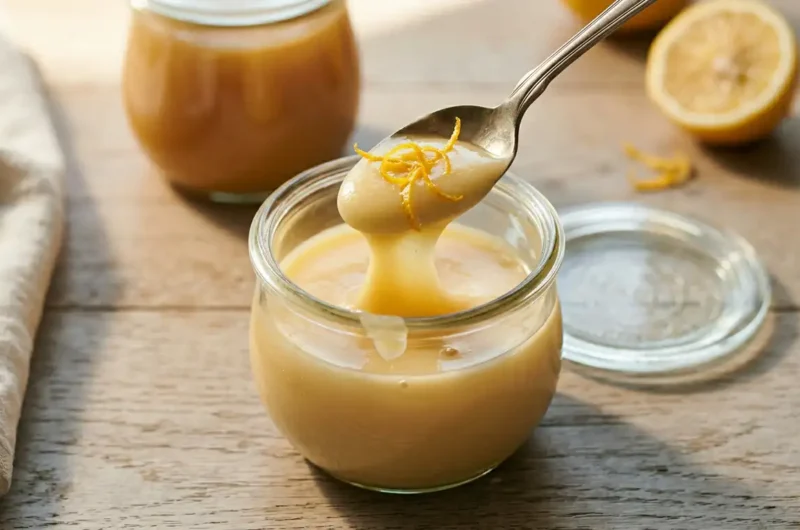
minutesA glossy, pale-yellow preserve with a sharp citrus tang and rich buttery finish. Made with just four ingredients over a gentle bain-marie, this silky lemon curd is perfect for spreading, filling, and baking.
Ingredients
3 unwaxed lemons, finely zested and juiced (approximately 90ml juice)
175g caster sugar
100g unsalted butter, cut into small cubes
3 large eggs, plus 1 extra yolk, lightly beaten
Instructions
- Wash two 200ml glass jars in hot soapy water, rinse well, and place upright on a baking tray in an oven set to 140C (fan 120C, gas 1) for 15 minutes to sterilise. Leave to cool slightly before filling.
- Fill a medium saucepan with about 5cm of water and bring to a gentle simmer. Place a heatproof bowl over the pan, ensuring the base does not touch the water.
- Add the lemon zest, lemon juice, caster sugar, and cubed butter to the bowl. Stir occasionally until the butter has completely melted and the sugar has dissolved into a clear, pale mixture.
- Pour the beaten eggs and extra yolk into the bowl through a fine sieve to remove any threads or chalazae. Stir the mixture steadily as soon as the eggs go in.
- Continue stirring constantly over the simmering water for 10 to 12 minutes until the curd thickens to a coating consistency that leaves a clear line when a finger is drawn across the back of the spoon.
- Dip a cold metal spoon into the curd and hold it horizontally. The mixture should coat the spoon evenly and hold its shape rather than drip off. It will firm up further as it cools.
- Remove the bowl from the heat and carefully pour the hot curd into the warm sterilised jars. Fill to the top, then seal immediately with lids.
- Leave the jars to cool completely at room temperature before refrigerating. Label each jar with the date.
Notes
- Keep the water at a steady gentle simmer throughout, never a vigorous boil, to prevent the eggs from scrambling.
- Zest only the bright yellow outer layer of the lemon, avoiding the white pith which makes the curd bitter.
- The curd thickens further on cooling, so remove from the heat as soon as it coats the back of a spoon.
- Seal jars immediately while the curd is still hot to prevent a skin forming on the surface.
- A loose curd can be returned to the bain-marie and cooked for a further 3 to 5 minutes with constant stirring.