Mary Berry Chocolate Fudge Cake Recipe
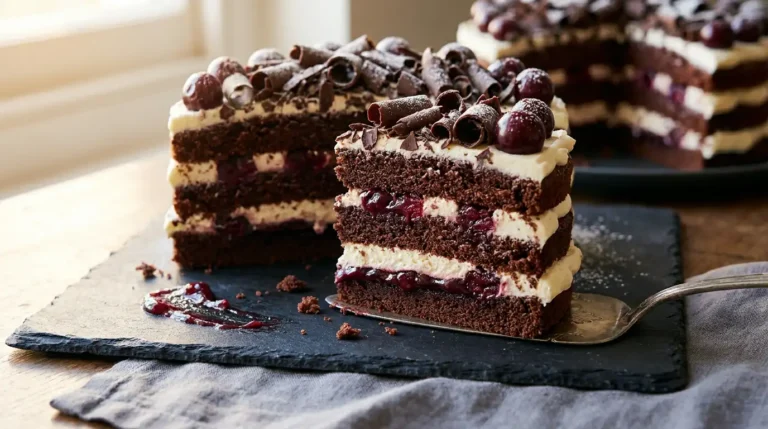
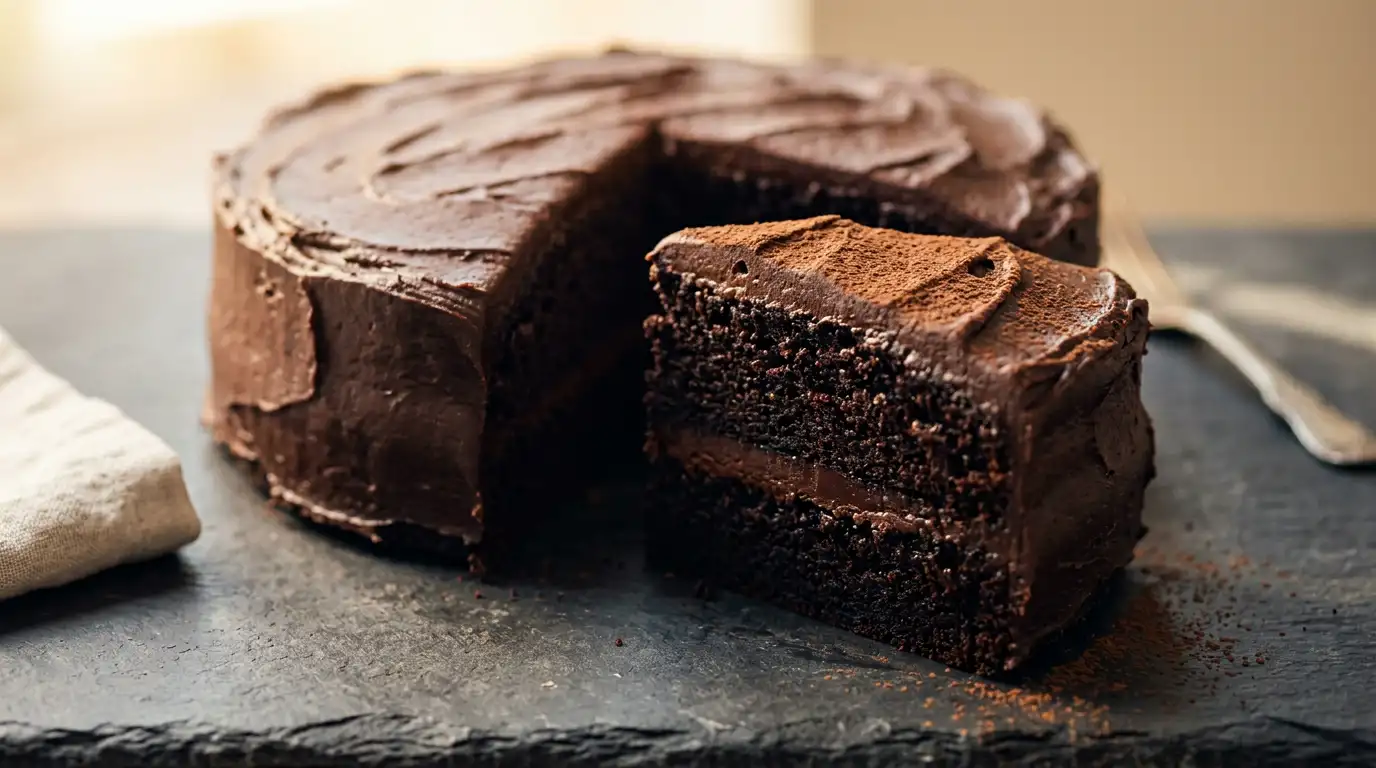
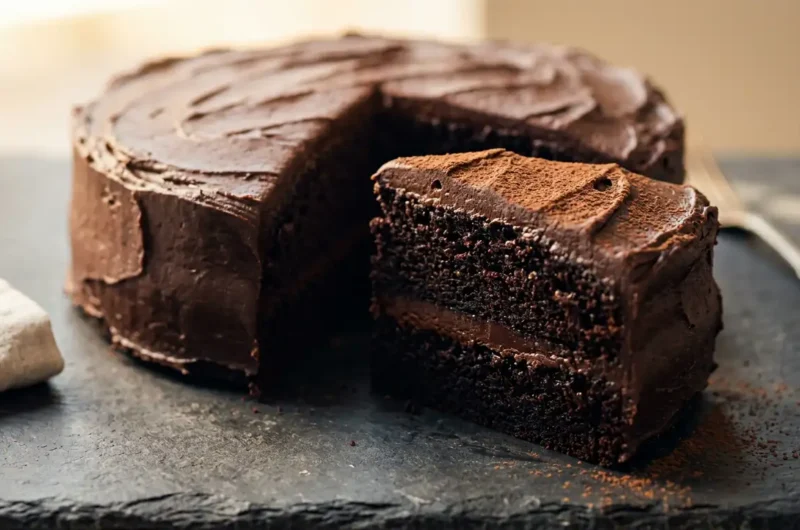
This chocolate fudge cake is a deeply dark, tender sponge layered with a thick, glossy fudge icing that sets to a smooth, slightly firm finish. Each slice holds its shape cleanly, with a close, moist crumb that carries a rich cocoa depth without being overly sweet.
What makes this version reliable is the straightforward method. No complicated techniques, no specialist equipment beyond a pair of sandwich tins. It works just as well for a midweek treat as it does for a celebration centrepiece. From start to finish, it is ready in around 1 hour 15 minutes.
Ingredients
- For the sponge
- 200g self-raising flour
- 200g caster sugar
- 175g unsalted butter, softened
- 3 large eggs, at room temperature
- 50g cocoa powder
- 1 tsp baking powder
- 2 tbsp whole milk
- 1 tsp vanilla extract
- For the fudge icing
- 175g unsalted butter
- 300g icing sugar, sifted
- 40g cocoa powder, sifted
- 3 tbsp whole milk
- 1 tsp vanilla extract
How to Make Mary Berry Chocolate Fudge Cake
- Preheat and prepare: Heat the oven to 180C (160C fan, Gas 4). Grease two 20cm round sandwich tins and line the bases with baking parchment.
- Mix the dry ingredients: Sift the flour, cocoa powder, and baking powder into a large mixing bowl, then add the caster sugar and stir briefly to combine.
- Combine the batter: Add the softened butter, eggs, milk, and vanilla extract to the bowl. Beat with an electric hand mixer on medium speed for 2 minutes until the batter is smooth, pale, and slightly increased in volume. This extended mixing incorporates air, which gives the sponge its light, even texture.
- Divide and bake: Divide the batter equally between the two prepared tins, smoothing the tops with a palette knife or the back of a spoon. Bake on the middle shelf for 25 to 30 minutes, until the sponges have risen and a skewer inserted into the centre comes out clean.
- Cool the sponges: Leave the cakes in their tins for 5 minutes before turning out onto a wire rack. Peel away the parchment and allow them to cool completely before icing. Icing a warm sponge will cause the fudge to slide and melt rather than set.
- Make the fudge icing: Melt the butter gently in a small saucepan over a low heat, then remove from the heat. Sift in the icing sugar and cocoa powder, then add the milk and vanilla extract. Beat vigorously with a wooden spoon until the icing is completely smooth, glossy, and thick enough to hold a soft peak. If the icing feels too stiff, add a few drops more milk.
- Assemble the cake: Place one cooled sponge on a serving plate or cake board. Spread roughly one third of the fudge icing over the top in an even layer. Place the second sponge carefully on top, pressing down very gently to secure it.
- Ice the top and sides: Spread the remaining fudge icing over the top and down the sides of the cake using a palette knife. For a smooth finish, dip the palette knife in warm water and wipe dry before each stroke.
Tips for the Best Chocolate Fudge Cake
Why has my fudge icing turned grainy instead of smooth?
Grainy icing is usually caused by undissolved icing sugar. Make sure to sift both the icing sugar and cocoa powder thoroughly before adding them to the melted butter, and beat the mixture for at least a minute until completely smooth before applying to the cake.
Why did my chocolate sponge come out dense rather than light?
A dense sponge is most often caused by over-measuring the flour or under-beating the batter. Spoon the flour loosely into the measuring vessel rather than packing it, and make sure to beat the batter for the full 2 minutes specified so enough air is incorporated.
How do I stop the icing from tearing chunks off the sponge surface?
This happens when the icing is applied while too thick or too cold. Let the icing sit for a minute or two after making it so it becomes slightly more fluid, and use a palette knife dipped in just-boiled water for a cleaner, smoother glide across the surface.
Why does the icing look dull rather than glossy after it sets?
A dull finish usually means there was not enough fat relative to cocoa in the icing, or that the cocoa was added without sifting, leaving fine lumps. Sift the cocoa carefully and ensure the butter is fully melted before mixing, which keeps the emulsion stable as it cools.
How do I get both sponge layers to rise evenly?
Weigh the batter into each tin rather than dividing by eye. Even a small imbalance of 20 to 30g will result in noticeably uneven layers once baked. Also make sure the oven shelf is level before placing the tins inside.
Serving Suggestions
- Serve at room temperature so the fudge icing is at its softest and most yielding.
- Pair with a large mug of strong, unsweetened coffee to balance the richness of the chocolate.
- Add a spoonful of lightly whipped double cream alongside each slice for a dinner party presentation.
- Dust the top lightly with cocoa powder just before serving for a clean, professional finish.
- Serve thin slices alongside a pot of Earl Grey tea for an afternoon occasion.
Storage
Room Temperature
Store in an airtight tin or container at room temperature for up to 3 days.
Refrigerator
The iced cake can be kept in the fridge for up to 5 days, loosely covered with cling film to prevent the icing from drying out. Bring it to room temperature for at least 30 minutes before serving, as chilling firms the icing and mutes the flavour.
Freezing
Freeze individual slices or the whole un-iced sponge by wrapping tightly in cling film and then a layer of foil. It will keep well in the freezer for up to 2 months. Defrost fully at room temperature before applying the fudge icing.
Nutrition
- Calories: 520 kcal
- Carbohydrates: 62g
- Protein: 5g
- Fat: 28g
- Saturated Fat: 17g
- Sodium: 180mg
Nutrition values are estimates based on standard ingredient brands and may vary depending on the specific ingredients used and the serving size cut.
FAQs
Can I use plain flour instead of self-raising flour for this cake?
Yes. Replace the self-raising flour with plain flour and increase the baking powder to 2 teaspoons. The result will be very similar, with perhaps a very slightly denser crumb, but still tender and fully risen.
Can I make this chocolate fudge cake ahead of time?
The sponges can be baked up to 2 days in advance and stored wrapped in cling film at room temperature. Make the fudge icing and assemble the cake on the day you plan to serve it for the best texture and finish.
What size tins work best for this recipe?
Two 20cm round sandwich tins give the ideal layer depth and baking time. If using 18cm tins the layers will be slightly thicker and may need an extra 5 minutes in the oven. Avoid anything smaller, as the batter may overflow during baking.
Can I use dark chocolate instead of cocoa powder in the sponge?
Cocoa powder is specifically what gives this sponge its fine, even crumb and deep colour, so swapping it one-for-one with melted chocolate is not straightforward. Melted chocolate adds fat and liquid, which would change the batter consistency. Stick with cocoa powder for reliable results.
Can I double this recipe to make a larger celebration cake?
Yes, the recipe doubles well. Use four 20cm tins or two deeper 23cm tins. For the larger tins, check for doneness at 30 minutes and allow up to 35. Double the icing quantities as well to ensure full coverage of the extra layers.
Conclusion
This mary berry chocolate fudge cake recipe produces a reliably moist, deeply chocolatey sponge with a smooth fudge icing that sets beautifully without cracking or sliding. The method is straightforward enough for confident beginners, yet the result is a cake that looks and tastes far more involved than the effort required. This recipe makes 10 generous slices.
Whether it is for a birthday, a weekend bake, or simply a craving that needs addressing, this chocolate fudge cake holds up on every occasion. If you try it, leave a comment below to share how it turned out, or pass the recipe along to someone who would appreciate it. If you enjoyed this, you might also like the Mary Berry lemon curd recipe for a sharp, bright contrast to all things chocolate.
Mary Berry Chocolate Fudge Cake Recipe
Course: DessertCuisine: BritishDifficulty: Easy10
servings20
minutes30
minutes520
kcal1
hour15
minutesA deeply dark, tender chocolate sponge layered with thick, glossy fudge icing that sets to a smooth, slightly firm finish. Simple to make with everyday ingredients, this reliable bake suits everything from weekday treats to celebration centrepieces.
Ingredients
200g self-raising flour
200g caster sugar
175g unsalted butter, softened
3 large eggs, at room temperature
50g cocoa powder
1 tsp baking powder
2 tbsp whole milk
1 tsp vanilla extract
175g unsalted butter (for fudge icing)
300g icing sugar, sifted
40g cocoa powder, sifted
3 tbsp whole milk (for fudge icing)
1 tsp vanilla extract (for fudge icing)
Instructions
- Heat the oven to 180C (160C fan, Gas 4). Grease two 20cm round sandwich tins and line the bases with baking parchment.
- Sift the flour, cocoa powder, and baking powder into a large mixing bowl, then add the caster sugar and stir briefly to combine.
- Add the softened butter, eggs, milk, and vanilla extract to the bowl. Beat with an electric hand mixer on medium speed for 2 minutes until the batter is smooth, pale, and slightly increased in volume.
- Divide the batter equally between the two prepared tins, smoothing the tops with a palette knife. Bake on the middle shelf for 25 to 30 minutes, until a skewer inserted into the centre comes out clean.
- Leave the cakes in their tins for 5 minutes before turning out onto a wire rack. Peel away the parchment and allow them to cool completely before icing.
- Melt the butter gently in a small saucepan over a low heat, then remove from the heat. Sift in the icing sugar and cocoa powder, add the milk and vanilla extract, and beat vigorously until the icing is smooth, glossy, and thick enough to hold a soft peak.
- Place one cooled sponge on a serving plate. Spread roughly one third of the fudge icing over the top in an even layer, then place the second sponge carefully on top.
- Spread the remaining fudge icing over the top and down the sides of the cake using a palette knife. Dip the palette knife in warm water and wipe dry before each stroke for a smooth finish.
Notes
- Sift both the icing sugar and cocoa powder to avoid a grainy fudge icing.
- Beat the batter for the full 2 minutes to incorporate enough air for a light crumb.
- Weigh the batter into each tin for even layers rather than dividing by eye.
- Never ice a warm sponge as the fudge will slide and melt rather than set.
- Dip the palette knife in just-boiled water for a cleaner, smoother icing finish.
- Bring refrigerated cake to room temperature for 30 minutes before serving.