Mary Berry Banana Bread Recipe
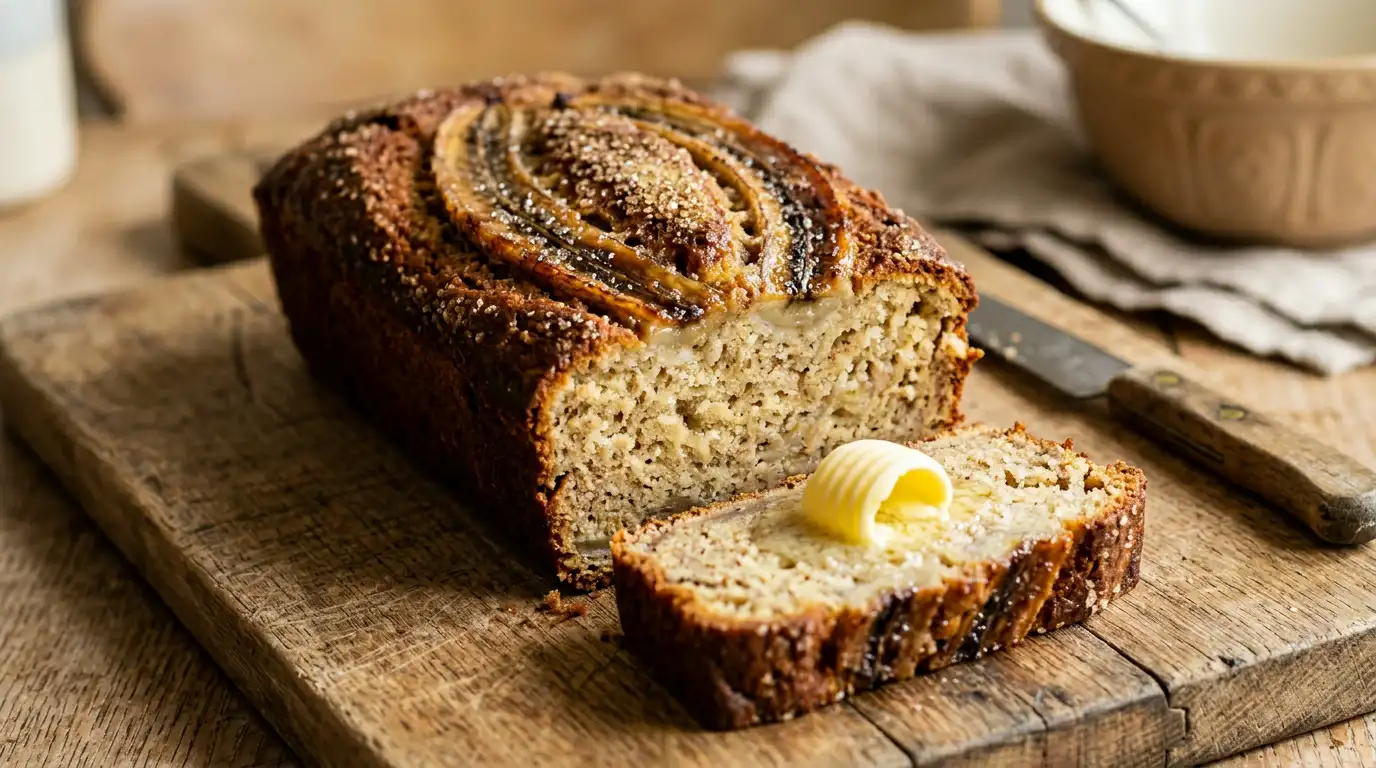
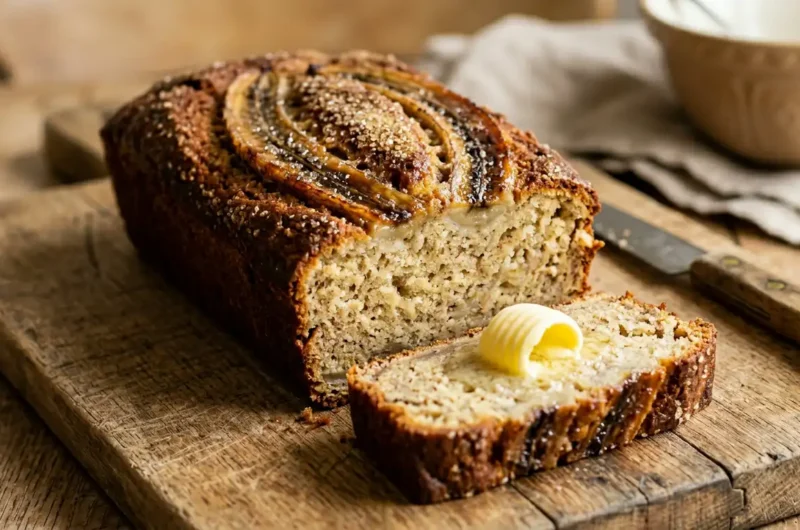
This Mary Berry banana bread recipe produces a dense, moist loaf with a tender crumb, a lightly golden crust, and a warm, caramelised banana flavour that deepens as the bread cools. The inside stays soft and almost fudge-like near the centre, while the top forms a gently cracked surface with a pale golden-brown finish.
This version relies on very ripe bananas to deliver natural sweetness and moisture without any additional flavourings or complicated techniques. It works well as an everyday bake, a packed-lunch treat, or a simple afternoon slice served with butter. The recipe is forgiving and consistent, which makes it a strong choice for less experienced bakers. From start to finish, it is ready in around 1 hour 10 minutes.
- 3 very ripe medium bananas (approximately 300g peeled weight)
- 175g self-raising flour
- 100g caster sugar
- 75g unsalted butter, softened
- 2 large eggs
- 1 tsp baking powder
- 1 tsp vanilla extract
- Pinch of fine sea salt
- 1 small banana, halved lengthways (optional, for topping)
- 1 tsp demerara sugar, for sprinkling
How to Make Mary Berry Banana Bread
Prepare the tin and oven
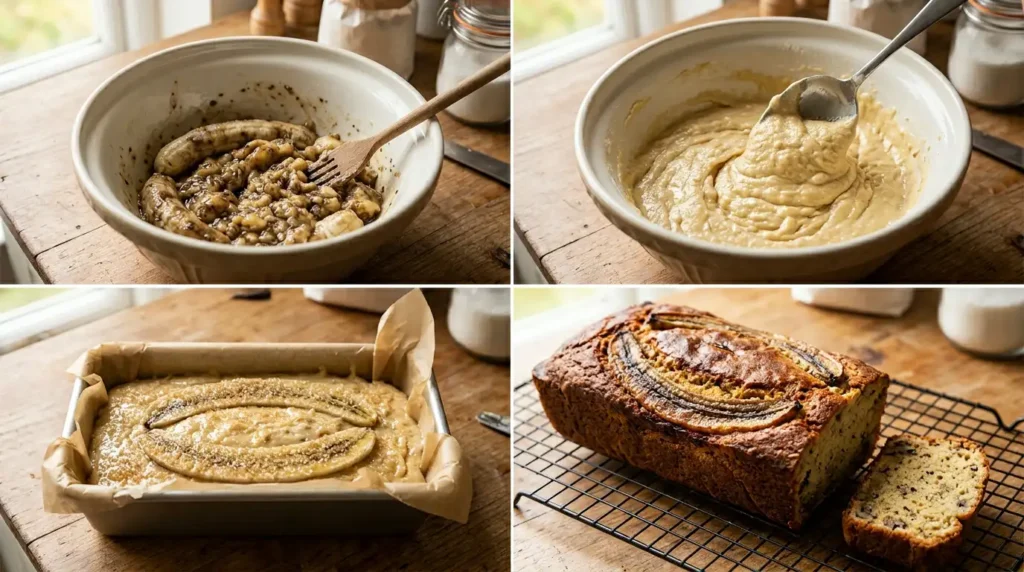
Heat the oven to 170°C (150°C fan) and grease a 900g (2lb) loaf tin, then line it with a strip of baking parchment along the base and up the long sides. This makes it easier to lift the finished loaf cleanly from the tin once baked.
Mash the bananas
Peel the ripe bananas and place them in a large mixing bowl. Mash thoroughly with a fork until almost smooth, with only small lumps remaining. The darker and softer the bananas, the more sweetness and moisture they bring to the batter.
Cream the butter and sugar
Add the softened butter and caster sugar to the mashed bananas. Beat together using a wooden spoon or electric hand mixer until the mixture becomes slightly paler and the sugar has begun to dissolve into the butter, about 2 minutes.
Add the eggs and vanilla
Beat in the eggs one at a time, mixing well after each addition. Stir in the vanilla extract. If the mixture looks slightly curdled at this stage, do not worry as the flour will bring it back together.
Fold in the dry ingredients
Sift the self-raising flour and baking powder directly over the wet mixture, then add the pinch of salt. Fold everything together gently using a large metal spoon or spatula until just combined with no visible streaks of flour. Avoid over-mixing, as this can make the loaf dense and tight rather than soft and open.
Transfer to the tin and add the topping
Pour the batter into the prepared loaf tin and smooth the surface gently with the back of a spoon. If using the optional banana topping, lay the two halved pieces cut-side up along the centre of the batter, then sprinkle the demerara sugar evenly over the surface.
Bake the loaf
Place the tin on the middle shelf of the oven and bake for 50 to 55 minutes, until the loaf is well risen, golden on top, and a skewer inserted into the centre comes out clean. If the top begins to colour too quickly after 35 minutes, lay a loose sheet of foil over the tin without pressing it down.
Cool before slicing
Leave the loaf to cool in the tin for 10 minutes, then lift it onto a wire rack using the parchment. Allow it to cool for at least a further 20 minutes before slicing. Cutting too early causes the crumb to compress and can make the centre appear underbaked even when it is not.
Tips for the Best Banana Bread
01 Why is my banana bread still wet in the middle after the recommended baking time? +−
02 Why did my banana bread sink in the middle after baking? +−
03 How do I stop the top of my banana bread from becoming too dark before the inside is cooked? +−
04 Why does my banana bread have a dense, rubbery texture rather than a soft crumb? +−
05 My bananas are not very ripe yet. Will the bread still taste right? +−
Serving Suggestions
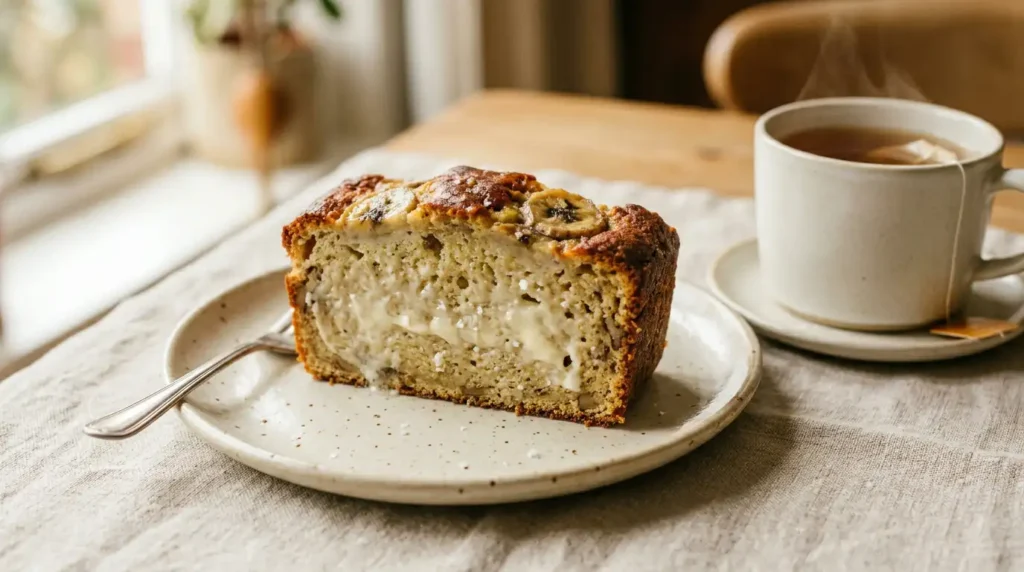
Serve a thick slice warm from the oven with a generous spread of good salted butter, which melts into the crumb and balances the sweetness of the banana.
Pair a slice with a strong cup of builder’s tea or an Assam brew for a classic mid-morning break that needs nothing else alongside it.
Toast a slice lightly and top with a spoonful of smooth peanut butter and a few thin slices of fresh banana for a more substantial snack.
Serve as a relaxed pudding with a small scoop of vanilla ice cream and a drizzle of dark runny honey over the top.
Cut into neat fingers and arrange on a board alongside fresh fruit for a simple afternoon tea spread that works for all ages.
Storage
Room Temperature
Store the cooled loaf wrapped in baking parchment or placed in an airtight container at room temperature for up to 3 days.
Refrigerator
Wrap the loaf tightly in cling film or keep it in a sealed container in the fridge for up to 5 days. Bring it to room temperature for 20 minutes before serving, as chilling can firm up the crumb considerably.
Freezing
Slice the cooled loaf, wrap individual slices in cling film, and place them in a labelled freezer bag for up to 3 months. Defrost slices at room temperature for around an hour, or warm them briefly in a low oven straight from frozen.
Nutrition
FAQs
01
Can I use plain flour instead of self-raising flour in this banana bread?
+−
02
Can I make this banana bread recipe ahead of time?
+−
03
Can I add nuts or chocolate chips to this banana bread?
+−
04
What size tin works best for this banana bread recipe?
+−
05
Can I use oil instead of butter in this Mary Berry banana bread?
+−
Conclusion
This Mary Berry banana bread recipe is a reliable, no-fuss bake that delivers a consistently moist, flavoursome loaf using straightforward ingredients found in most kitchen cupboards. It makes one 900g loaf, which cuts into approximately 8 to 10 slices depending on thickness. The method is simple enough for a first-time baker while still producing a result that holds up well over several days.
Whether baked fresh for the weekend or prepared a day ahead for the week, this loaf earns its place as a kitchen staple. If this recipe was helpful, feel free to share it with someone who bakes at home. For another comforting classic that pairs warm fruit with simple technique, take a look at the Mary Berry rhubarb and ginger crumble recipe.
Mary Berry Banana Bread Recipe
Course: BakingCuisine: BritishDifficulty: Easy10
servings15
minutes55
minutes245
kcal1
hour10
minutesA dense, moist loaf with a tender crumb and a warm caramelised banana flavour. Made with very ripe bananas and simple store-cupboard ingredients, this beginner-friendly bake is consistent, reliable, and ready in just over an hour.
Ingredients
3 very ripe medium bananas approximately 300g peeled weight
175g self-raising flour
100g caster sugar
75g unsalted butter softened
2 large eggs
1 tsp baking powder
1 tsp vanilla extract
pinch of fine sea salt
1 small banana halved lengthways optional for topping
1 tsp demerara sugar for sprinkling
Instructions
- Heat the oven to 170C 150C fan and grease a 900g 2lb loaf tin then line it with a strip of baking parchment along the base and up the long sides.
- Peel the ripe bananas and place them in a large mixing bowl then mash thoroughly with a fork until almost smooth with only small lumps remaining.
- Add the softened butter and caster sugar to the mashed bananas and beat together using a wooden spoon or electric hand mixer until slightly paler and the sugar has begun to dissolve into the butter about 2 minutes.
- Beat in the eggs one at a time mixing well after each addition then stir in the vanilla extract.
- Sift the self-raising flour and baking powder directly over the wet mixture then add the pinch of salt and fold everything together gently using a large metal spoon or spatula until just combined with no visible streaks of flour.
- Pour the batter into the prepared loaf tin and smooth the surface gently then if using the optional banana topping lay the two halved pieces cut-side up along the centre and sprinkle the demerara sugar evenly over the surface.
- Place the tin on the middle shelf of the oven and bake for 50 to 55 minutes until the loaf is well risen golden on top and a skewer inserted into the centre comes out clean.
- Leave the loaf to cool in the tin for 10 minutes then lift it onto a wire rack and allow it to cool for at least a further 20 minutes before slicing.
Notes
- The darker and softer the bananas the more sweetness and moisture they bring to the batter.
- If the mixture looks slightly curdled after adding the eggs do not worry as the flour will bring it back together.
- Avoid over-mixing after the flour is added as this can make the loaf dense and tight rather than soft and open.
- If the top begins to colour too quickly after 35 minutes lay a loose sheet of foil over the tin without pressing it down.
- Cutting the loaf too early causes the crumb to compress so allow it to cool for at least 20 minutes before slicing.
- To speed up banana ripening bake unpeeled bananas at 150C for 15 to 20 minutes until the skins turn black then cool completely before using.
- Up to 75g of roughly chopped walnuts or dark chocolate chips can be stirred through the batter just before pouring into the tin.