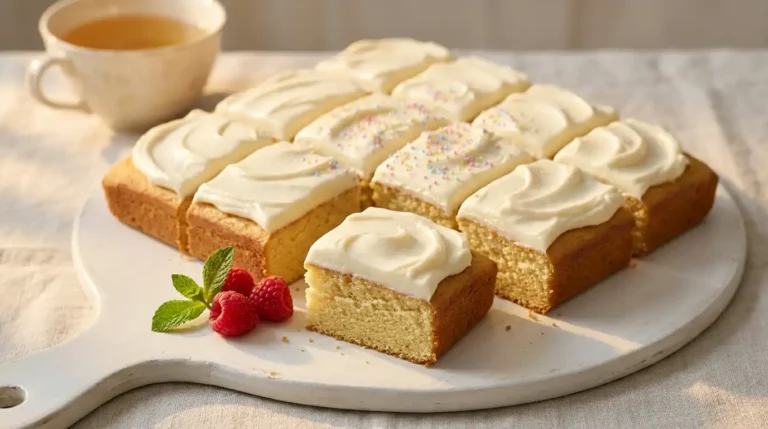
Mary Berry Fatless Sponge Cake Recipe
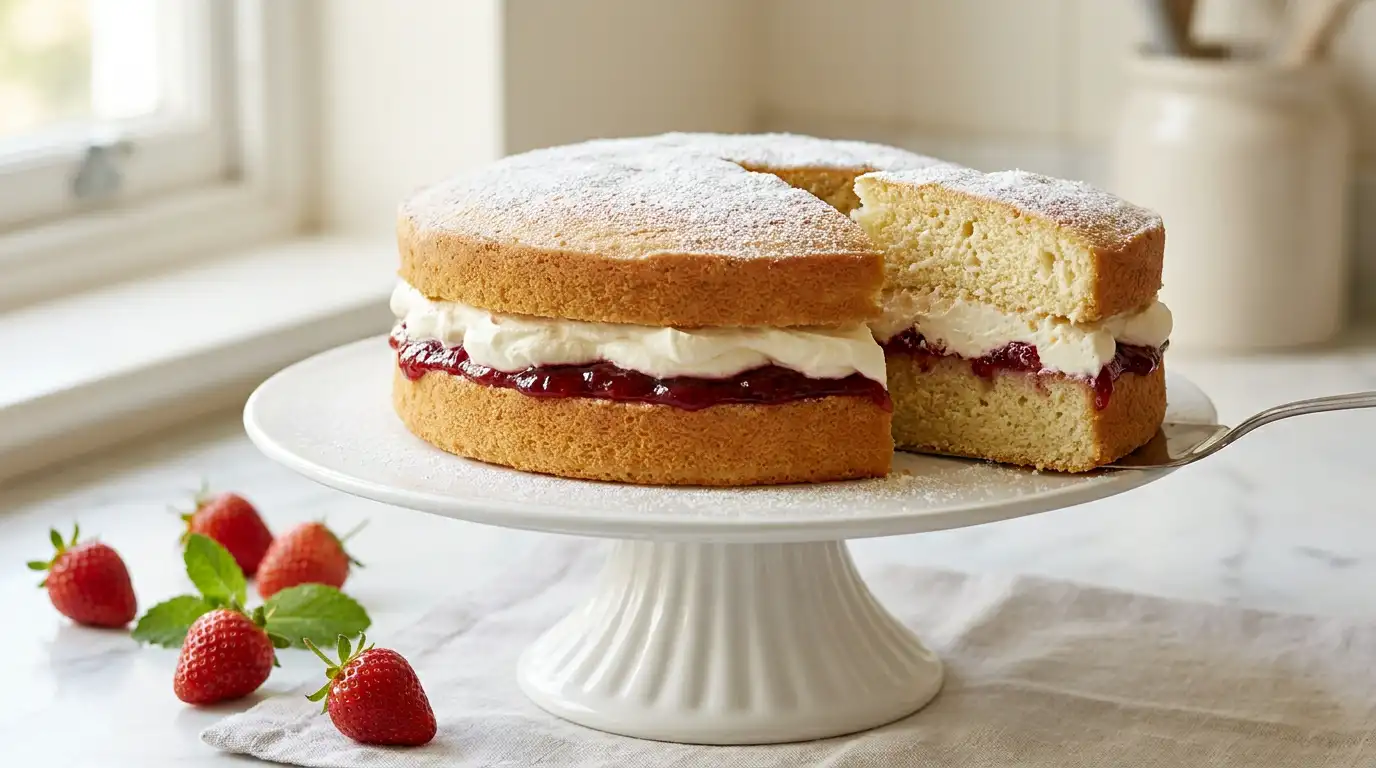
A Mary Berry fatless sponge cake is a pale golden, cloud-light sponge with an airy, almost mousselike crumb that springs back cleanly when pressed. The texture comes entirely from whisked eggs and sugar, with no butter or oil in the batter, giving the finished cake a delicate, featherweight quality and a fine, even crumb unlike any creamed sponge.
This recipe follows a reliable, straightforward method that works well even for first-time bakers. The technique is precise but not complicated, and the result is a versatile sponge suited to birthday cakes, afternoon tea, or a simple weekend bake filled with jam and fresh cream. From start to finish, it is ready in around 45 minutes.
Ingredients
For the sponge
- 4 large eggs, at room temperature
- 115g caster sugar
- 115g self-raising flour, sifted twice
- 1 tsp vanilla extract
For the filling
- 150ml double cream, whipped to soft peaks
- 4 tbsp good-quality strawberry or raspberry jam
To finish
- 1 tbsp icing sugar, for dusting
How to Make Mary Berry Fatless Sponge Cake
- Prepare the tins: Preheat the oven to 180C (160C fan). Grease two 18cm round sandwich tins and line the bases with baking parchment. A light greasing on the parchment as well helps the cakes release cleanly after baking.
- Whisk the eggs and sugar: Place the eggs and caster sugar in a large heatproof bowl set over a pan of barely simmering water. Make sure the base of the bowl does not touch the water. Whisk continuously using a hand electric whisk for 8 to 10 minutes until the mixture is very thick, pale, and has tripled in volume. This warming step dissolves the sugar fully and gives the batter its stable, foamy structure.
- Remove from the heat: Lift the bowl off the pan and continue whisking for a further 3 to 4 minutes until the mixture has cooled slightly and leaves a thick ribbon trail that holds on the surface for at least 5 seconds when the whisk is lifted.
- Add the vanilla: Pour in the vanilla extract and gently stir through with a large metal spoon, using just two or three circular movements.
- Fold in the flour: Sift the flour again directly over the egg mixture in three stages. Using a large metal spoon, fold each addition in with slow, deliberate figure-of-eight movements, cutting down through the centre and lifting the batter up and over. Stop as soon as no dry streaks remain. Overfolding at this stage will knock the air out and result in a dense, flat sponge.
- Divide and level: Pour the batter equally between the two prepared tins, tilting each tin gently to level the surface. Do not tap the tins on the worktop.
- Bake the sponges: Place both tins on the same middle shelf of the oven and bake for 18 to 20 minutes. The cakes are ready when they are a light golden colour, have pulled away slightly from the edges of the tin, and spring back fully when pressed lightly in the centre.
- Cool and turn out: Leave the sponges in the tins for 5 minutes, then turn out onto a wire rack and peel away the parchment. Allow to cool completely before filling, as warm sponge will melt the cream and cause the layers to slide.
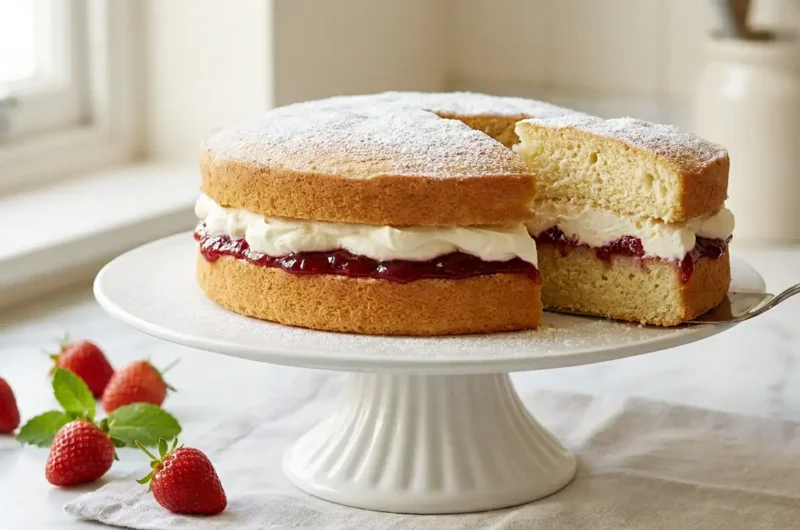
- Fill and sandwich: Place one sponge layer on a serving plate or cake board. Spread the jam evenly to the edges, then spoon the whipped cream over the jam and spread to an even layer. Place the second sponge on top and press down very gently.
- Dust and serve: Sift icing sugar lightly over the top of the cake just before serving for a clean, finished look.
Tips for the Best Mary Berry Fatless Sponge Cake
Why did my fatless sponge turn out flat and dense?
The most common cause is insufficient whisking at the egg and sugar stage. The mixture must be very thick and pale, with a ribbon trail that holds its shape on the surface for at least 5 seconds. Under-whisking at this point means the batter lacks the air needed to lift the sponge during baking.
Why did my sponge collapse after coming out of the oven?
A collapsed sponge usually means the cake was underbaked or the oven door was opened too early. Always wait until at least 15 minutes have passed before checking. The cake must spring back firmly when pressed, not feel soft or leave an indent.
How do I stop the flour from deflating my whisked egg mixture?
Always fold the flour in with a large metal spoon rather than a rubber spatula, and work in slow, deliberate figure-of-eight strokes. Add the flour in three separate additions rather than all at once, sifting each time directly over the bowl.
Why did the sides of my fatless sponge stick to the tin?
Fatless sponges have no butter in the batter to prevent sticking, so thorough greasing is essential. Make sure to grease the sides of the tin as well as the base, and lining the base with parchment is non-negotiable for a clean release.
Why does my sponge have a gummy, dense layer at the bottom?
This happens when the flour is not sifted finely enough or is folded in too roughly, causing pockets of dense batter to sink before the structure sets in the oven. Sift the flour twice before adding, and fold only until the streaks have just disappeared.
Serving Suggestions
- Serve at room temperature with a pot of Earl Grey or Darjeeling tea for a classic afternoon spread.
- Fill with lemon curd and a thin layer of whipped cream for a sharper, citrus-edged version.
- Top individual slices with fresh sliced strawberries and a small spoonful of clotted cream for a summer dessert.
- Pair with a scoop of vanilla ice cream and a drizzle of warm raspberry coulis as a light dinner party pudding.
- Dust generously with icing sugar and serve on a decorative plate or cake stand for afternoon tea parties or birthday celebrations.
Storage
Room Temperature
Store the unfilled sponge layers in an airtight container at room temperature for up to 2 days.
Refrigerator
Once filled with cream, the assembled cake must be kept in the refrigerator, covered loosely with cling film or in a cake box, for up to 2 days. Remove the cake from the fridge 20 to 30 minutes before serving so the sponge softens slightly and the cream loses its fridge-cold edge.
Freezing
Freeze the unfilled sponge layers only, wrapped individually in a double layer of cling film and then in foil, for up to 2 months. Defrost at room temperature for 2 to 3 hours, fully unwrapped, before filling and assembling as directed.
Nutrition
- Calories: 285 kcal
- Carbohydrates: 38g
- Protein: 5g
- Fat: 12g
- Saturated Fat: 7g
- Sodium: 95mg
Nutrition values are estimates based on typical ingredients and a standard serving size. Actual values may vary depending on the specific brands and quantities used.
FAQs
Can I use plain flour instead of self-raising flour in a fatless sponge?
Yes, plain flour can be used, but you will need to add 1 tsp of baking powder per 115g of plain flour to give the sponge some lift. That said, self-raising flour gives a more consistent rise and is the better choice where possible.
Can I make a fatless sponge ahead of time?
The sponge layers can be baked a day in advance and stored, unfilled, in an airtight container at room temperature. Fill and assemble the cake on the day of serving for the freshest texture and to prevent the cream from softening the crumb too much.
What size tin works best for this fatless sponge cake recipe?
Two 18cm round sandwich tins are ideal for this quantity of batter. Using tins that are too large will result in thin, over-spread layers, while smaller tins may cause the batter to overflow and bake unevenly.
Can I flavour the fatless sponge with anything other than vanilla?
The sponge takes well to other flavourings. Replace the vanilla extract with the finely grated zest of one lemon or one orange, added with the dry ingredients. A teaspoon of almond extract also works particularly well as a subtle background note.
Is a fatless sponge suitable for people who are dairy-free?
The sponge itself contains no butter or milk, so it is naturally dairy-free. To keep the assembled cake dairy-free, use a coconut cream alternative whipped to soft peaks in place of the double cream, and confirm the jam contains no added dairy ingredients.
Conclusion
The Mary Berry fatless sponge cake is a beautifully light bake built entirely on the structure of whisked eggs and sugar. The result is a tender, golden sponge with a soft, springy crumb that pairs cleanly with cream and jam without any heaviness. This recipe makes two 18cm sponge layers, enough to fill and sandwich into one cake that serves 8 people comfortably.
Whether it is for a birthday, an afternoon tea, or a simple weekend bake, this is a reliable recipe that rewards careful technique at the whisking and folding stages. Try it once, and the method will feel natural every time after. If you have made this sponge and want to try another classic bake, you might also enjoy the Mary Berry brownie recipe for something richer and deeply chocolatey.
Mary Berry Fatless Sponge Cake Recipe
Course: DessertCuisine: BritishDifficulty: Easy8
servings20
minutes20
minutes285
kcal45
minutesA pale golden, cloud-light sponge with an airy, fine crumb made entirely from whisked eggs and sugar. Filled with whipped cream and jam, this classic fatless sponge is perfect for afternoon tea, birthdays, and beginner bakers alike.
Ingredients
4 large eggs, at room temperature
115g caster sugar
115g self-raising flour, sifted twice
1 tsp vanilla extract
150ml double cream, whipped to soft peaks
4 tbsp good-quality strawberry or raspberry jam
1 tbsp icing sugar, for dusting
Instructions
- Preheat the oven to 180C (160C fan). Grease two 18cm round sandwich tins and line the bases with baking parchment, greasing the parchment lightly as well.
- Place the eggs and caster sugar in a large heatproof bowl set over a pan of barely simmering water, making sure the base does not touch the water. Whisk continuously with a hand electric whisk for 8 to 10 minutes until the mixture is very thick, pale, and has tripled in volume.
- Lift the bowl off the pan and continue whisking for a further 3 to 4 minutes until the mixture has cooled slightly and leaves a ribbon trail that holds on the surface for at least 5 seconds.
- Pour in the vanilla extract and gently stir through with a large metal spoon using just two or three circular movements.
- Sift the flour again directly over the egg mixture in three stages, folding each addition in with slow, deliberate figure-of-eight movements until no dry streaks remain.
- Pour the batter equally between the two prepared tins, tilting each tin gently to level the surface.
- Place both tins on the middle shelf of the oven and bake for 18 to 20 minutes until light golden, slightly pulled from the edges, and springing back when pressed in the centre.
- Leave the sponges in the tins for 5 minutes, then turn out onto a wire rack, peel away the parchment, and allow to cool completely.
- Place one sponge layer on a serving plate, spread the jam evenly to the edges, then spoon the whipped cream over and spread to an even layer. Place the second sponge on top and press down very gently.
- Sift icing sugar lightly over the top of the cake just before serving.
Notes
- Whisk the eggs and sugar over warm water until the mixture triples in volume for the best rise.
- Fold the flour in three additions using a metal spoon to protect the air in the batter.
- Cool the sponge layers completely before filling to prevent the cream from melting.
- Grease the sides of the tin as well as the base to ensure a clean release.
- Freeze unfilled sponge layers only, wrapped in cling film and foil, for up to 2 months.
- Replace vanilla extract with lemon zest for a citrus variation.