Mary Berry Brownie Recipe
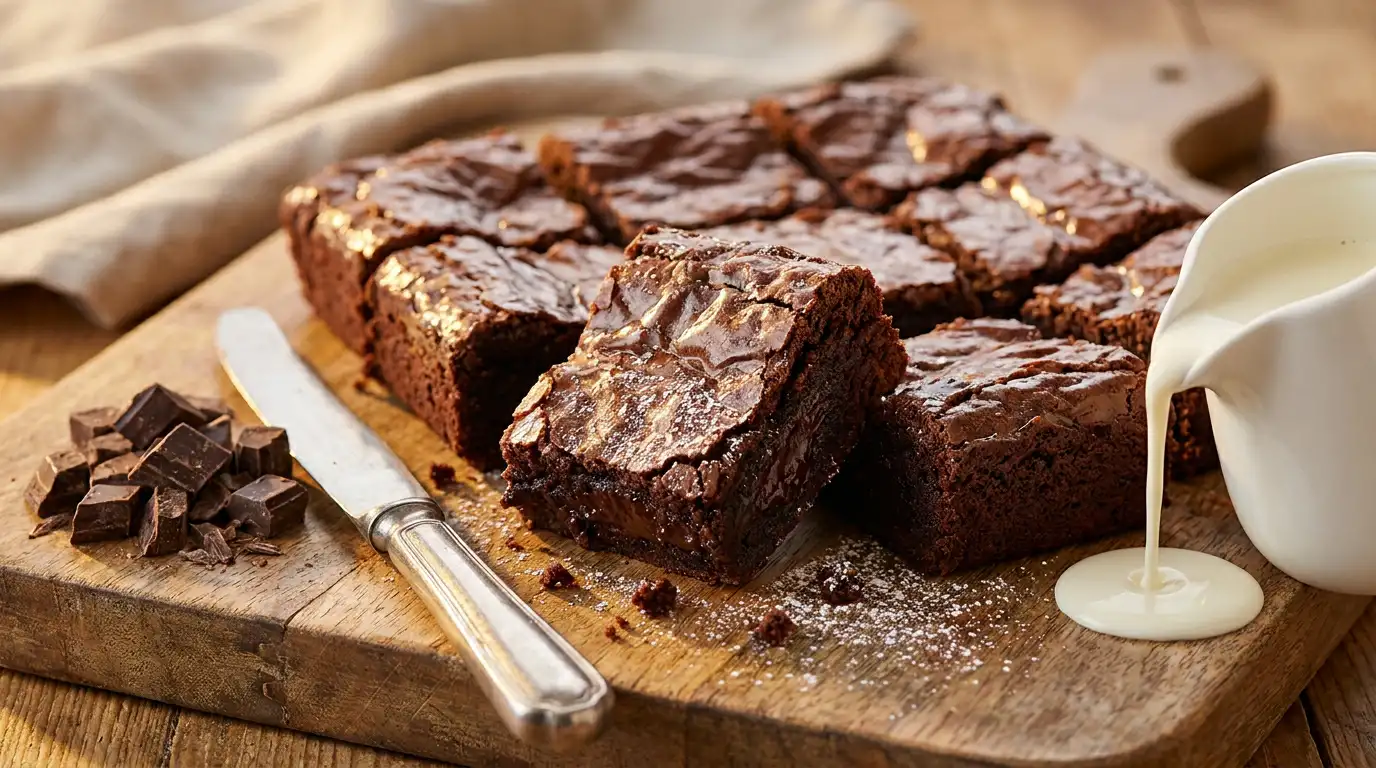
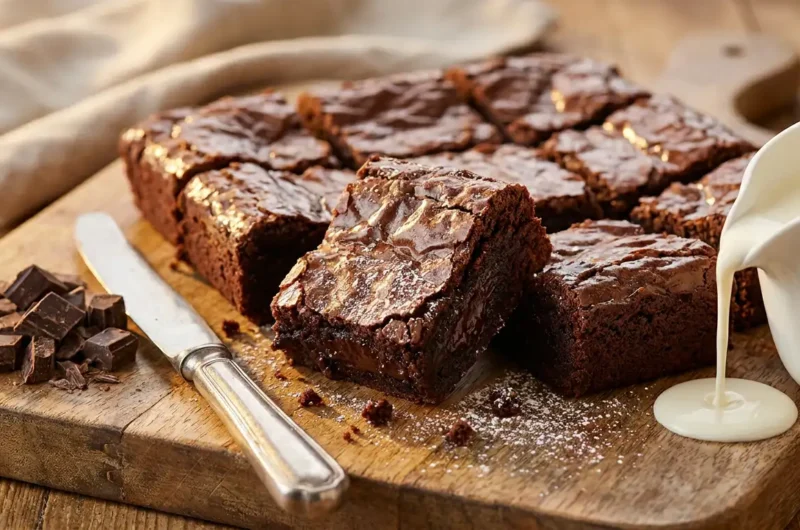
These brownies are dense, fudgy, and deeply chocolatey, with a paper-thin crinkled top that gives way to a soft, yielding centre. The edges firm up slightly as they cool, giving a satisfying contrast between the outer layer and the moist interior. This Mary Berry brownie recipe uses straightforward pantry ingredients and a single bowl, making it a reliable bake for beginners and experienced cooks alike. It suits birthdays, bake sales, or a quiet weekend afternoon equally well. From start to finish, the brownies are ready in around 45 minutes.
The key to getting the texture right lies in not over-baking. Pull the tin from the oven when the centre still has a slight wobble, and the residual heat will carry the bake over the line without drying it out.
Ingredients
For the brownie
- 200g dark chocolate (70% cocoa solids), roughly chopped
- 175g unsalted butter, cut into cubes
- 275g caster sugar
- 3 large eggs, at room temperature
- 1 tsp vanilla extract
- 100g plain flour
- 30g cocoa powder, sifted
- ½ tsp fine salt
For the topping (optional)
- 50g milk chocolate, finely chopped
How to Make Mary Berry Brownie Recipe
- Prepare the tin: Grease a 20cm square baking tin and line it with baking parchment, leaving some overhang on the sides. Heat the oven to 180C (160C fan, Gas 4).
- Melt the chocolate and butter: Place the chopped dark chocolate and butter into a heatproof bowl set over a pan of barely simmering water. Stir occasionally until both are fully melted and the mixture is glossy and smooth. Remove from the heat and leave to cool for five minutes, as adding eggs to a very hot mixture risks scrambling them.
- Add the sugar: Stir the caster sugar into the cooled chocolate mixture until fully combined. The mixture will look slightly grainy at this stage, which is normal.
- Beat in the eggs: Add the eggs one at a time, beating well with a wooden spoon or spatula after each addition. Stir in the vanilla extract. After the third egg, the batter should look thick, smooth, and slightly glossy.
- Fold in the dry ingredients: Sift the plain flour, cocoa powder, and salt directly into the bowl. Using a large spatula or metal spoon, fold gently until no streaks of flour remain. Stop folding as soon as the mixture is combined, as overworking develops gluten and makes the brownies cakey rather than fudgy.
- Transfer to the tin: Pour the batter into the prepared tin and spread it evenly into the corners using the back of the spatula. If using the milk chocolate topping, scatter the chopped milk chocolate over the surface now.
- Bake the brownies: Place the tin on the middle shelf of the oven and bake for 22 to 25 minutes. The edges should be set and pulling away slightly from the tin, but the centre should still have a gentle wobble when the tin is nudged.
- Cool before cutting: Remove the tin from the oven and leave the brownies to cool completely in the tin before lifting out using the parchment overhang. Once fully cool, cut into 16 squares with a sharp knife, wiping the blade clean between cuts for neat edges.
Tips for the Best Mary Berry Brownie Recipe
Why are my brownies dry and cakey rather than fudgy?
The most common cause is over-baking. Even two or three minutes too long in the oven can dry out the centre. Pull the tin out when the edges are firm but the middle still has a slight wobble, and allow the residual heat to finish the job as it cools in the tin.
Why did my brownie batter turn grainy when I added the eggs?
This usually happens when the chocolate and butter mixture is still too hot. Let it cool for at least five minutes before adding the sugar, and another couple of minutes before adding the eggs. The batter will come together smoothly once the eggs are incorporated.
How do I get a proper crinkled, shiny top on my brownies?
The shiny crust forms when the sugar and eggs are beaten together long enough to partially dissolve the sugar crystals. Make sure each egg is beaten in fully before adding the next, and do not rush the mixing stage.
Why are my brownies sticking to the tin even with lining?
Baking parchment with overhanging sides on at least two edges is the most reliable method. Greasing the tin before laying in the parchment helps it sit flat and prevents the corners from lifting, which can cause tearing when removing the baked slab.
Why is my brownie raw in the middle after the suggested baking time?
Oven temperatures vary considerably between models, so a brownie that is raw at 22 minutes in one oven may be perfectly set at the same time in another. Insert a skewer or cocktail stick into the centre: it should come out with moist crumbs clinging to it, not wet batter. If it shows batter, return the tin for three-minute increments, checking each time.
Serving Suggestions
- Serve slightly warm with a generous pour of cold double cream for a simple pudding.
- Dust lightly with icing sugar and serve alongside a pot of strong builder’s tea for an afternoon treat.
- Cut into small squares and serve on a tiered cake stand as part of a bake sale or afternoon spread.
- Pair with a scoop of good vanilla ice cream and a few fresh raspberries for a dinner party dessert plate.
- Sandwich two squares together with a spoonful of clotted cream and serve as a richer teatime indulgence.
Storage
Room temperature
Store the brownies in an airtight container at room temperature for up to four days. They often improve on the second day as the texture settles and deepens in flavour.
Refrigerator
Layer the brownie squares between sheets of baking parchment in an airtight container and refrigerate for up to one week. Allow them to come back to room temperature for 20 to 30 minutes before serving, as chilling firms them up significantly and mutes the chocolate flavour.
Freezing
Wrap each individual square tightly in cling film, then place them all into a freezer bag or airtight container and freeze for up to three months. Defrost at room temperature for two to three hours, still wrapped, to prevent condensation forming on the surface.
Nutrition
- Calories: 245 kcal
- Carbohydrates: 30g
- Protein: 3g
- Fat: 13g
- Saturated Fat: 8g
- Sodium: 85mg
Nutrition values are estimates based on standard ingredient brands and may vary depending on the exact ingredients and serving size used.
FAQs
Can I use milk chocolate instead of dark chocolate in this brownie recipe?
Yes, milk chocolate can be used, but the result will be noticeably sweeter and less intense. If swapping, reduce the caster sugar by around 50g to stop the brownies becoming cloying. A blend of half dark and half milk chocolate is a good middle ground for those who prefer a milder chocolate flavour.
Can I add nuts or chocolate chips to this recipe?
Absolutely. Fold in up to 100g of roughly chopped walnuts, pecans, or milk chocolate chips at the same time as the flour. Nuts add a pleasant crunch against the soft centre, while extra chocolate chips give pockets of molten chocolate throughout.
Can I make this brownie recipe ahead of time?
Yes, and it is actually recommended. Brownies baked the day before tend to have a more settled, fudgy texture than those eaten straight from cooling. Bake, cool fully, cut, and store in an airtight container at room temperature overnight.
What size tin works best for this recipe?
A 20cm square tin gives brownies that are roughly 3cm deep, which is the ideal thickness for a fudgy centre. A larger tin, such as 23cm square, will produce thinner brownies that bake faster and lean slightly more towards a firmer, chewier texture, so reduce the baking time by three to four minutes.
Can I make this brownie recipe gluten-free?
Yes. Replace the plain flour with an equal weight of a good quality gluten-free plain flour blend. The texture may be very slightly more crumbly, but the flavour and overall result will be very close to the original. Check that your cocoa powder is also labelled gluten-free, as some brands are processed in facilities that handle wheat.
Conclusion
This Mary Berry brownie recipe delivers a reliably fudgy, richly flavoured bake using ingredients most kitchens already have to hand. The method is straightforward enough for a first-time baker, yet the result is polished enough to serve at a gathering. Each batch makes 16 squares from a single 20cm tin, and the whole process takes around 45 minutes from start to finish. The most important thing to remember is to pull the tin from the oven while the centre still has movement, and to resist the urge to cut until the brownies have cooled completely.
Whether cut into generous squares for a pudding or smaller pieces for a bake sale table, these brownies hold their shape well and keep for several days. If you try the recipe, leave a comment below with how yours turned out, and share the article with anyone who might find it useful. If you enjoyed this, you might also like the Mary Berry bara brith recipe, another straightforward and satisfying bake from the same reliable tradition.
Mary Berry Brownie Recipe
Course: DessertCuisine: BritishDifficulty: Easy16
servings20
minutes25
minutes245
kcal45
minutesDense, fudgy brownies with a paper-thin crinkled top and a soft, yielding centre. Made in one bowl with dark chocolate and butter, this reliable bake suits beginners and experienced cooks alike.
Ingredients
200g dark chocolate (70% cocoa solids), roughly chopped
175g unsalted butter, cut into cubes
275g caster sugar
3 large eggs, at room temperature
1 tsp vanilla extract
100g plain flour
30g cocoa powder, sifted
½ tsp fine salt
50g milk chocolate, finely chopped (optional topping)
Instructions
- Grease a 20cm square baking tin and line it with baking parchment, leaving some overhang on the sides. Heat the oven to 180C (160C fan, Gas 4).
- Place the chopped dark chocolate and butter into a heatproof bowl set over a pan of barely simmering water. Stir occasionally until both are fully melted and the mixture is glossy and smooth. Remove from the heat and leave to cool for five minutes.
- Stir the caster sugar into the cooled chocolate mixture until fully combined.
- Add the eggs one at a time, beating well with a wooden spoon or spatula after each addition. Stir in the vanilla extract until the batter looks thick, smooth, and slightly glossy.
- Sift the plain flour, cocoa powder, and salt directly into the bowl. Fold gently with a large spatula until no streaks of flour remain. Stop as soon as the mixture is combined.
- Pour the batter into the prepared tin and spread it evenly into the corners. Scatter the chopped milk chocolate over the surface if using.
- Place the tin on the middle shelf of the oven and bake for 22 to 25 minutes, until the edges are set and the centre has a gentle wobble when the tin is nudged.
- Remove from the oven and leave to cool completely in the tin before lifting out. Cut into 16 squares with a sharp knife, wiping the blade clean between cuts.
Notes
- Pull the tin from the oven when the centre still has a slight wobble as residual heat will finish the bake.
- Let the chocolate and butter mixture cool for at least five minutes before adding the eggs to avoid scrambling.
- Do not overfold once the flour is added as this develops gluten and makes the brownies cakey rather than fudgy.
- Beat each egg in fully before adding the next to develop the shiny crinkled top.
- Wipe the knife blade clean between each cut for neat, clean-edged squares.
- Brownies often improve in texture and flavour on the second day after baking.