Mary Berry White Bread Recipe
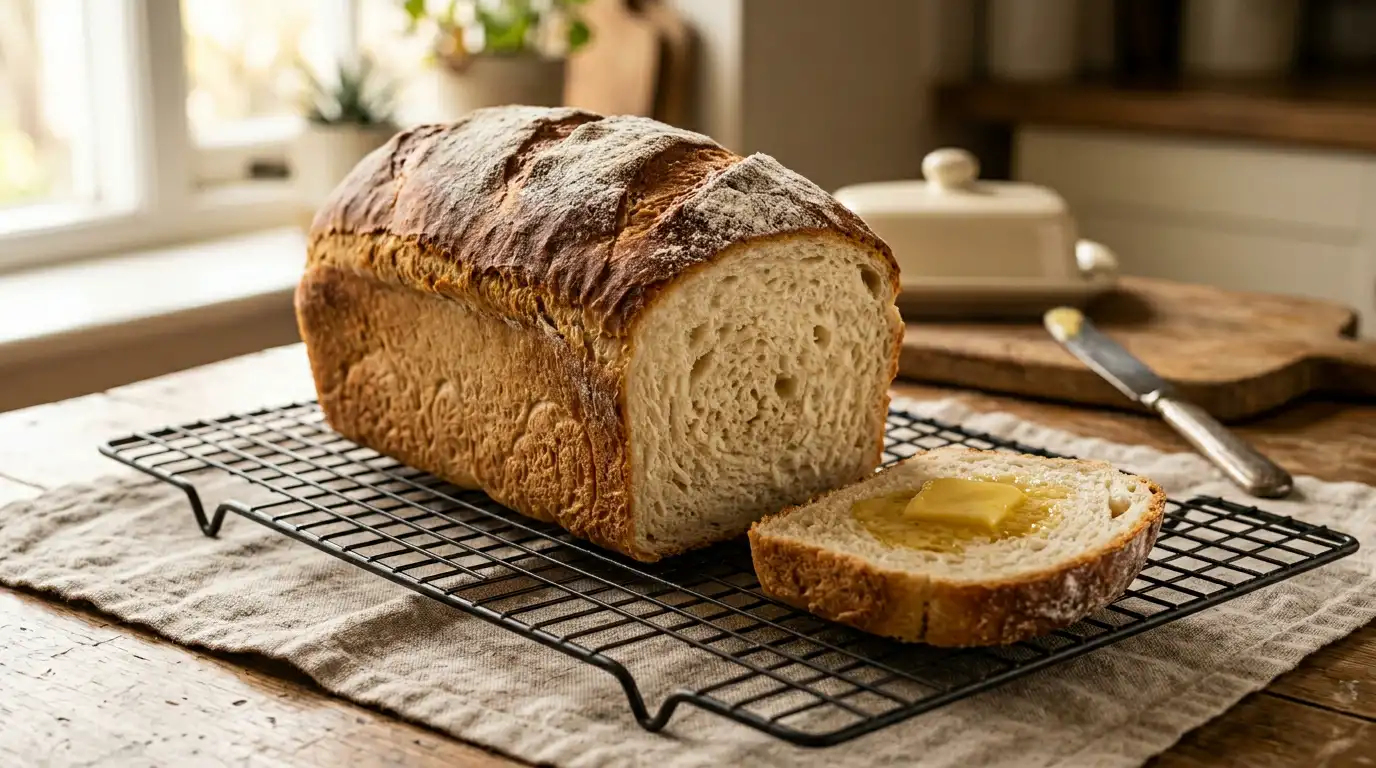
This Mary Berry white bread recipe produces a golden, soft-crusted loaf with a springy, open crumb that tears cleanly and smells of warm yeast straight from the oven. The crust gives a satisfying crunch when pressed, while the interior stays tender and light for days.
What sets this approach apart is its straightforwardness. The method is structured so that even those who have never worked with yeast before can follow each stage with confidence. There is no specialist equipment needed, no tricky temperature monitoring beyond what a kitchen thermometer handles, and the dough is forgiving enough for first-time bakers. It works equally well for a quiet weekend project or as a regular weekday bake. From start to finish, the loaf is ready in around 2 hours 30 minutes.
Ingredients
- 500g strong white bread flour, plus extra for dusting
- 7g fast-action dried yeast (one standard sachet)
- 1½ tsp fine sea salt
- 1 tsp caster sugar
- 300ml warm water (approximately 38°C)
- 2 tbsp sunflower oil, plus extra for greasing
- 1 tbsp plain flour, for dusting the top
- A little sunflower oil, for oiling the bowl and tin
- 900g (2lb) loaf tin
- Large mixing bowl
- Clean tea towel or cling film
- Wire cooling rack
How to Make Mary Berry White Bread
Prepare the flour base:
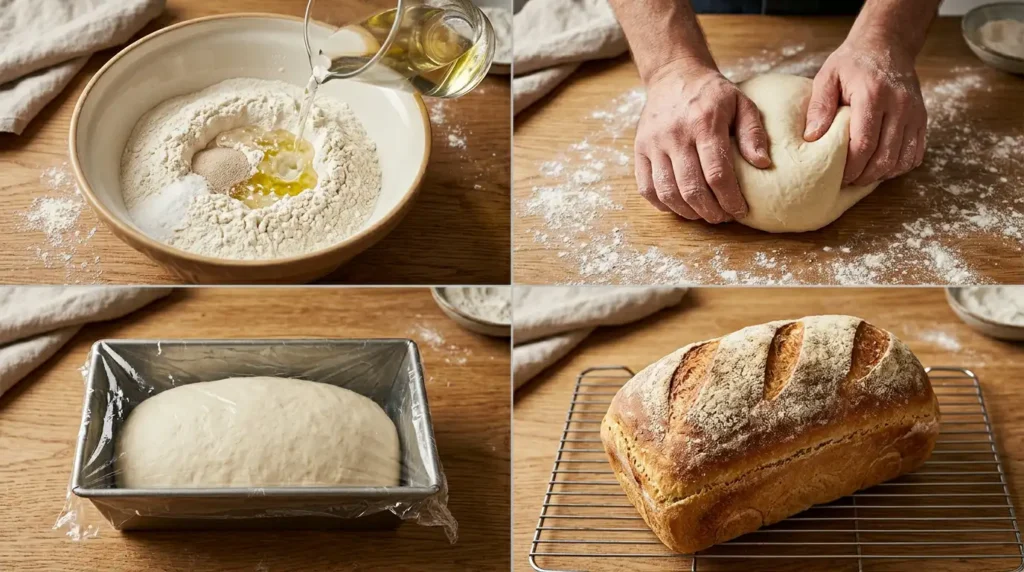
Measure the flour into a large mixing bowl and add the salt on one side and the sugar on the other. Scatter the yeast across the centre of the flour. Keeping the salt and yeast separate in the bowl before mixing prevents the salt from inhibiting the yeast’s activity before it has had a chance to activate.
Add the liquid:
Make a well in the centre of the flour mixture and pour in the warm water and sunflower oil. Use your fingers or a wooden spoon to bring everything together into a shaggy, rough dough. Turn it out onto a lightly floured work surface once the flour has absorbed the liquid.
Knead the dough:
Knead the dough firmly for 8 to 10 minutes by pushing it away from you with the heel of your hand, folding it back, and rotating it a quarter turn. The dough is ready when it feels smooth, elastic, and springs back when lightly poked. This develops the gluten structure that gives the finished loaf its characteristic springy crumb.
First prove:
Lightly oil the mixing bowl, place the dough inside, and cover with a clean tea towel or lightly oiled cling film. Leave the bowl in a warm, draught-free spot for 1 hour, or until the dough has doubled in size. A spot near a warm oven or in a lightly heated turned-off oven works well.
Shape the loaf:
Lightly grease a 900g loaf tin with sunflower oil. Turn the risen dough out onto a lightly floured surface and knock it back by pressing it firmly to expel the trapped air. Shape it into a rectangle roughly the width of the tin, then roll it up tightly and place it seam-side down in the prepared tin.
Second prove:
Cover the tin loosely with an oiled piece of cling film and leave to prove for a further 30 to 40 minutes, until the dough has risen about 2cm above the rim of the tin. Meanwhile, preheat the oven to 220°C (200°C fan, Gas 7).
Score and dust:
Carefully remove the cling film and dust the surface of the dough lightly with plain flour. Use a sharp knife or a baker’s lame to make one long cut along the top of the loaf. Scoring allows the crust to expand evenly during baking rather than cracking at the sides.
Bake the loaf:
Place the tin on the middle shelf of the preheated oven and bake for 25 to 30 minutes, until the top is a deep golden brown. To check that the bread is fully cooked, turn the loaf out of the tin and tap the base firmly. It should sound hollow. If it sounds dense, return it to the oven for a further 5 minutes directly on the rack.
Cool before slicing:
Transfer the loaf to a wire rack immediately after removing it from the tin and leave to cool for at least 30 minutes before cutting. Slicing into warm bread compresses the crumb and makes it gummy, so patience here preserves the light, open texture.
Tips for the Best Mary Berry White Bread
01 Why did my white bread not rise during the first prove?
The most common cause is water that was too hot, which kills the yeast before it can activate. The water should feel comfortably warm to the touch, roughly 38°C. If the kitchen is cold, place the covered bowl inside an oven that has been heated to 50°C and then switched off.
02 Why is my homemade white bread dense and heavy instead of light?
Dense bread is almost always a result of under-kneading. The dough needs a full 8 to 10 minutes of firm, rhythmic kneading to develop enough gluten to trap the gas bubbles created by the yeast. If the dough still tears rather than stretches after 8 minutes, continue for another 2 to 3 minutes.
03 Why did my bread collapse or sink after baking?
Over-proving is the usual cause. If the dough rises too far beyond double its original size during either prove, the gluten structure weakens and cannot hold up during baking. Watch the dough rather than the clock, and bake as soon as the loaf has risen approximately 2cm above the tin rim.
04 How do I stop the crust going too hard or too thick?
A thick, hard crust usually forms when the oven runs too hot or the loaf is left in for too long. Check the oven temperature with a separate thermometer, as home ovens often run 10 to 15°C hotter than their dial indicates. Once out of the oven, covering the loaf loosely with a clean tea towel as it cools keeps the crust from hardening further.
05 Why does my bread have large uneven holes running through the crumb?
Large air pockets usually form when the dough is not knocked back thoroughly enough after the first prove, or when it is shaped loosely with air trapped inside the roll. Press the dough firmly and evenly when knocking back, and roll the shaped loaf tightly before placing it in the tin.
Serving Suggestions
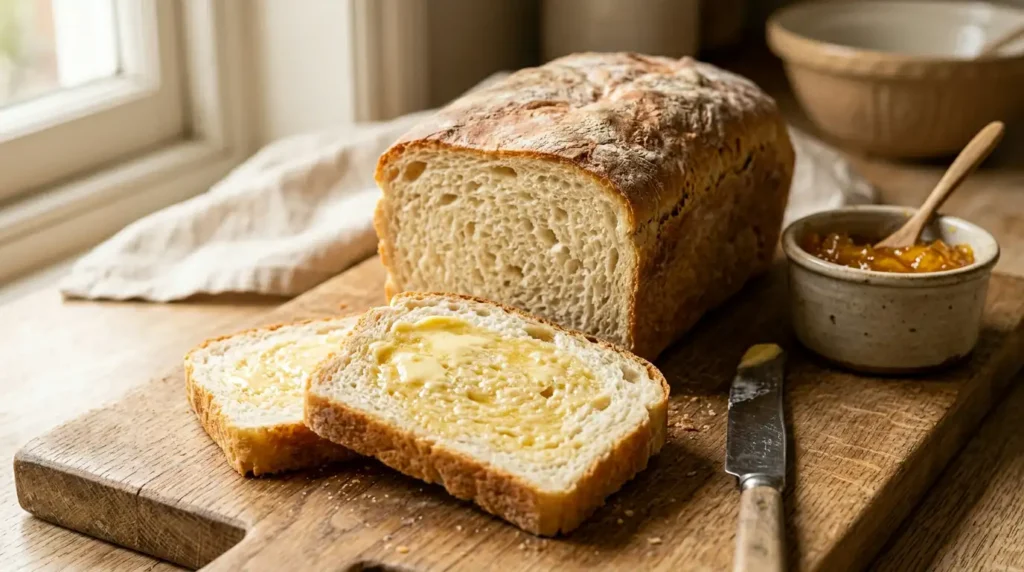
Serve thick slices still slightly warm with good unsalted butter and a scraping of sharp marmalade for a classic British breakfast.
Toast slices under a medium grill until pale golden, then top with ripe tomatoes, a drizzle of olive oil, and a pinch of sea salt for a light lunch.
Use generous slices to build a proper afternoon sandwich with mature cheddar, sliced cucumber, and a thin spread of English mustard.
Pair a warm slice with a bowl of homemade tomato soup, using the bread to mop up the last of the bowl.
Cut a day-old loaf into thick cubes, toss in a little oil, and bake until crisp for croutons to scatter over a green salad or a bowl of thick vegetable broth.
Storage
Room Temperature
Store the fully cooled loaf in an airtight container or wrapped tightly in a clean beeswax wrap at room temperature for up to 3 days.
Refrigerator
Wrap the loaf tightly in cling film or place it in a sealed bag and refrigerate for up to 5 days. Bring the bread to room temperature for 20 minutes before serving, or toast slices directly from cold, for the best texture.
Freezing
Once fully cool, slice the loaf, wrap it well in cling film, and seal inside a freezer bag before freezing for up to 3 months. Defrost individual slices at room temperature for 20 to 30 minutes, or place them directly into a toaster from frozen.
Nutrition
FAQs
01 Can I use plain flour instead of strong white bread flour?
02 Can I make this white bread recipe ahead of time?
03 Can I use fresh yeast instead of fast-action dried yeast?
04 Can I make this Mary Berry white bread recipe in a stand mixer?
05 Can I double this recipe to make two loaves at once?
Conclusion
This Mary Berry white bread recipe delivers a reliably golden, soft-crumbed loaf with a satisfying crust every time. The steps are clear, the timing is straightforward, and the result, one beautifully risen 900g loaf cut into approximately 10 generous slices, is the kind of bread that makes the kitchen smell wonderful and disappears quickly. Whether baked for a weekend breakfast or as a household staple throughout the week, this loaf holds up well at room temperature, toasts evenly, and freezes without losing its texture.
If this recipe has found a regular place in the kitchen, share it with someone who has been meaning to try homemade bread but has not yet found the right starting point. Leave a comment below if there are any questions about the process or if the loaf turned out particularly well. For another reliable classic to follow this one, try the Mary Berry Sticky Toffee Pudding recipe, a deeply warming dessert that is just as satisfying to make from scratch.
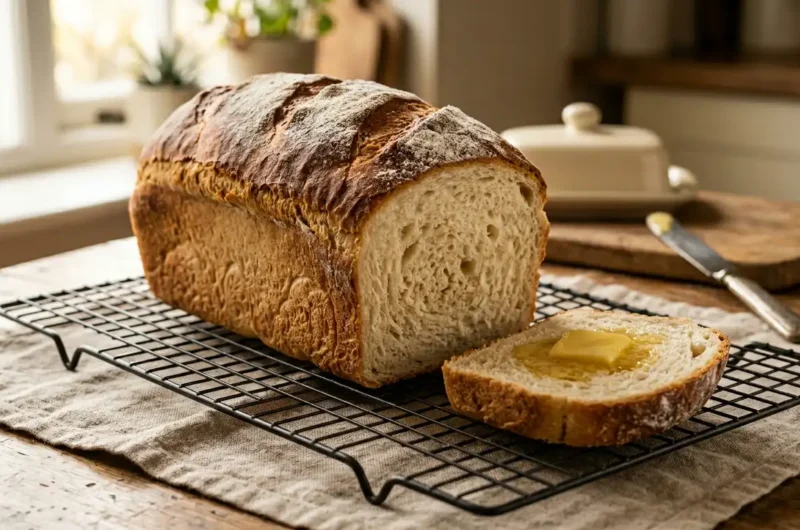
Mary Berry White Bread Recipe
Course: Side DishCuisine: BritishDifficulty: Easy10
servings20
minutes30
minutes195
kcal2
hours30
minutesA golden, soft-crusted homemade white loaf with a springy, open crumb. This beginner-friendly bread uses simple pantry ingredients and a straightforward two-prove method for reliable results every time.
Ingredients
500g strong white bread flour, plus extra for dusting
7g fast-action dried yeast (one standard sachet)
1½ tsp fine sea salt
1 tsp caster sugar
300ml warm water (approximately 38°C)
2 tbsp sunflower oil, plus extra for greasing
1 tbsp plain flour, for dusting the top
Instructions
- Measure the flour into a large mixing bowl and add the salt on one side and the sugar on the other. Scatter the yeast across the centre of the flour.
- Make a well in the centre of the flour mixture and pour in the warm water and sunflower oil. Use your fingers or a wooden spoon to bring everything together into a shaggy dough, then turn it out onto a lightly floured work surface.
- Knead the dough firmly for 8 to 10 minutes by pushing it away with the heel of your hand, folding it back, and rotating a quarter turn, until the dough feels smooth, elastic, and springs back when lightly poked.
- Lightly oil the mixing bowl, place the dough inside, and cover with a clean tea towel or lightly oiled cling film. Leave in a warm, draught-free spot for 1 hour, or until the dough has doubled in size.
- Lightly grease a 900g loaf tin with sunflower oil. Turn the risen dough out onto a lightly floured surface, knock it back firmly to expel the trapped air, shape it into a rectangle roughly the width of the tin, roll it up tightly, and place it seam-side down in the prepared tin.
- Cover the tin loosely with oiled cling film and leave to prove for a further 30 to 40 minutes, until the dough has risen about 2cm above the rim of the tin. Meanwhile, preheat the oven to 220°C (200°C fan, Gas 7).
- Remove the cling film, dust the surface lightly with plain flour, and use a sharp knife to make one long cut along the top of the loaf.
- Place the tin on the middle shelf of the preheated oven and bake for 25 to 30 minutes, until the top is a deep golden brown. Turn the loaf out and tap the base; it should sound hollow.
- Transfer the loaf to a wire rack immediately and leave to cool for at least 30 minutes before slicing.
Notes
- Use water at approximately 38°C; too hot will kill the yeast before it activates.
- Knead for a full 8 to 10 minutes to develop enough gluten for a light, springy crumb.
- Watch the dough rather than the clock during proving to avoid over-proving.
- Check your oven temperature with a separate thermometer as home ovens often run 10 to 15°C hotter than indicated.
- The loaf can be shaped and refrigerated overnight after the first prove for a next-day bake.
- Slices freeze well for up to 3 months and can be toasted directly from frozen.