Mary Berry Damson Jam Recipe
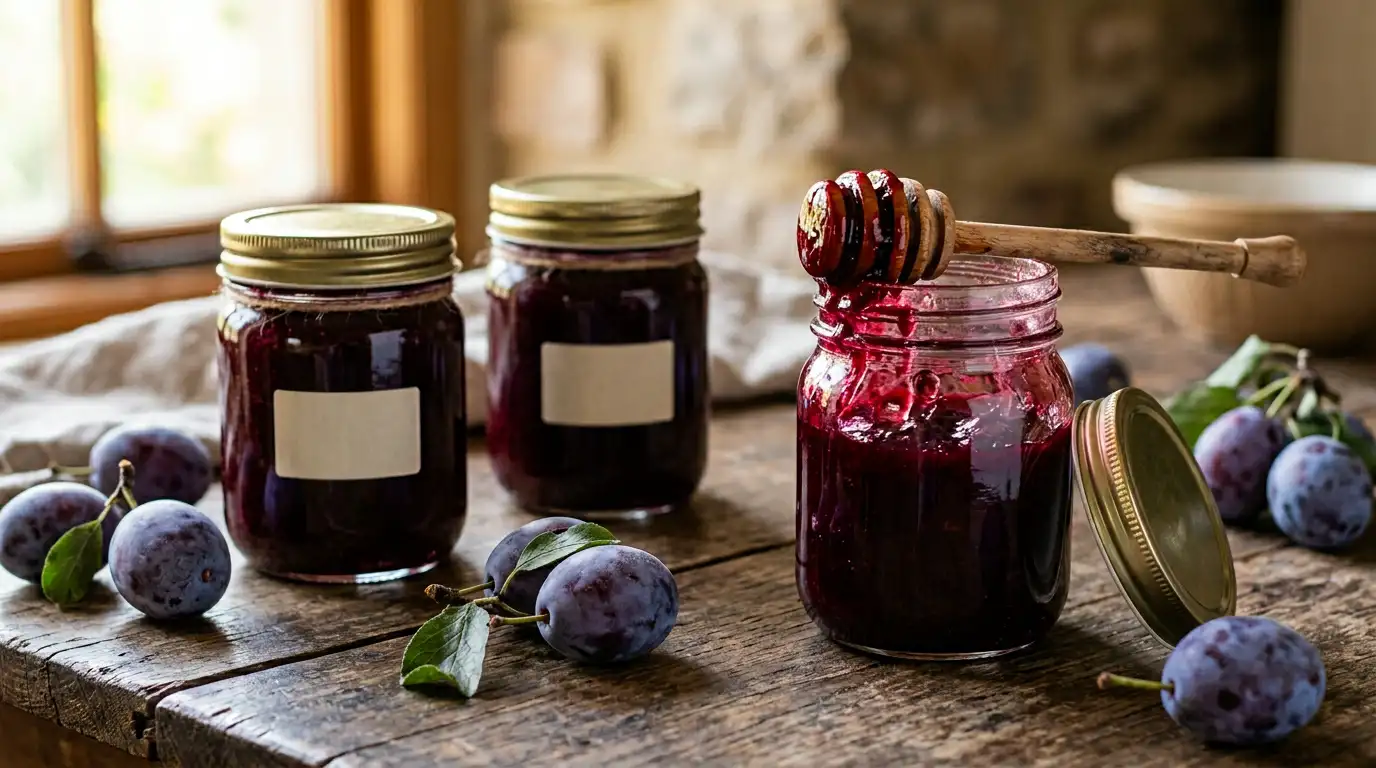
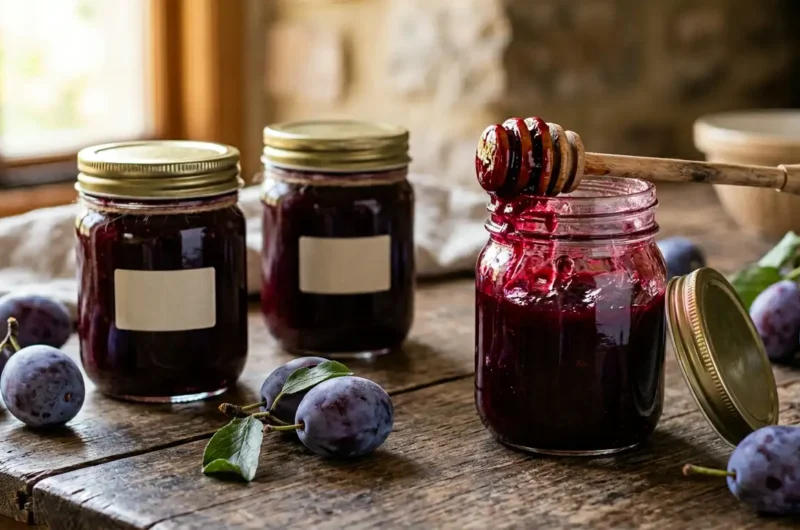
This damson jam is a deep ruby-purple preserve with a rich, slightly tart flavour that sets firm and glossy in the jar. The natural pectin in damsons makes them wonderfully reliable for home jam-making, giving a clean set without any added pectin. The result is a preserve that is bright on the palate, beautifully spreadable, and just sharp enough to cut through butter on warm toast.
This Mary Berry damson jam recipe is well suited to a first-time jam maker. The quantities are manageable, the method is clear, and damsons behave predictably during cooking. It works equally well as a breakfast preserve, a filling for sponge cakes, or a partner to mature cheese on a cheeseboard. From start to finish, it is ready in around 1 hour 30 minutes, including the time needed to reach a proper set.
- 1kg fresh damsons, washed
- 150ml cold water
- 750g granulated white sugar
- Small knob of unsalted butter, approximately 10g
- Juice of half a lemon, freshly squeezed
- Sterilised jam jars with lids, approximately 3 x 300ml jars
- Wax discs and cellophane covers, optional
How to Make Mary Berry Damson Jam
Sterilise the jars:
Wash the jam jars and lids in hot soapy water, rinse well, then place upright on a baking tray in an oven set to 140°C (fan 120°C, Gas 1) for 15 minutes. Leave them in the oven until the jam is ready to pour, as hot jam must go into hot jars to form a proper seal.
Place a saucer in the freezer:
Put two or three small saucers into the freezer at the start of cooking. These are used later to test whether the jam has reached a set, so a cold surface is essential for the wrinkle test to work accurately.
Simmer the damsons:
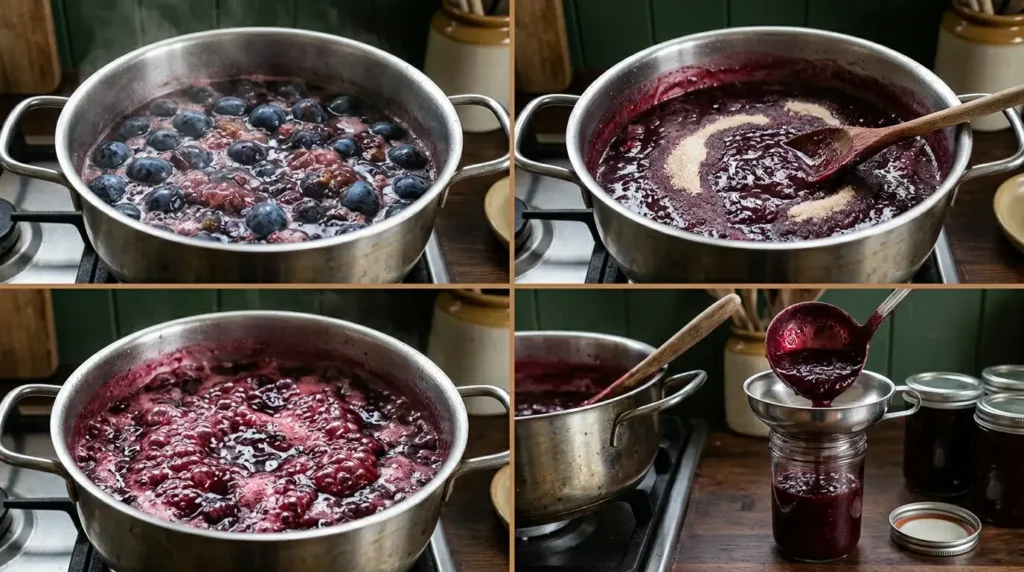
Place the washed damsons into a large, heavy-based saucepan or preserving pan with 150ml cold water and the lemon juice. Bring to a gentle simmer over a medium heat and cook for 20 to 25 minutes, stirring occasionally, until the fruit has completely softened and the skins have broken down. The lemon juice encourages the natural pectin to activate during this stage.
Remove the stones:
Use a slotted spoon to fish out the damson stones as they rise to the surface during cooking. Continue stirring and removing any remaining stones until none are left in the pan. This step requires patience, as the stones release gradually as the fruit breaks down.
Add the sugar:
Add the 750g of granulated sugar to the softened fruit, stirring over a low heat until every grain has dissolved before turning up the heat. Undissolved sugar will cause the jam to crystallise in the jar, so take your time at this stage and check the back of the spoon looks clean and clear before proceeding.
Bring to a rolling boil:
Once the sugar has dissolved, increase the heat and bring the jam to a rapid, rolling boil. Stir in the small knob of butter, which helps reduce any surface foam. Boil briskly for 8 to 12 minutes without stirring. The jam will darken slightly and begin to look glossy.
Test for a set:
After 8 minutes, remove the pan from the heat. Drop a small amount of jam onto a cold saucer from the freezer and leave it for one minute. Push the jam gently with your fingertip; if the surface wrinkles and holds its shape, the jam has set. If it is still liquid, return the pan to the heat and boil for a further 3 to 4 minutes before testing again.
Pot the jam:
Leave the jam to rest in the pan for 5 minutes off the heat, which allows it to thicken slightly and reduces the chance of the fruit floating in the jars. Pour carefully into the hot sterilised jars using a wide-mouthed funnel and a ladle. Fill to within 5mm of the top, seal immediately with lids, and leave undisturbed to cool completely.
Tips for the Best Mary Berry Damson Jam
01 Why has my damson jam not set and stayed runny in the jar? + −
02 Why is my damson jam grainy or crystallised in the jar? + −
03 How do I stop the damson jam from foaming excessively during boiling? + −
04 Why is the fruit floating at the top of my jars instead of being evenly distributed? + −
05 Why does my damson jam have a dull colour rather than a bright ruby finish? + −
Serving Suggestions
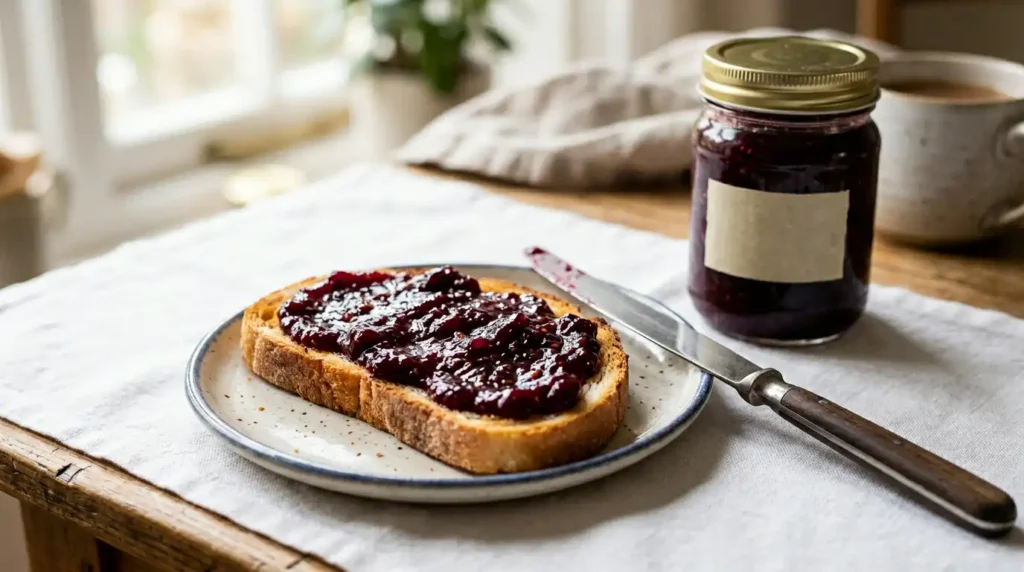
Spread thickly onto warm, freshly toasted white bread with a generous layer of salted butter for a classic breakfast pairing.
Spoon into the centre of a Victoria sponge between layers of lightly whipped double cream for a traditional afternoon tea filling.
Serve alongside a wedge of sharp cheddar or crumbly lancashire cheese on a wooden board, where the tartness of the jam balances the richness of the cheese.
Stir a spoonful into natural yogurt with a handful of toasted oats for a simple, sharp-sweet breakfast bowl.
Warm gently and drizzle over a plain steamed sponge pudding in place of golden syrup for a deeper, fruit-forward pudding sauce.
Storage
Room Temperature
Store sealed, unopened jars in a cool, dark cupboard for up to 12 months. Once opened, keep at room temperature and use within four weeks, always using a clean, dry spoon.
Refrigerator
After opening, store the jar in the refrigerator for up to four weeks. Allow the jam to come to room temperature for around 10 minutes before spreading if it has firmed up in the cold.
Freezing
Transfer jam into small, freezer-safe containers leaving a centimetre of headspace, seal tightly, and freeze for up to 12 months. Defrost overnight in the refrigerator and use within two weeks once thawed.
Nutrition
FAQs
01 Can I use frozen damsons instead of fresh ones in this recipe? + −
02 Can I reduce the amount of sugar in this damson jam recipe? + −
03 Can I make this damson jam recipe without a preserving pan? + −
04 Can I double the quantities in this Mary Berry damson jam recipe? + −
05 Can I use jam sugar instead of granulated sugar for this recipe? + −
Conclusion
This Mary Berry damson jam recipe gives a rich, deep-coloured preserve with a firm, glossy set and a pleasingly tart finish. Damsons are one of the most reliable fruits for home jam-making, and this method makes the most of their natural pectin and vibrant flavour. The recipe yields approximately 3 jars of 300ml each, which is a practical amount for a household to enjoy over several months, whether on toast at breakfast, layered into a sponge, or tucked into a hamper as a gift.
Give the recipe a try during damson season and see how straightforward a proper homemade jam can be. If it works well for you, leave a comment below to let others know, or share it with a friend who has been thinking about making preserves for the first time. If you enjoyed this, you might also like the Mary Berry Chocolate Roulade Recipe for another classic bake that is just as satisfying to make at home.
Mary Berry Damson Jam Recipe
Course: PreserveCuisine: BritishDifficulty: Easy3 jars (300ml each)
servings20
minutes1
hour10
minutes45
kcal1
hour30
minutesA deep ruby-purple preserve with a rich, slightly tart flavour that sets firm and glossy in the jar. This homemade damson jam is beginner-friendly, reliable, and perfect for spreading on toast, filling sponge cakes, or pairing with mature cheese.
Ingredients
1kg fresh damsons, washed
150ml cold water
750g granulated white sugar
10g unsalted butter, small knob
juice of half a lemon, freshly squeezed
3 sterilised jam jars with lids, approximately 300ml each
wax discs and cellophane covers, optional
Instructions
- Wash the jam jars and lids in hot soapy water, rinse well, then place upright on a baking tray in an oven set to 140C (fan 120C, Gas 1) for 15 minutes. Leave them in the oven until the jam is ready to pour.
- Put two or three small saucers into the freezer at the start of cooking to use later for the wrinkle set test.
- Place the washed damsons into a large, heavy-based saucepan with 150ml cold water and the lemon juice. Bring to a gentle simmer over a medium heat and cook for 20 to 25 minutes, stirring occasionally, until the fruit has completely softened and the skins have broken down.
- Use a slotted spoon to fish out the damson stones as they rise to the surface during cooking. Continue stirring and removing any remaining stones until none are left in the pan.
- Add the 750g of granulated sugar to the softened fruit, stirring over a low heat until every grain has dissolved before turning up the heat. Check the back of the spoon looks clean and clear before proceeding.
- Once the sugar has dissolved, increase the heat and bring the jam to a rapid, rolling boil. Stir in the small knob of butter to reduce surface foam. Boil briskly for 8 to 12 minutes without stirring.
- After 8 minutes, remove the pan from the heat. Drop a small amount of jam onto a cold saucer and leave for one minute. Push gently with your fingertip; if the surface wrinkles and holds its shape, the jam has set. If still liquid, return to the heat and boil for a further 3 to 4 minutes before testing again.
- Leave the jam to rest in the pan for 5 minutes off the heat, then pour carefully into the hot sterilised jars using a wide-mouthed funnel and a ladle. Fill to within 5mm of the top, seal immediately, and leave undisturbed to cool completely.
Notes
- Always dissolve the sugar fully over low heat before raising the temperature to prevent crystallisation in the jar.
- Remove damson stones patiently with a slotted spoon as they rise during the simmering stage.
- Use the wrinkle test on a cold saucer rather than relying on a fixed boiling time for a reliable set.
- Stir a small knob of butter into the jam at the rolling boil stage to reduce foam build-up.
- Rest the jam in the pan for 5 minutes before potting to prevent fruit from floating in the jars.
- Hot jam must go into hot sterilised jars to form a proper seal and ensure a long shelf life.