Mary Berry All in One Chocolate Cake Recipe
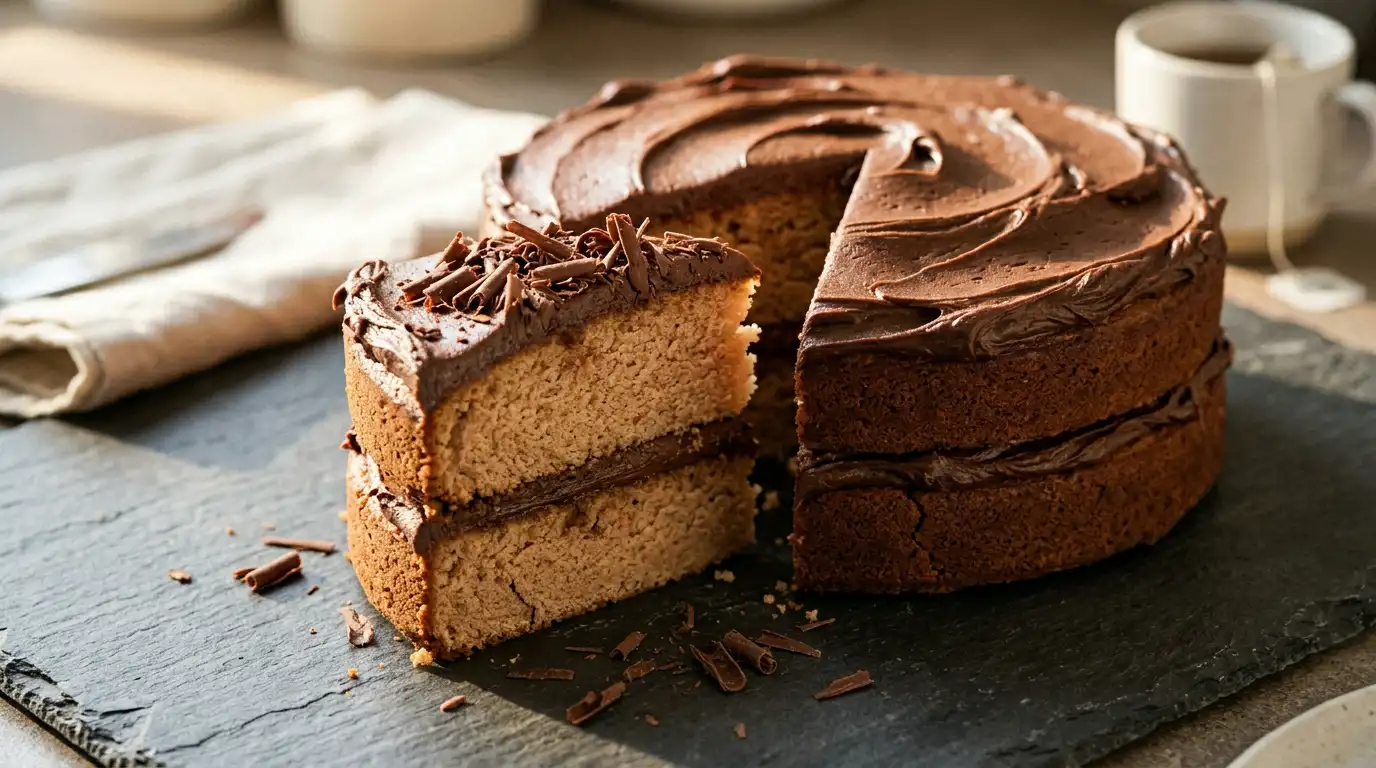
This all in one chocolate cake is a moist, deeply cocoa-scented sponge with a tender, close crumb and a silky chocolate buttercream that holds its swirl without slipping. The batter comes together in a single bowl, which means less washing up and a more relaxed baking experience from start to finish.
What sets this version apart is the reliability of the method. Every ingredient goes in at once, making it well suited to beginners and a practical choice for birthdays, afternoon tea, or a casual weekend bake. From start to finish, it is ready in around 1 hour 15 minutes.
Ingredients
- For the sponge
- 175g self-raising flour
- 175g caster sugar
- 175g unsalted butter, softened to room temperature
- 3 large eggs, at room temperature
- 30g cocoa powder
- 1.5 tsp baking powder
- 3 tbsp whole milk
- 1 tsp vanilla extract
- For the chocolate buttercream
- 175g unsalted butter, softened
- 300g icing sugar, sifted
- 30g cocoa powder, sifted
- 3 tbsp whole milk
- 1 tsp vanilla extract
- To finish
- 25g dark chocolate, finely grated or shaved
How to Make Mary Berry All in One Chocolate Cake
- Preheat and prepare the tins: Heat the oven to 180C (160C fan) and grease two 20cm round sandwich tins. Line the bases with baking parchment so the sponges release cleanly after baking.
- Combine all sponge ingredients: Sift the flour, cocoa powder, and baking powder into a large mixing bowl. Add the butter, caster sugar, eggs, milk, and vanilla extract all at once. Beat together using an electric hand whisk for around 2 minutes until the mixture is smooth, evenly coloured, and slightly increased in volume. Beating for the full time incorporates enough air to give a good rise without over-working the batter.
- Divide the batter: Spoon the mixture evenly between the two prepared tins. Use a palette knife or the back of a spoon to spread it level, paying attention to the edges so the sponges bake to an even thickness.
- Bake the sponges: Place both tins on the same shelf in the centre of the oven and bake for 22 to 25 minutes. The cakes are ready when they have pulled away slightly from the sides of the tin and a skewer inserted into the centre comes out clean.
- Cool the sponges: Leave the cakes in their tins for 5 minutes before turning out onto a wire rack. Peel off the parchment and allow to cool completely before adding any buttercream, as residual heat will melt the filling.
- Make the buttercream: Beat the softened butter in a bowl until pale and creamy, about 2 minutes. Add the sifted icing sugar and cocoa powder in two additions, mixing on a low speed to prevent a cloud of sugar, then increase to medium and beat for a further 2 to 3 minutes. Add the milk and vanilla and beat again until the buttercream is light and smooth.
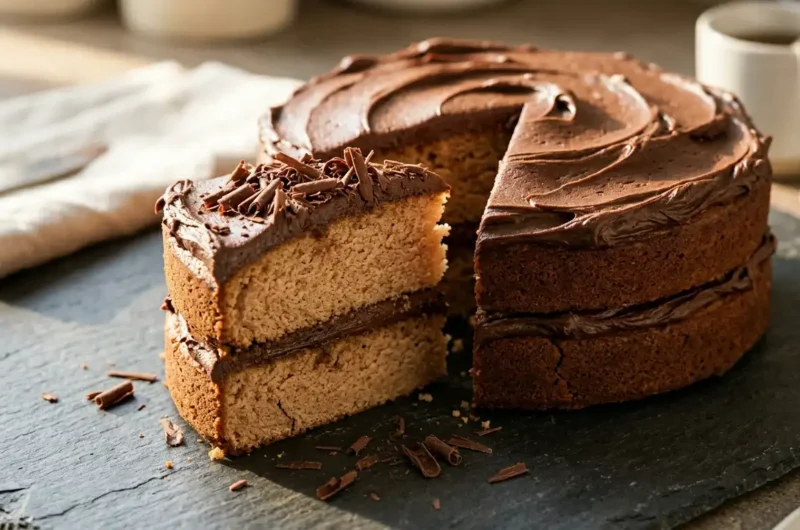
- Fill and top the cake: Place one sponge on a serving plate or cake board. Spread roughly half the buttercream over the surface using a palette knife, going to the edges. Set the second sponge on top, flat side down for a level finish. Spread the remaining buttercream over the top in gentle swooping strokes.
- Finish with chocolate: Scatter the grated or shaved dark chocolate over the buttercream. The contrast in texture between the smooth frosting and the fine chocolate shards gives a clean, finished appearance.
Tips for the Best All in One Chocolate Cake
Why did my chocolate sponge turn out dense and heavy?
Dense sponges in an all-in-one method almost always come down to cold butter. If the butter is too firm when it goes into the bowl, it will not beat into the batter properly, leaving the mixture under-aerated. Make sure the butter is genuinely soft, not just slightly softened at the edges.
Why is my cake dry even though I followed the recipe?
Over-baking is the most common cause of a dry chocolate sponge. Check the cakes at 22 minutes rather than relying purely on the timer, as oven temperatures vary. The moment the skewer comes out clean, remove the tins immediately.
Why has my buttercream turned gritty?
Gritty buttercream happens when the butter is too cold or the icing sugar has not been sifted. Always sift both the icing sugar and cocoa powder before adding them, and make sure the butter has been beaten until pale and creamy before anything else goes in.
How do I stop my sponges from doming in the middle?
A pronounced dome forms when the outer edges of the batter bake faster than the centre. Ensure the oven is fully preheated before the tins go in, and avoid opening the oven door during the first 20 minutes, which causes uneven heat distribution.
Why is there a sunken dip in the centre of my finished cake?
A sunken centre usually means the cake was removed from the oven before it had fully set. If the skewer comes out with wet batter, return the tin to the oven for a further 3 to 5 minutes and check again. A slight wobble at the centre is not enough; wait for the skewer test to be conclusive.
Serving Suggestions
- Serve at room temperature with a pot of strong builder’s tea for a classic afternoon treat.
- Cut into generous wedges and plate alongside a small spoonful of clotted cream for a richer dessert course.
- Dust the top lightly with a little extra cocoa powder before serving for a more dramatic, cafe-style presentation.
- Add a scoop of vanilla ice cream to each plate when serving at a dinner party, letting it sit against the chocolate buttercream.
- Serve thinner slices with a small glass of cold whole milk for children’s parties, where the richness of the buttercream can be a lot in a larger portion.
Storage
Room Temperature
Store in an airtight container at room temperature for up to 3 days, away from direct sunlight or heat sources.
Refrigerator
The cake can be refrigerated in an airtight container for up to 5 days. Bring it back to room temperature for at least 30 minutes before serving, as cold buttercream firms to an unpleasant waxy texture straight from the fridge.
Freezing
Freeze the un-iced sponges individually, wrapped tightly in a double layer of clingfilm and then a layer of foil, for up to 2 months. Defrost at room temperature for 2 to 3 hours, then fill and ice once fully thawed.
Nutrition
- Calories: 520 kcal
- Carbohydrates: 62g
- Protein: 5g
- Fat: 28g
- Saturated Fat: 17g
- Sodium: 180mg
Nutrition values are estimates based on typical ingredient brands and may vary depending on the specific products used and the size of each serving.
FAQs
Can I use plain flour instead of self-raising flour for this cake?
Yes, replace the self-raising flour with 175g of plain flour and increase the baking powder to 2.5 teaspoons in total. Sift them together thoroughly so the raising agent is evenly distributed throughout the batter.
Can I make this chocolate cake ahead of time?
The sponges can be baked a day in advance and stored wrapped at room temperature. Ice the cake on the day of serving for the freshest result, as the buttercream holds better when applied to a completely cool, rested sponge.
Can I use a different sized tin for this recipe?
Two 18cm tins will give you a slightly taller, more layered result, and the baking time may increase by 3 to 5 minutes. Avoid tins smaller than 18cm as the batter will be too deep and the centre may not cook through properly.
Can I substitute the cocoa powder with drinking chocolate?
Drinking chocolate is not a reliable substitute because it contains added sugar and milk powder, which alters the balance of the recipe. Stick to unsweetened cocoa powder for the correct colour, flavour depth, and texture.
Is this recipe suitable for a gluten-free diet?
It can be adapted by replacing the self-raising flour with a gluten-free self-raising blend at the same weight. Check that the baking powder used is also labelled gluten-free, as some brands contain trace wheat starch.
Conclusion
The mary berry all in one chocolate cake recipe is one of the most straightforward layer cakes a home baker can make. By combining every sponge ingredient in a single bowl and whisking for just a few minutes, the method removes the need for creaming butter and sugar separately, making the whole process noticeably quicker without sacrificing the soft, tender result. The chocolate buttercream uses the same cocoa-forward approach, giving a frosting that is rich without being overly sweet.
This recipe makes 8 to 10 generous slices, which suits a family celebration or an afternoon tea spread well. The sponges are reliably even, the buttercream spreads smoothly, and the finished cake looks polished without requiring any specialist decorating skills. If you have questions about this bake or want to share how yours turned out, leave a comment below. For a more indulgent variation on a similar theme, you might also enjoy the mary berry chocolate fudge cake recipe, which takes the chocolate depth a step further with a glossy fudge icing.
Mary Berry All in One Chocolate Cake Recipe
Course: DessertCuisine: BritishDifficulty: Easy10
servings20
minutes25
minutes520
kcal1
hour15
minutesA moist, deeply cocoa-scented sponge with a tender, close crumb and a silky chocolate buttercream. Every ingredient goes into a single bowl, making this a reliable and beginner-friendly bake suited to birthdays, afternoon tea, or a casual weekend treat.
Ingredients
175g self-raising flour
175g caster sugar
175g unsalted butter, softened to room temperature
3 large eggs, at room temperature
30g cocoa powder
1.5 tsp baking powder
3 tbsp whole milk
1 tsp vanilla extract
175g unsalted butter, softened (for buttercream)
300g icing sugar, sifted
30g cocoa powder, sifted (for buttercream)
3 tbsp whole milk (for buttercream)
1 tsp vanilla extract (for buttercream)
25g dark chocolate, finely grated or shaved
Instructions
- Heat the oven to 180C (160C fan). Grease two 20cm round sandwich tins and line the bases with baking parchment.
- Sift the flour, cocoa powder, and baking powder into a large mixing bowl. Add the butter, caster sugar, eggs, milk, and vanilla extract all at once. Beat with an electric hand whisk for around 2 minutes until smooth and evenly coloured.
- Spoon the batter evenly between the two prepared tins and level the surface with a palette knife, paying attention to the edges.
- Place both tins on the centre shelf and bake for 22 to 25 minutes, until the sponges have pulled away from the sides and a skewer inserted into the centre comes out clean.
- Leave the cakes in their tins for 5 minutes, then turn out onto a wire rack, peel off the parchment, and allow to cool completely.
- Beat the softened butter until pale and creamy. Add the sifted icing sugar and cocoa powder in two additions, mixing on low then increasing to medium speed. Add the milk and vanilla and beat for 2 to 3 minutes until light and smooth.
- Place one sponge on a serving plate. Spread roughly half the buttercream over the surface. Set the second sponge on top, flat side down, and spread the remaining buttercream over the top in gentle swooping strokes.
- Scatter the grated or shaved dark chocolate over the buttercream to finish.
Notes
- Butter must be genuinely soft before mixing or the sponge will turn out dense.
- Check the sponges at 22 minutes as oven temperatures vary.
- Sift both icing sugar and cocoa powder before making the buttercream to avoid a gritty texture.
- Do not open the oven door during the first 20 minutes to prevent uneven rising.
- Cool sponges completely before adding buttercream or it will melt and slide.
- Bring refrigerated cake to room temperature for 30 minutes before serving for the best texture.